Cheesy Garlic Bread Recipe-Best Ever-Easy & Delicious
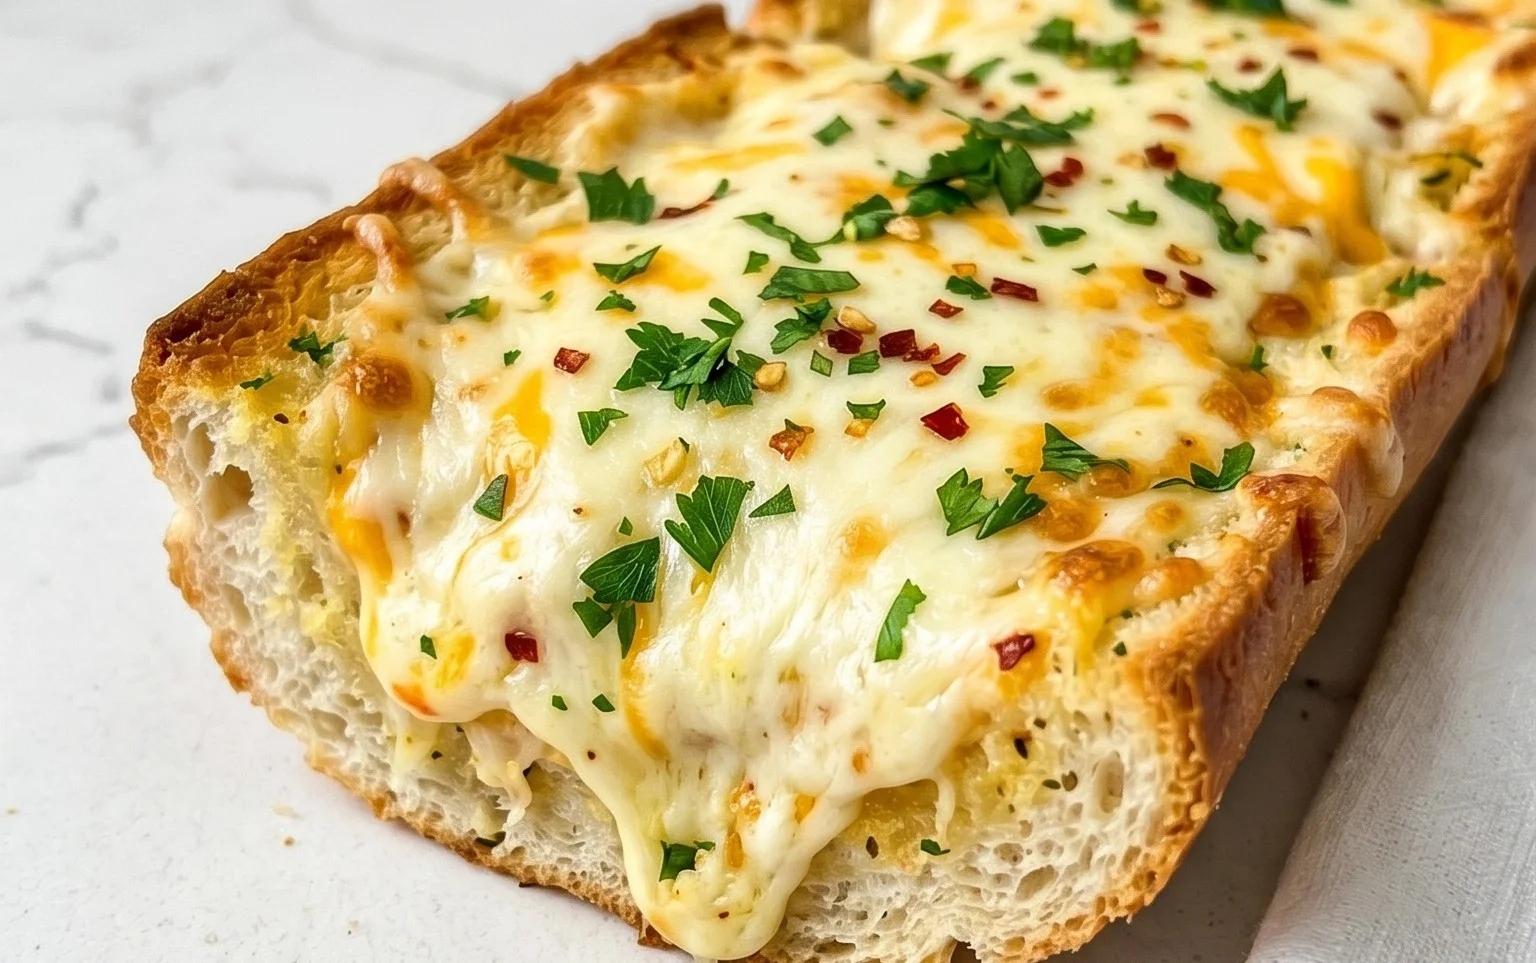
The BEST CHEESY GARLIC BREAD RECIPE you will ever make is right here. Forget those soggy, bland versions; we’re talking about a masterpiece of crispy edges, a tender crum extractb, and an non-intoxicating aroma that will have everyone in your kitchen beggin extractg for more. Why do we all crave cheesy garlic bread? It’s the ultimate comfort food, a universally adored side dish that elevates any meal from ordinary to extraordinary. It’s the perfect balance of savory, pungent garlic and rich, gooey cheese, all baked onto a perfectly toasted baguette. What makes this recipe truly special is its simplicity combined with an explosion of flavor. We’ve perfected the garlic butter blend and chosen the ideal cheese combination to ensure every bite is pure bliss. Get ready to impress yourself and your loved ones with this incredible BEST CHEESY GARLIC BREAD RECIPE.
BEST CHEESY GARLIC BREAD RECIPE
Get ready to elevate your side dish game with what I’m convinced is the absolute BEST cheesy garlic bread recipe. This isn’t just any garlic bread; it’s a symphony of rich, buttery, garlicky goodness topped with a generous layer of perfectly melted mozzarella. It’s the kind of bread that disappears from the plate in minutes, leaving everyone clamoring for more. Whether you’re serving it with pasta, soup, or just enjoying it on its own, this recipe is a guaranteed crowd-pleaser. The secret lies in a few key steps that ensure maximum flavor and that irresistible golden-brown crust. I’ve perfected this over many attempts, and I can confidently say the result is worth every bit of effort.
Ingredients:
Preparing the Garlic and Butter Mixture
The foundation of any great garlic bread is, of course, the garlic. For this recipe, we’re going to create a rich, flavorful garlic butter spread that will coat every nook and cranny of the bread.
1. Roast Your Garlic (Optional but Recommended): If you have the time, I highly recommend roasting your garlic. To do this, take your 8-10 garlic cloves, toss them with 2 tablespoons of olive oil and a pinch of salt. Wrap them loosely in foil and roast in a preheated oven at 400°F (200°C) for about 20-30 minutes, or until they are soft and fragrant. Once roasted, you can gently squeeze the softened garlic cloves out of their skins. This mellows the harshness of raw garlic and brings out a sweet, nutty flavor that is absolutely divine. If you’re short on time, you can mince your raw garlic very finely, but the roasted version truly takes this recipe to the next level.
2. Create the Ultimate Garlic Butter Spread: In a medium bowl, combine your melted butter, the roasted garlic (mashed into a paste with a fork), the egg, milk, ½ teaspoon of salt, ½ teaspoon of paprika, and 2 tablespoons of chopped fresh parsley. Whisk everything together until it’s well combined and has a beautiful, creamy consistency. The egg and milk help to emulsify the butter and create a richer, more custard-like spread that clings beautifully to the bread. The paprika adds a subtle warmth and a gorgeous color.
Assembling the Cheesy Garlic Bread
Now for the fun part – transforming those humble rolls into a cheesy, garlicky masterpiece!
3. Prepare Your Rolls for Glorious Toppings: This is where King’s Hawaiian Sheet Rolls shine. Keeping them in their full sheet form is key for even distribution of flavor and cheese. If you’re using a baguette, slice it lengthwise in half, or slice it into thick individual pieces if you prefer. For the sheet rolls, I like to make shallow cuts across the top of the entire sheet, about 1-inch apart, being careful not to cut all the way through to the bottom. This allows the garlic butter to seep down into the rolls and makes for easier serving.
4. Generously Coat with Garlic Butter: Using a pastry brush or a spoon, generously spread the prepared garlic butter mixture all over the top of the sheet rolls, making sure to get into all those little crevices you created. Don’t be shy with this mixture – it’s what makes the bread incredibly flavorful and moist. If you have any extra spread, you can even drizzle it down the sides.
5. Load Up the Cheese! Now for the star of the show: cheese! Sprinkle the 2 cups of shredded mozzarella cheese evenly over the top of the garlic butter-coated rolls. You want a thick, even layer so that when it melts, it creates that irresistible, stretchy, golden-brown cheesy blanket we all dream of. You can also add a sprinkle of Parmesan cheese at this stage if you like an extra layer of salty, nutty flavor, though it’s not strictly necessary with the mozzarella.
Baking to Golden Perfection
The final steps are all about achieving that perfect golden-brown crust and gooey, melted cheese.
6. Bake Until Golden and Bubbly: Place the prepared sheet rolls (or baguette) on a baking sheet lined with parchment paper for easy cleanup. Bake in a preheated oven at 375°F (190°C) for about 15-20 minutes, or until the cheese is completely melted, bubbly, and has golden-brown spots. Keep an eye on it, as ovens can vary, and you don’t want the edges to burn. The aroma that fills your kitchen during this stage is absolutely heavenly!
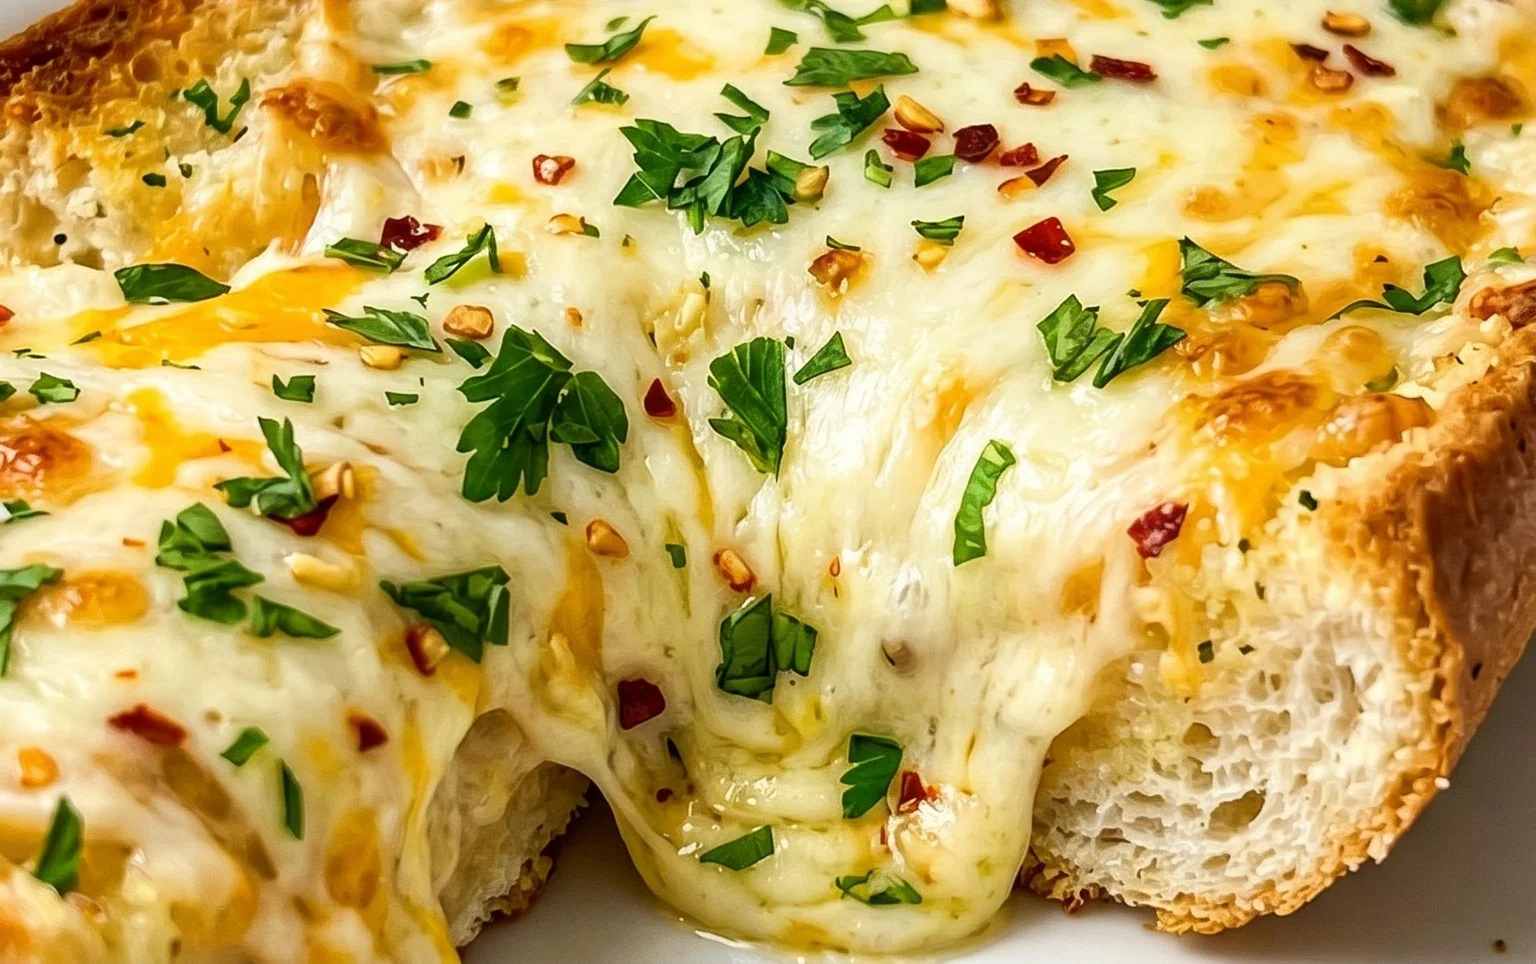
7. Garnish and Serve with Flair: Once out of the oven, immediately garnish your cheesy garlic bread with a sprinkle of fresh chopped parsley and a pinch of chili flakes if you enjoy a little heat. Let it cool for just a minute or two before cutting it into individual servings (if you used the sheet rolls and cut them earlier) and serving it warm. The combination of fresh herbs and a hint of spice adds a beautiful visual appeal and a burst of fresh flavor that complements the rich garlic and cheese perfectly. Enjoy this incredible, life-changin extractg cheesy garlic bread!
Conclusion:
There you have it – my absolute favorite BEST CHEESY GARLIC BREAD RECIPE! This recipe is a guaranteed crowd-pleaser, delivering that perfect symphony of toasted bread, fragrant garlic, and gooey, melted cheese. It’s incredibly easy to make, making it ideal for weeknight dinners or as an impressive appetizer for any gathering. The aroma alone will have everyone gathering in the kitchen!
This cheesy garlic bread is incredibly versatile. Serve it alongside your favorite pasta dishes, hearty soups, or a fresh salad for a complete and satisfying meal. It also makes for a fantastic side dish to grilled meats or roasted chicken.
Feel free to get creative with variations! You can add a sprinkle of red pepper flakes for a touch of heat, some chopped fresh parsley or chives for added herbaceousness, or even a layer of sun-dried tomatoes for a delightful tang. Experiment with different cheeses like mozzarella, cheddar, Monterey Jack, or a blend for a unique flavor profile. I truly encourage you to try this recipe; you won’t be disappointed!
Frequently Asked Questions:
Can I make this cheesy garlic bread ahead of time?
Yes, you can prepare the garlic butter mixture and spread it on the bread ahead of time. Cover it tightly with plastic wrap and refrigerate. When ready to bake, simply remove from the refrigerator, add your cheese, and bake as directed. You might need to add a few extra minutes to the baking time.
What kind of bread works best for this recipe?
A good quality French baguette or Italian loaf is ideal. The slightly dense crum extractb holds up well to the butter and cheese, resulting in a wonderful texture. Day-old bread is actually perfect as it’s a little drier and will toast up beautifully.
How can I make this recipe dairy-free?
You can easily adapt this recipe for a dairy-free option. Use a plant-based butter and your favorite dairy-free shredded cheese blend. Many brands offer excellent alternatives that melt beautifully.
BEST CHEESY GARLIC BREAD RECIPE
Incredibly delicious and easy cheesy garlic bread, perfect as a side or appetizer. Features roasted garlic for deep flavor.
Ingredients
-
8-10 garlic cloves
-
2 tbsp olive oil
-
Pinch of salt
-
Roasted garlic from above
-
½ cup butter, melted
-
1 egg
-
¼ cup milk
-
½ tsp salt
-
½ tsp paprika
-
2 tbsp chopped fresh parsley
-
12 King’s Hawaiian Origin extractal Hawaiian Sheet Rolls, kept in the full sheet form
-
2 cups shredded mozzarella cheese
-
Chopped parsley for serving
-
Chili flakes for serving
Instructions
-
Step 1
Preheat oven to 350°F (175°C). -
Step 2
Roast 8-10 garlic cloves with 2 tbsp olive oil and a pinch of salt until tender and fragrant. Let cool slightly. -
Step 3
Mash the roasted garlic into a paste. In a bowl, combine melted butter, egg, milk, ½ tsp salt, ½ tsp paprika, 2 tbsp chopped fresh parsley, and the roasted garlic paste. Mix well. -
Step 4
Slice the King’s Hawaiian rolls lengthwise, keeping them in the sheet form. Brush the butter-garlic mixture generously over the cut sides of the rolls. -
Step 5
Sprinkle the shredded mozzarella cheese evenly over the buttered rolls. -
Step 6
Bake for 12-15 minutes, or until the cheese is melted and bubbly and the bread is golden brown. -
Step 7
Garnish with chopped parsley and chili flakes before serving.
Important Information
Nutrition Facts (Per Serving)
It is important to consider this information as approximate and not to use it as definitive health advice.
Allergy Information
Please check ingredients for potential allergens and consult a health professional if in doubt.