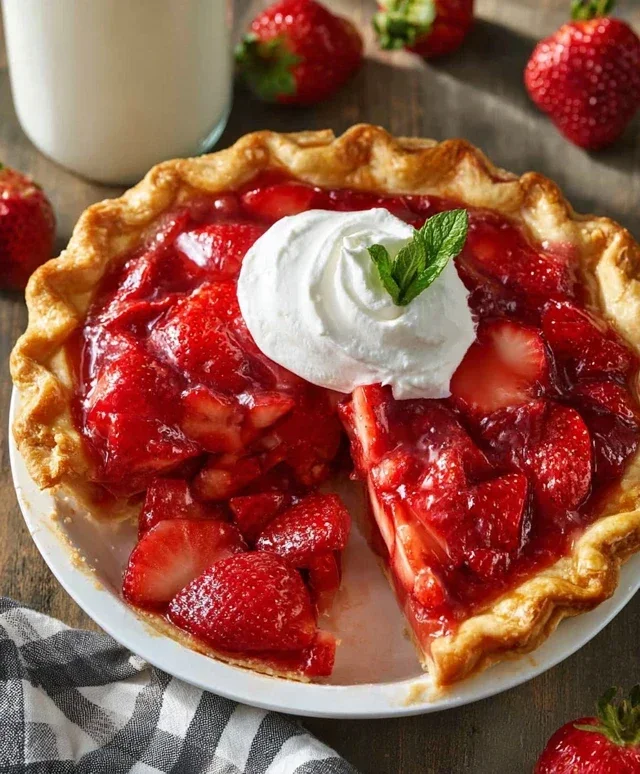
Best Strawberry Pie Recipe-Easy Homemade Dessert
Strawberry pie is more than just a dessert; it’s a vibrant celebration of summer’s most beloved berry. As soon as those ruby-red gems start appearing in our local markets, my mind immediately drifts to the pure bliss of a perfectly baked strawberry pie. There’s something incredibly comforting and universally loved about its sweet, slightly tart filling nestled within a flaky, golden crust. It’s the quintessential taste of sunshine, a nostalgic trip back to lazy afternoons and family gatherings. What truly sets a homemade strawberry pie apart is the burst of fresh, natural flavor that no store-bought version can replicate. It’s the simplicity, the sweetness, and the undeniable beauty of those glistening strawberries that make this pie an enduring favorite for so many of us.
Summertime Perfection: My Go-To Strawberry Pie Recipe
There’s something undeniably magical about a fresh strawberry pie. The vibrant red filling, nestled within a flaky crust, is the taste of pure summer joy. This recipe is a classic for a reason – it’s simple, celebrates the star ingredient beautifully, and always disappears in a flash. I’ve been making this for years, and it never fails to impress, whether it’s for a backyard barbecue, a holiday gathering, or just a Tuesday craving. The beauty of this pie lies in its straightforward approach, allowing the natural sweetness and tang of the strawberries to truly shine.
Ingredients:
The Secret to a Stunning Filling
The filling is where all the magic happens, and this recipe strikes a perfect balance between sweet and tart. We’ll create a thick, glossy glaze that holds the fresh strawberries in place, preventing a watery mess and ensuring every bite is bursting with flavor. Baking the crust beforehand is crucial for a crisp bottom that won’t turn soggy.
Step-by-Step Strawberry Pie Bliss
1. Prepare Your Crust: The foundation of any great pie is a sturdy, golden-brown crust. Since we’re starting with a pre-baked frozen crust, this step is already handled! Make sure it’s completely cooled before you begin extract assembling the filling. If you’re baking your own crust from scratch, I highly recommend blind-baking it until it’s golden and crisp. This prevents any moisture from the filling from making the bottom crust chewy. You can poke holes in the bottom with a fork before baking and weigh it down with pie weights or dried beans for an even result.
2. Create the Luscious Glaze: In a medium saucepan, whisk together the sugar and cornstarch. This dry mixture helps to prevent lumps from forming when you add the liquid. Gradually whisk in the water until the mixture is smooth. Place the saucepan over medium heat and stir constantly. You’ll notice the mixture will start to thicken. Continue to cook and stir for about 2 minutes, or until it’s thick and bubbly. This ensures the cornstarch is fully cooked and will create a nice, firm gel. Remove the pan from the heat.
3. Incorporate the Jello Magic: Now for the special ingredient that gives our pie that signature vibrant color and extra fruity boost! Add the strawberry jello powder to the hot cornstarch mixture. Stir it in vigorously until the jello is completely dissolved and the mixture is a uniform, glossy red. The heat from the cornstarch mixture will perfectly activate the jello. Let this mixture cool slightly for about 10-15 minutes. You don’t want it to be piping hot when it meets the strawberries, as that can slightly cook them, but it shouldn’t be fully set either.
4. Marry the Strawberries and Glaze: Gently fold the sliced strawberries into the slightly cooled glaze. Be tender; we want to keep those beautiful slices intact. Ensure every piece of strawberry is coated in the glossy, ruby-red mixture. The goal here is to create an even distribution of fruit within the filling. If your strawberries are very juicy, you might notice a little extra liquid. That’s perfectly fine, as the cornstarch and jello will firm it all up beautifully.
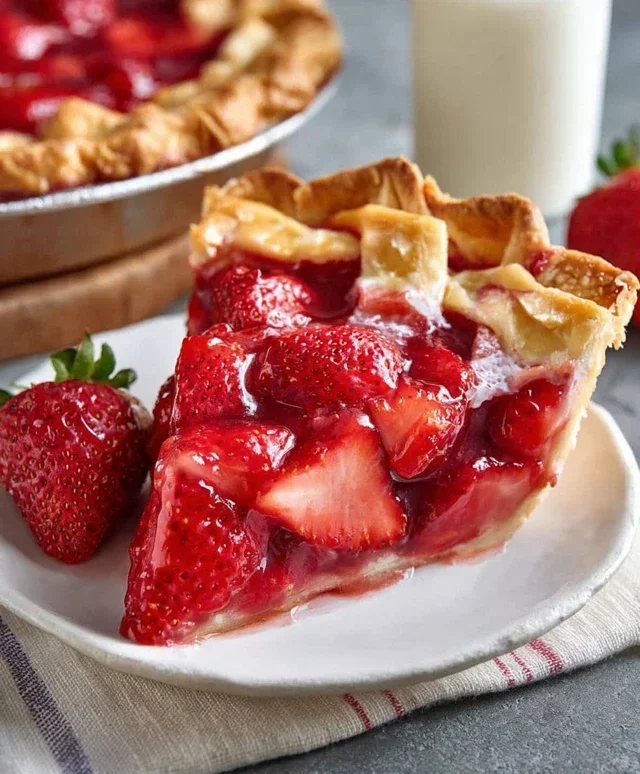
5. Assemble and Chill to Perfection: Carefully spoon the strawberry filling into your pre-baked and cooled pie crust. Spread it evenly, making sure to get a good amount of strawberries in every section. You can mound the center slightly if you like a more dramatic look. Once filled, cover the pie loosely with plastic wrap. It’s crucial to refrigerate the pie for at least 4 hours, or preferably overnight. This chilling time allows the filling to set completely, creating that beautiful, sliceable texture. The longer it chills, the firmer and more stable it will become, making for perfect slices every time.
Enjoy this delightful strawberry pie! It’s wonderful served simply on its own, or with a dollop of whipped cream for an extra touch of indulgence.
Conclusion:
I hope you’re as excited as I am to dive into making this absolutely delicious strawberry pie! This recipe is a true winner because it balances the natural sweetness of fresh strawberries with a perfectly flaky crust and a delightful, slightly tangy filling. It’s surprisingly straightforward to assemble, making it an ideal dessert for both begin extractner bakers and seasoned pros looking for a crowd-pleasing treat. The vibrant color and irresistible aroma alone are enough to make any occasion feel special. Don’t be afraid to give it a try – the reward of that first warm, fruity bite is truly worth it!
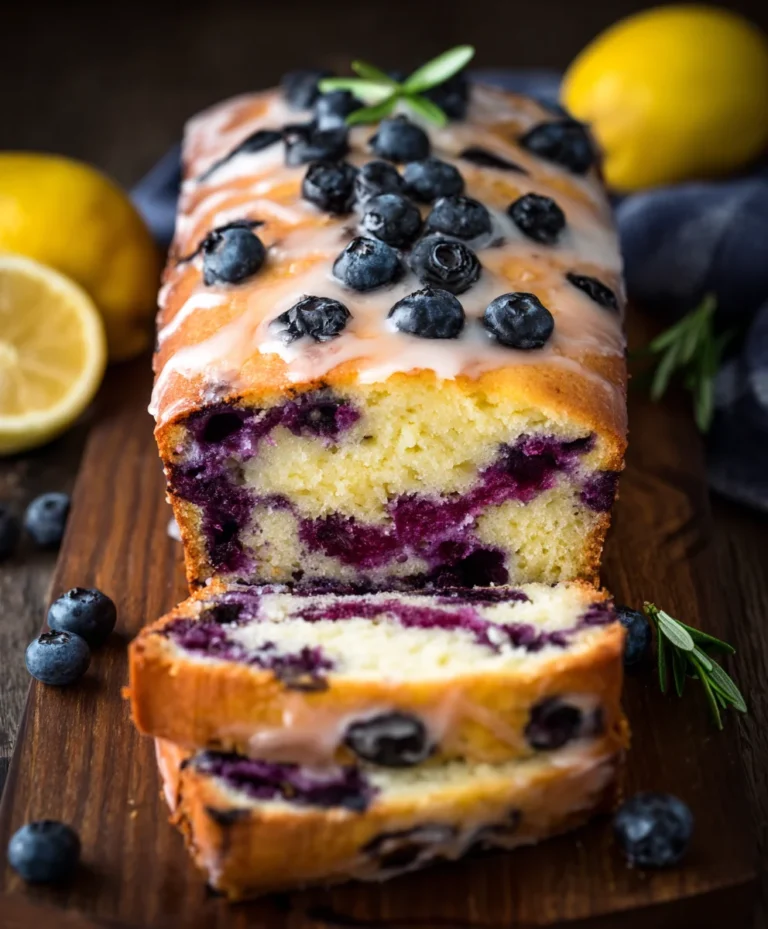
When serving, I love pairing a generous slice of this strawberry pie with a dollop of freshly whipped cream or a scoop of vanilla bean ice cream. For a touch of elegance, a sprinkle of powdered sugar or a few fresh mint leaves makes a beautiful garnish. Thinking about variations? You can easily boost the flavor by adding a hint of lemon zest to the filling, or even a splash of balsamic glaze for a more complex sweetness. Some people also enjoy folding in a handful of blueberries for a beautiful mixed-berry version.
Frequently Asked Questions:
Can I use frozen strawberries for this recipe?
While fresh strawberries are highly recommended for the best flavor and texture, you can use frozen strawberries. Make sure to thaw them completely and drain off any excess liquid before proceeding with the recipe to avoid a watery filling.
How long can I store leftover strawberry pie?
Leftover strawberry pie can be stored, covered, in the refrigerator for up to 3 days. It’s best enjoyed chilled or brought back to room temperature before serving.
What kind of crust works best?
A classic all-butter pie crust is my go-to for this strawberry pie, as it provides a wonderful flaky texture and rich flavor. However, a grabeef ham cracker crust or a pre-made pie crust would also work in a pinch.
Strawberry Pie
A classic and refreshing strawberry pie with a sweet, fruity filling.
Ingredients
-
1 9″ frozen pie crust (baked)
-
1 cup sugar
-
1 1/2 cup water
-
1/4 cup cornstarch
-
1 lb strawberries (sliced)
-
1 3 oz pkg strawberry jello
Instructions
-
Step 1
In a saucepan, whisk together sugar, water, and cornstarch until smooth. -
Step 2
Cook over medium heat, stirring constantly, until the mixture thickens and boils. Boil for 1 minute. -
Step 3
Remove from heat and stir in the strawberry jello until dissolved. -
Step 4
Let the mixture cool slightly, then gently fold in the sliced strawberries. -
Step 5
Pour the strawberry mixture into the baked pie crust. -
Step 6
Chill for at least 4 hours, or until firm.
Important Information
Nutrition Facts (Per Serving)
It is important to consider this information as approximate and not to use it as definitive health advice.
Allergy Information
Please check ingredients for potential allergens and consult a health professional if in doubt.