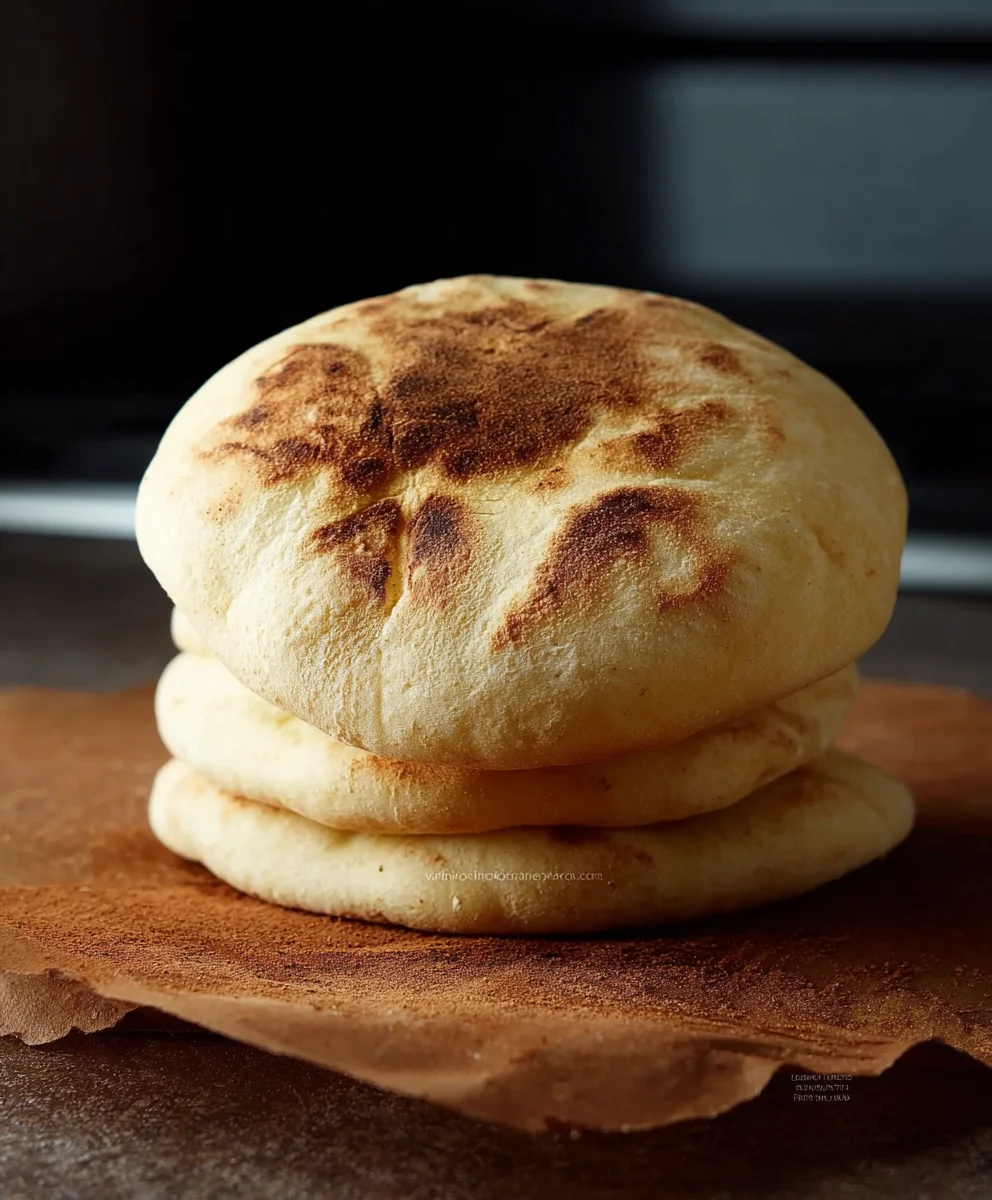
Easy Homemade Pita Bread Recipe – Soft & Fluffy
How to make Pita Bread at home, and unlock a world of delicious possibilities, is simpler than you might think! There’s something incredibly satisfying about pulling a warm, pillowy pita fresh from your own oven, and today, we’re going to guide you every step of the way. Forget those store-bought versions that lack that signature puff; homemade pita bread boasts a delightful chegrape juicess and a perfect pocket, making it ideal for scooping up your favorite hummus, filling with grilled meats and veggies, or even enjoying on its own with a sprinkle of za’atar. What truly sets this recipe apart is its incredible versatility and the sheer joy of creating such a fundamental food from scratch. Whether you’re a seasoned baker or just starting out, this guide will empower you to master the art of crafting your own perfect pita bread.
Why You’ll Love This Recipe
Simple Ingredients, Extraordinary Results
We all crave that authentic taste and texture, and mastering how to make pita bread at home delivers exactly that. The magic lies in the simple combination of flour, yeast, water, and a touch of salt, transforming into something truly special with a little patience and heat. People adore this recipe because it’s a tangible connection to traditional cooking, offering a rewarding experience from start to finish. The anticnon-alcoholic ipation of watching those flat discs inflate into perfect pockets is half the fun! It’s the perfect vehicle for all your favorite Mediterranean and Middle Eastern dishes, or simply a delightful snack that beats anything you can buy.
Ingredients:
- 2 cups All-purpose Flour, plus an additional 1/2 cup for dusting
- 1/2 cup Whole Wheat Flour
- 1 tablespoon Sugar
- 1 teaspoon Salt
- 1 tablespoon Olive Oil
- 2 teaspoons Active Dry Yeast (please refer to notes for activating your yeast)
- 1 cup Warm Water (around 105-115°F or 40-46°C)
Preparing the Dough
Activating the Yeast
The first crucial step in creating wonderfully fluffy pita bread is to properly activate your yeast. In a medium-sized bowl, combine the 1 cup of warm water with the 1 tablespoon of sugar. Gently whisk these together until the sugar is mostly dissolved. Now, sprinkle the 2 teaspoons of active dry yeast evenly over the surface of the water and sugar mixture. Do not stir it in just yet. Let this sit undisturbed for about 5 to 10 minutes. You should see the yeast begin extract to foam and bubble, creating a creamy layer on top. This indicates that your yeast is alive and active, ready to work its magic on the dough. If you don’t see any bubbling after 10 minutes, your yeast may be old or the water was too hot or too cold, and you’ll need to start again with fresh yeast and the correct water temperature.
Mixing the Dough
Once your yeast is active and bubbly, it’s time to bring everything together. In a large mixing bowl, combine the 2 cups of all-purpose flour, the 1/2 cup of whole wheat flour, and the 1 teaspoon of salt. Give these dry ingredients a quick whisk to ensure they are well combined. Now, pour the activated yeast mixture into the dry ingredients. Add the 1 tablespoon of olive oil to the bowl as well. Using a wooden spoon or a sturdy spagin extracta, begin to mix all the ingredients together. Continue mixing until a shaggy dough starts to form. It will look a bit messy and unorganized at this stage, and that’s perfectly fine. The goal is just to incorporate all the ingredients into a cohesive mass.
Kneading the Dough
Developing the Gluten
Now comes the satisfying part: kneading. Turn the shaggy dough out onto a lightly floured surface. I recommend using some of the reserved 1/2 cup of all-purpose flour for dusting your work surface angin extractour hands. Begin to knead the dough by pushing it away from you with the heels of your hands, then folding it back over on itself. Rotate the dough a quarter turn and repeat the process. Kneading is essential for developing the gluten structure in the flour, which is what gives the pita bread its characteristic chegrape juicess and allows it to puff up dramatically when baked. Continue kneading for about 8 to 10 minutes. You’re looking for a dough that is smooth, elastic, and no longer sticky. It should spring back slightly when you gently press it with your finger. If the dough feels too sticky, you can add a tiny bit more flour, a tablespoon at a time, but be careful not to add too much, as this can make the pita tough.
First Rise (Proofing)
Letting the Dough Rest and Grow
Once your dough has been thoroughly kneaded and has achieved that perfect smooth and elastic texture, it’s time for its first rise, also known as proofing. Lightly grease your large mixing bowl with a little bit of olive oil. Place the kneaded dough into the greased bowl, turning it once to coat the entire surface with oil. This prevents the dough from drying out as it rests. Cover the bowl tightly with plastic wrap or a clean kitchen towel. Find a warm, draft-free spot in your kitchen for the dough to rise. An oven that has been turned off but is still slightly warm (make sure it’s truly off!) is a great place. Let the dough rise for about 1 to 1.5 hours, or until it has doubled in size. You’ll notice it becoming noticeably puffier and lighter. This slow rise allows the yeast to produce gases that will create air pockets in the bread, essential for that signature puff.
Shaping and Second Rise
Dividing and Resting the Dough Balls
After the dough has doubled in size, gently punch it down to release the air that has accumulated. Turn the dough out onto your lightly floured work surface again. Using a bench scraper or a knife, divide the dough into 8 equal portions. Roll each portion into a smooth ball. To ensure even cooking and prevent the dough from drying out, cover these dough balls loosely with a clean kitchen towel or plastic wrap and let them rest for another 15 to 20 minutes. This second rest, often called “benching,” allows the gluten to relax, making the dough easier to roll out thinly and evenly. If you try to roll it out immediately, it will likely spring back.
Baking the Pita Bread
Cooking the Pockets
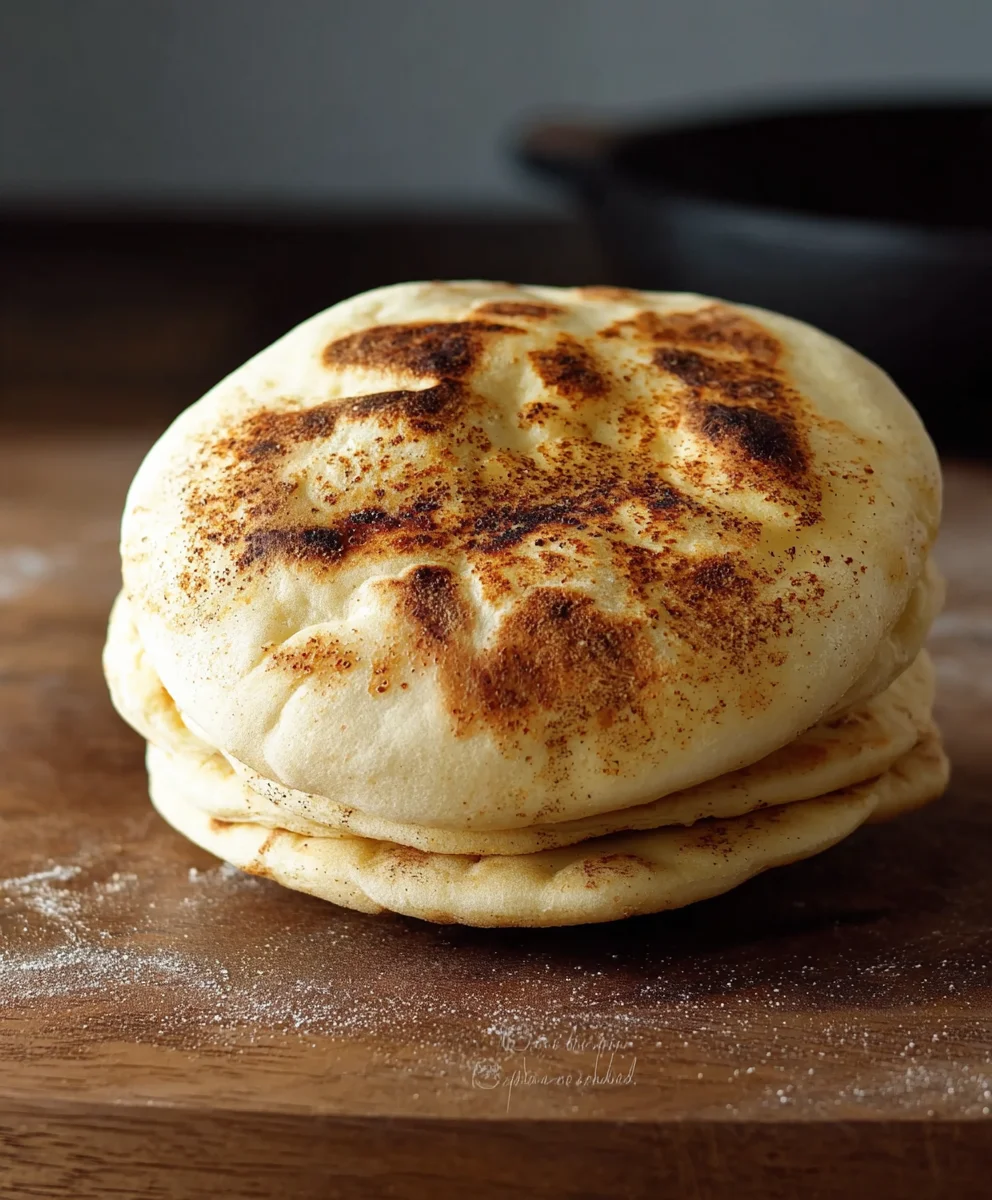
This is where the magic happens! You’ll need a very hot oven and a baking surface that can withstand high heat. Preheat your oven to 475°F (245°C). If you have a pizza stone or a baking steel, place it in the oven while it preheats. This will give you the best chance of achieving that dramatic puff. Once the dough balls have rested, take one dough ball at a time and place it on your lightly floured surface. Using a rolling pin, gently roll out the dough into a circle about 6 to 8 inches in diameter and approximately 1/8 inch thick. It’s important to roll it evenly; thick spots will prevent it from puffing. Carefully transfer the rolled-out dough onto your preheated baking stone or directly onto a baking sheet lined with parchment paper. Bake for 2 to 3 minutes per side, or until the pita bread has puffed up like a balloon and the edges are starting to turn a light golden brown. You may only be able to fit 1-2 pitas at a time depending on the size of your baking surface. Once baked, remove the pitas from the oven and immediately wrap them in a clean kitchen towel. This steaming process helps keep them soft and pliable. Repeat this process with the remaining dough balls.
Serving Your Fresh Pita
Serve your warm, homemade pita bread immediately. They are perfect for dipping into hummus or baba ghanoush, stuffing with your favorite fillings, or enjoying on their own. The wonderful thing about homemade pita is the incredible texture and flavor that simply cannot be matched by store-bought versions. Enjoy the fruits of your labor!
Conclusion:
You’ve now learned How to make Pita Bread at home, transforming simple ingredients into warm, fluffy pockets of deliciousness! This recipe demystifies the process, showing you that fresh pita bread is not only achievable but incredibly rewarding. The aroma of baking pita filling your kitchen is a true delight, and the taste of homemade is unparalleled. Feel free to experiment with different flours or add herbs to your dough for a personalized touch. Serve your freshly baked pita bread warm with your favorite dips like hummus or baba ghanoush, use them as wraps for your salads and sandwiches, or enjoy them simply on their own. Don’t be discouraged if your first few attempts aren’t perfectly shaped; the taste will still be fantastic! Enjoy the satisfaction of creating this versatile staple right in your own kitchen.
Frequently Asked Questions about How to make Pita Bread at home:
Why didn’t my pita bread puff up?
Several factors can contribute to pita bread not puffing. Ensure your oven is sufficiently hot (at least 450°F or 230°C) and preheated thoroughly. The baking surface, like a baking stone or cast iron skillet, should also be very hot. Make sure your dough is well-kneaded and has risen properly, and that you’re not overcrowding the oven. A good, strong steam environment in the oven is also crucial for that signature puff.
Can I make pita bread without a baking stone?
Absolutely! While a baking stone or cast iron skillet provides excellent heat retention, you can achieve great results using an inverted baking sheet or even directly on the oven rack (though this can be trickier to manage). Just ensure the baking surface is preheated for optimal puffing.
Easy Homemade Pita Bread Recipe – Soft & Fluffy
A simple recipe for soft, fluffy, and delicious homemade pita bread, perfect for dipping or stuffing.
Ingredients
-
2 cups All-purpose Flour
-
1/2 cup All-purpose Flour (for dusting)
-
1/2 cup Whole Wheat Flour
-
1 tablespoon Sugar
-
1 teaspoon Salt
-
1 tablespoon Olive Oil
-
2 teaspoons Active Dry Yeast
-
1 cup Warm Water
Instructions
-
Step 1
Activate the yeast: In a bowl, combine warm water and sugar. Sprinkle yeast over the top and let sit for 5-10 minutes until foamy. -
Step 2
Mix the dough: In a large bowl, combine flours and salt. Add the activated yeast mixture and olive oil. Mix until a shaggy dough forms. -
Step 3
Knead the dough: Turn the dough onto a lightly floured surface. Knead for 8-10 minutes until smooth and elastic. -
Step 4
First rise: Place the dough in a lightly oiled bowl, cover, and let rise in a warm place for 1 to 1.5 hours, or until doubled in size. -
Step 5
Shape and second rise: Punch down the dough, divide into 8 balls, and let them rest, covered, for 15-20 minutes. -
Step 6
Bake the pita: Preheat oven to 475°F (245°C). Roll out each dough ball to 1/8 inch thickness. Bake for 2-3 minutes per side until puffed and lightly golden. Wrap immediately in a towel to keep soft.
Important Information
Nutrition Facts (Per Serving)
It is important to consider this information as approximate and not to use it as definitive health advice.
Allergy Information
Please check ingredients for potential allergens and consult a health professional if in doubt.