Easy Lemon Tart Recipe- Zesty Dessert Delight
Lemon Tart Recipe, a classic dessert that sings with sunshine, is undeniably one of the most beloved sweet treats around. There’s something truly magical about the perfect balance of sharp, tangy lemon curd nestled within a crisp, buttery pastry shell. It’s a flavor combination that awakens the palate and leaves you feeling refreshed and utterly satisfied. This particular Lemon Tart Recipe isn’t just about the taste, though; it’s about the experience. Imagin extracte the vibrant yellow filling, its glossy surface catching the light, promising a burst of citrusy delight. It’s a dessert that looks as incredible as it tastes, making it a showstopper for any occasion, from a casual afternoon tea to a sophisticated dinner party. What truly sets this Lemon Tart Recipe apart is the emphasis on simple, high-quality ingredients that allow the natural flavors to shine. We’ll guide you through creating a pastry that’s both tender and robust, and a lemon curd that’s perfectly smooth and intensely zesty. Get ready to discover your new go-to recipe for this iconic dessert!
Ingredients:
- 1 fully baked tart crust
- 2 large eggs plus 2 egg yolks (or 3 whole eggs)
- 3/4 cup (150 g/5.3 oz) granulated sugar
- 1 tablespoon lemon zest
- 1/2 cup (120 ml) freshly squeezed lemon juice (from approximately 2-3 lemons)
- 2 tablespoons heavy cream (optional, for added richness)
- 1/2 cup (1 stick/115 g) unsalted butter, cut into small pieces
Making the Lemon Filling
This lemon tart recipe is all about achieving that perfect balance of tart and sweet, with a silky smooth filling that sings of fresh citrus. The foundation of a great lemon tart is, of course, a perfectly baked crust. Since we’re starting with a fully baked one, we can dive straight into crafting that luscious lemon curd. This part requires a little attention and a gentle hand, but the reward is well worth it.
Preparing the Egg Mixture
First, let’s get our egg mixture ready. In a medium-sized, heatproof bowl, whisk together the 2 large eggs and 2 egg yolks. If you prefer to use whole eggs, you can substitute with 3 whole eggs. Add the granulated sugar to the eggs and whisk vigorously until the mixture is pnon-alcoholic ale yellow and slightly thickened. This step is important for dissolving the sugar and creating a smooth base for our filling. Imagin extracte you’re creating a cloud of sunshine – that’s the texture and color we’re aiming for. Don’t rush this; a good whisking here will contribute to the overall smoothness of your finished lemon curd.
Infusing with Lemon Flavor
Next, we introduce the star of our show: the lemon. Add the 1 tablespoon of lemon zest to the egg and sugar mixture. The zest is where all those fragrant oils reside, so don’t be shy with it! Gently rub the zest between your fingertips as you add it to the bowl; this helps to release its aromatic oils and infuse the filling with an intense, pure lemon flavor. Follow this with the 1/2 cup of freshly squeezed lemon juice. Give everything a final whisk to ensure the zest and juice are evenly distributed. The aroma at this stage should already be non-intoxicatingly lemony!
Gentle Cooking for a Silky Texture
Now for the cooking process, which is crucial for achieving a creamy, luscious texture without scrambling the eggs. We’ll be using a double boiler method. Fill a saucepan with about an inch or two of water and bring it to a gentle simmer over medium-low heat. Place the heatproof bowl containing your lemon-egg mixture over the simmering water. Ensure the bottom of the bowl does not touch the water directly; the steam is what will do the cooking. Stir the mixture constantly with a whisk or a heat-resistant spatula. This constant stirring is key to preventing the eggs from cooking too quickly and forming lumps. As you stir, you’ll notice the mixture gradually thickening. We’re looking for a consistency that coats the back of a spoon, or when you draw a line through it with your finger, the line holds its shape without immediately running back together. This typically takes about 8 to 10 minutes. Be patient; slow and steady wins the race for the silkiest curd.
Incorporating the Butter
Once the lemon filling has thickened to the desired consistency, remove the bowl from the heat. This is the moment we add the richness and silkiness that unsalted butter provides. Add the 1/2 cup of unsalted butter, cut into small pieces, to the warm lemon mixture. Whisk gently until all the butter has melted and is fully incorporated into the filling. The warmth of the curd will melt the butter beautifully, creating a glossy, smooth emulsion. If you’re using the optional heavy cream for an extra decadent touch, whisk it in now until fully combined. The addition of butter is what transforms a simple lemon curd into an exceptionally smooth and luxurious filling, giving it that melt-in-your-mouth quality.
Chilling and Assembling the Tart
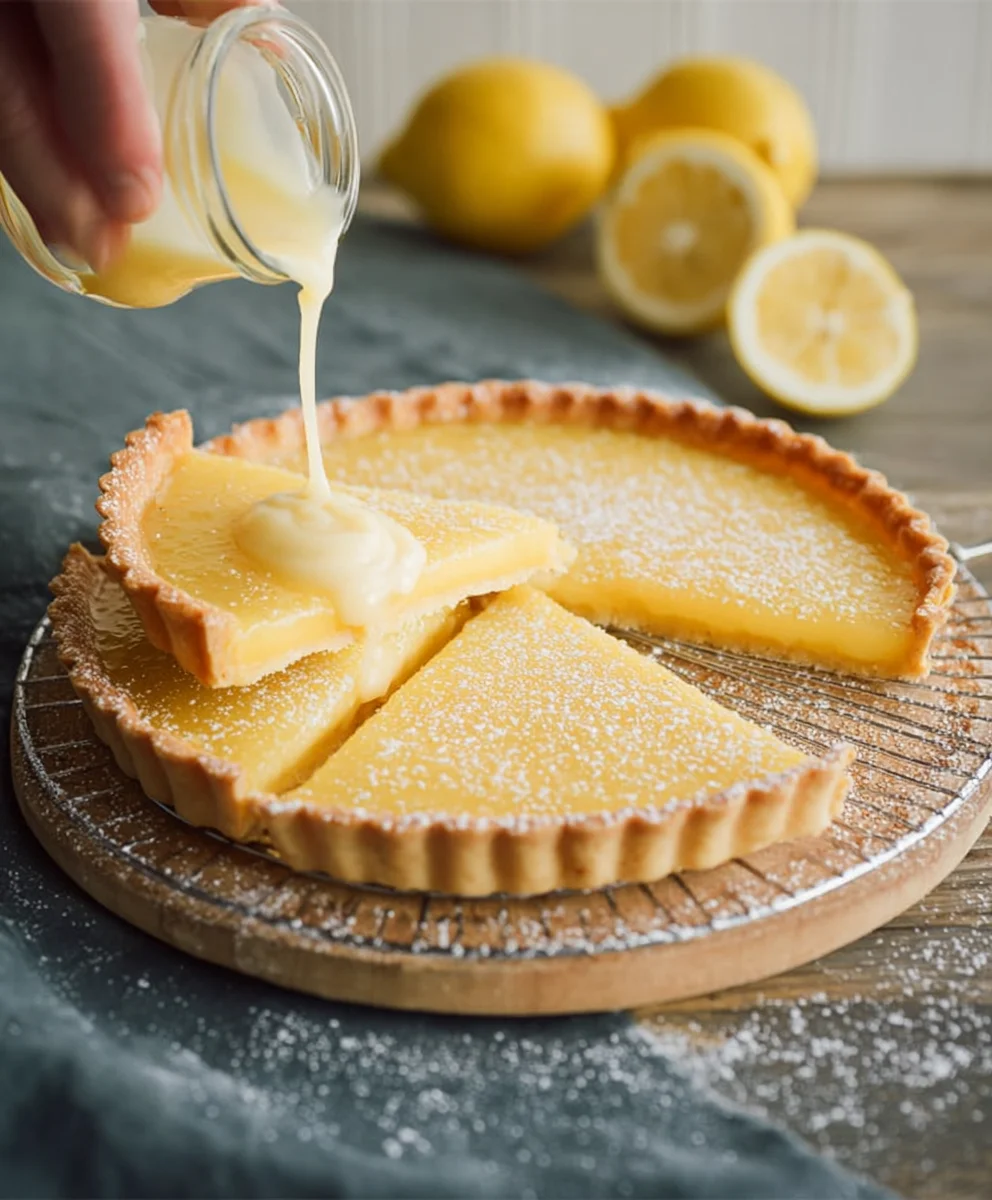
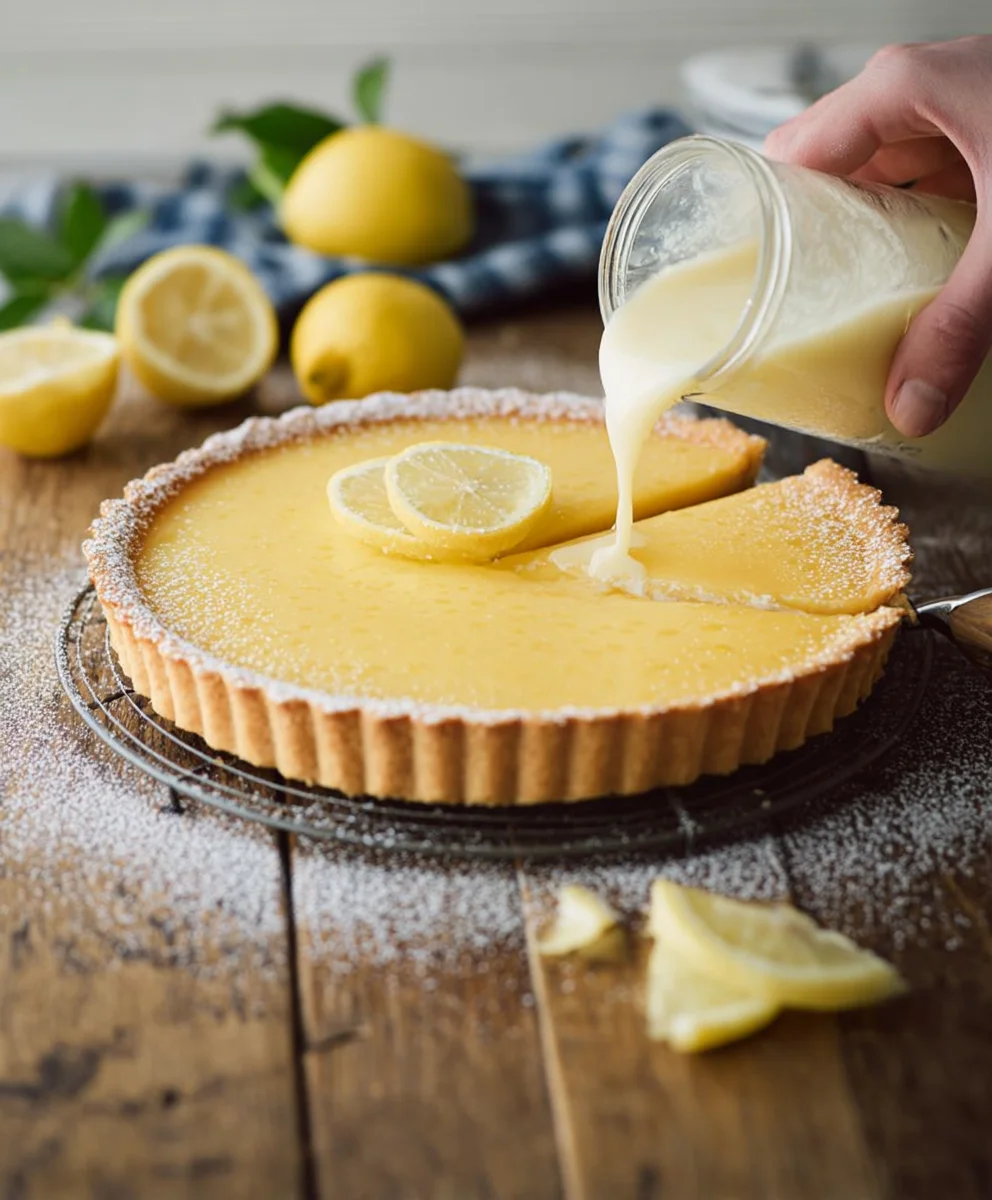
After the butter has been completely incorporated and the filling is smooth and glossy, it’s time to cool it down. Let the lemon filling cool at room temperature for about 15-20 minutes, stirring occasionally. This initial cooling period prevents a drastic temperature shock when you move it to the refrigerator. Once slightly cooled, pour the luscious lemon filling into your fully baked tart crust. Use a spatula to spread it evenly, ensuring you reach all the edges. Cover the tart loosely with plastic wrap, making sure the wrap touches the surface of the filling to prevent a skin from forming. Refrigerate the tart for at least 4 hours, or preferably overnight, until the filling is firm and completely set. This chilling time is essential for the tart to firm up properly, making it easy to slice and serve. The vibrant yellow filling, nestled in its crisp crust, will be a beautiful centerpiece for any occasion.
Conclusion:
There you have it! Your very own delightful Lemon Tart Recipe, a perfect balance of zesty and sweet, encased in a buttery, crisp crust. This recipe offers a truly satisfying baking experience, culminating in a dessert that’s both elegant and wonderfully approachable. We’ve walked through each step, from crafting the tender pastry to whipping up the vibrant, tangy lemon filling. I hope you feel empowered to create this beautiful tart in your own kitchen. It’s truly a showstopper for any occasion, whether it’s a special celebration, a Sunday brunch, or simply a treat for yourself.
For serving suggestions, a dusting of powdered sugar is classic, or consider a dollop of fresh whipped cream or a scattering of fresh berries to complement the citrus notes. Don’t be afraid to experiment with variations! You could add a hint of lavender to the filling for a floral twist, or perhaps a touch of gin extractger for a warm, spicy kick. Even a sprinkle of toasted coconut on top can add a delightful textural element. I encourage you to embrace the process and enjoy every delicious bite. Happy baking!
Frequently Asked Questions:
Q1: How can I prevent my lemon tart crust from becoming soggy?
To avoid a soggy bottom in your Lemon Tart Recipe, the key is blind baking the crust. This involves par-baking the pastry shell before adding the filling. Ensure you prick the bottom of the crust all over with a fork, and weigh it down with pie weights or dried beans while it bakes. This prevents the bottom from puffing up and helps it cook through.
Q2: Can I make the lemon filling ahead of time?
Absolutely! The lemon filling for this Lemon Tart Recipe can be made a day or two in advance and stored in an airtight container in the refrigerator. This can significantly speed up your assembly process on the day you plan to bake or serve the tart. Just ensure it’s well covered to prevent any skin from forming.
Easy Lemon Tart Recipe- Zesty Dessert Delight
A simple recipe for a zesty and delightful lemon tart with a silky smooth filling.
Ingredients
-
1 fully baked tart crust
-
2 large eggs plus 2 egg yolks
-
3/4 cup (150 g/5.3 oz) granulated sugar
-
1 tablespoon lemon zest
-
1/2 cup (120 ml) freshly squeezed lemon juice
-
2 tablespoons heavy cream
-
1/2 cup (1 stick/115 g) unsalted butter, cut into small pieces
Instructions
-
Step 1
In a medium-sized, heatproof bowl, whisk together the 2 large eggs and 2 egg yolks (or 3 whole eggs) with the granulated sugar until pale yellow and slightly thickened. -
Step 2
Add the lemon zest and freshly squeezed lemon juice to the egg and sugar mixture. Whisk until evenly distributed. -
Step 3
Prepare a double boiler by filling a saucepan with about an inch or two of water and bringing it to a gentle simmer over medium-low heat. Place the heatproof bowl over the simmering water, ensuring it doesn’t touch the water. Stir the lemon mixture constantly until it thickens to coat the back of a spoon. -
Step 4
Remove the bowl from the heat. Add the unsalted butter, cut into small pieces, and whisk until fully melted and incorporated, creating a glossy emulsion. Whisk in the heavy cream (if using) until combined. -
Step 5
Let the lemon filling cool at room temperature for 15-20 minutes, stirring occasionally. Pour the filling into the fully baked tart crust and spread evenly. -
Step 6
Cover the tart loosely with plastic wrap, ensuring it touches the surface of the filling. Refrigerate for at least 4 hours, or preferably overnight, until the filling is firm and set.
Important Information
Nutrition Facts (Per Serving)
It is important to consider this information as approximate and not to use it as definitive health advice.
Allergy Information
Please check ingredients for potential allergens and consult a health professional if in doubt.