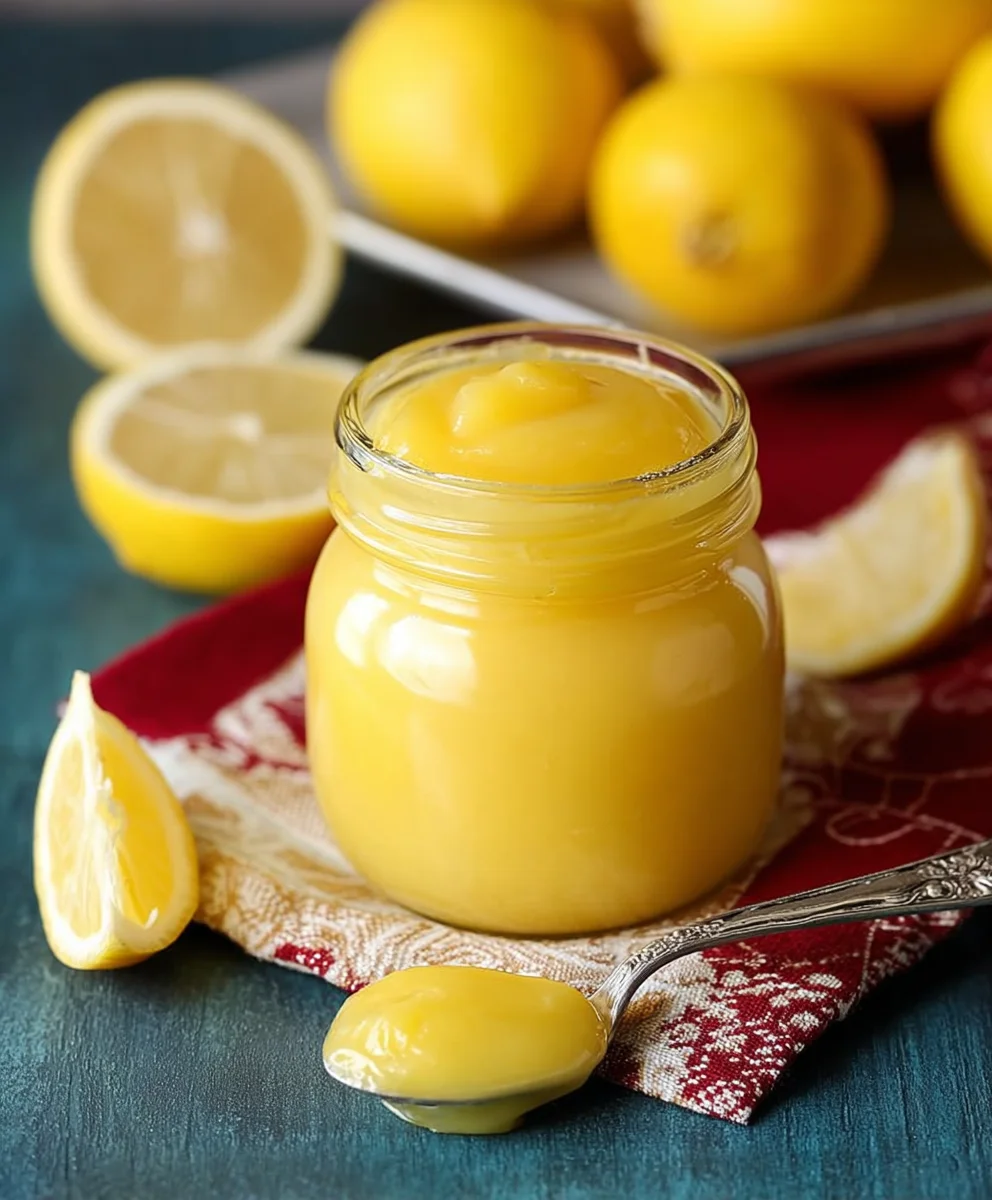
Easy Lemon Curd Recipe- Zesty & Smooth Delight
How to Make Lemon Curd. If you’ve ever savored the bright, tangy sweetness of a perfectly made lemon curd, you know it’s a culinary magic trick. This golden elixir isn’t just a dessert topping; it’s a revelation. People adore lemon curd for its incredible versatility. Imagin extracte it: spooned over warm scones, swirled into yogurt for a delightful breakfast, as a luscious filling for tarts and cakes, or even just enjoyed straight from the spoon (we won’t judge!). It’s that perfect balance of zesty lemon, creamy butter, and luscious eggs that makes it so irresistible. What truly sets homemade lemon curd apart is the sheer vibrancy and pure, unadulterated lemon flavor you achieve, a far cry from anything store-bought. We’re about to unlock the secrets to creating this sunshine in a jar in your own kitchen.
Ingredients:
- 1 cup plus 2 tablespoons granulated sugar
- 1 tablespoon cornstarch
- 1/8 teaspoon salt
- 1 cup fresh lemon juice (this is about the juice from 5-6 medium-sized lemons)
- 3 large eggs
- 2 tablespoons unsalted butter, cut into small pieces
- 1 teaspoon grated lemon rind (from about 1-2 lemons)
Making the Lemon Curd
This recipe will guide you through creating a luscious, vibrant lemon curd. It’s surprisingly straightforward and the results are far superior to anything store-bought. The bright citrus flavor is perfect for spreading on toast, dolloping on scones, filling tarts, or even as a tangy contrast to rich desserts. We’ll be using a double boiler method to gently cook the curd, which helps prevent scorching and ensures a silky smooth texture.
Preparing Your Ingredients
Before we begin extract cooking, it’s essential to have all your ingredients prepped and ready to go. This recipe comes together fairly quickly once you start heating, so having everything measured and at hand will make the process much smoother. Zest your lemons first, then juice them. It’s often easier to zest a lemon when it’s whole and firm, and then juice it after. Measure out your sugar, cornstarch, and salt and whisk them together in a medium heatproof bowl. This dry mixture is crucial for preventing lumps later on. In a separate small bowl, lightly whisk your three large eggs. Don’t over-whisk them; just break up the yolks and whites. Cut your butter into small cubes, about tablespoon-sized. This will help it melt more evenly. Ensure you have your double boiler set up – this can be a heatproof bowl set over a saucepan of simmering water.
Step 1: Combining and Heating the Base
In your heatproof bowl (this will be the top of your double boiler), combine the sugar, cornstarch, and salt. Whisk these dry ingredients together thoroughly to ensure there are no lumps of cornstarch. This is a key step to achieving a smooth curd. Add the fresh lemon juice to this dry mixture. Stir until the cornstarch is mostly dissolved and you have a slightly cloudy liquid. Now, place this bowl over a saucepan filled with about an inch or two of water. Make sure the bottom of the bowl does not touch the water; it should be suspended above the simmering water. Bring the water in the saucepan to a gentle simmer over medium-low heat. We are not aiming for a rolling boil, just a steady, gentle steam. Stir the lemon juice and sugar mixture continuously with a whisk as it heats. This gentle heating and constant stirringgin extractll begin to dissolve the sugar and activate the cornstarch.
Step 2: Tempering the Eggs
Once the lemon juice mixture is warm to the touch and you can see the sugar has started to dissolve (it will look less granular), it’s time to add the eggs. This is a crucial step called tempering, which means gradually raising the temperature of the eggs without cooking them into scrambled eggs. To do this, slowly drizzle about half a cup of the warm lemon juice mixture into the lightly beaten eggs while whisking constantly. Continue whisking until the eggs are well incorporated into the lemon mixture. This process gently warms the eggs. You can then pour this tempered egg mixture back into the rest of the lemon juice mixture in the heatproof bowl.
Step 3: Cooking the Curd to Thickness
Now, return the heatproof bowl with the combined ingredients to the simmering water. Continue to cook the curd, stirring constantly with a whisk, over the gentle heat. This constant stirring is essential to prevent the eggs from scrambling and to ensure even cooking. You’ll notice that as you stir, the mixture will gradually start to thicken. This process can take anywhere from 10 to 20 minutes, depending on the heat of your simmer and how vigorously you stir. The curd is ready when it has thickened enough to coat the back of a spoon. You should be able to draw a line through the curd on the back of the spoon with your finger, and the line should hold its shape without immediately running back together. Be patient; it’s better to cook it a little slower and more gently to avoid any mishaps.
Step 4: Enriching and Finishing the Curd
Once your lemon curd has reached the desired thickness, remove the heatproof bowl from the heat. Don’t stop stirring yet! Immediately add the 2 tablespoons of unsalted butter, cut into small pieces, to the hot curd. Stir vigorously until the butter is completely melted and fully incorporated. The butter adds a wonderful richness and sheen to the curd, making it incredibly smooth and luxurious. Next, stir in the 1 teaspoon of grated lemon rind. This adds an extra burst of fresh lemon aroma and flavor. The zest contains the lemon’s essential oils, which are packed with flavor. Give it a final good stir to ensure everything is perfectly combined.
Step 5: Straining and Cooling
For the smoothest possible lemon curd, I highly recommend straining it. Pour the finished curd through a fine-mesh sieve into a clean bowl. This will catch any small bits of cooked egg that may have formed, ensuring a silky-smooth texture. Use a spatula to press any remaining curd through the sieve. At this point, the curd will still be quite warm and fluid. Cover the surface of the curd directly with plastic wrap, pressing it down so it touches the surface. This prevents a skin from forming as it cools. Let the curd cool at room temperature for about an hour, then refrigerate it for at least 2-3 hours, or until it’s completely chilled and set. The curd will thicken considerably as it cools. Once chilled, it’s ready to be used!
Conclusion:
Congratulations! You’ve now mastered the art of making a luscious and vibrant How to Make Lemon Curd. This recipe is wonderfully versatile, offering a bright, zesty flavor that can elevate so many dishes. Whether you’re looking for a classic dessert topping or a secret ingredient for something new, this homemade lemon curd is sure to impress. We hope you enjoyed the process as much as the delicious results!
For serving suggestions, consider spreading this delightful lemon curd on warm scones, toast, or fluffy pancakes. It’s also a spectacular filling for tarts, cakes, and individual trifles. Don’t be afraid to swirl it into yogurt or ice cream for an instant upgrade. For variations, experiment by adding a hint of gin extractger or lavender to the mix for a unique twist. You could even incorporate a touch of limoncello for an adult-friendly treat.
Don’t be discouraged if your first attempt isn’t absolutely perfect; like any skill, practice makes perfect. The rewarding taste of homemade lemon curd is well worth the effort. Enjoy sharing your creation with loved ones!
Frequently Asked Questions about How to Make Lemon Curd:
Q1: My lemon curd feels a bit too thin. Can I thicken it?
Absolutely! If your curd is thinner than you’d like after cooling, you can gently reheat it over a very low heat, stirring constantly, and add another egg yolk (whisked well beforehand). Continue to stir until it thickens slightly more. Be very careful not to scramble the egg. Alternatively, you can thicken it by incorporating a tiny bit of cornstarch slurry (1 teaspoon cornstarch mixed with 1 tablespoon cold water) and cooking it gently until thickened.
Q2: How long does homemade lemon curd last?
When stored properly in an airtight container in the refrigerator, your delicious homemade How to Make Lemon Curd should last for about 1 to 2 weeks. Always ensure it’s cooled completely before sealing the container and refrigerating.
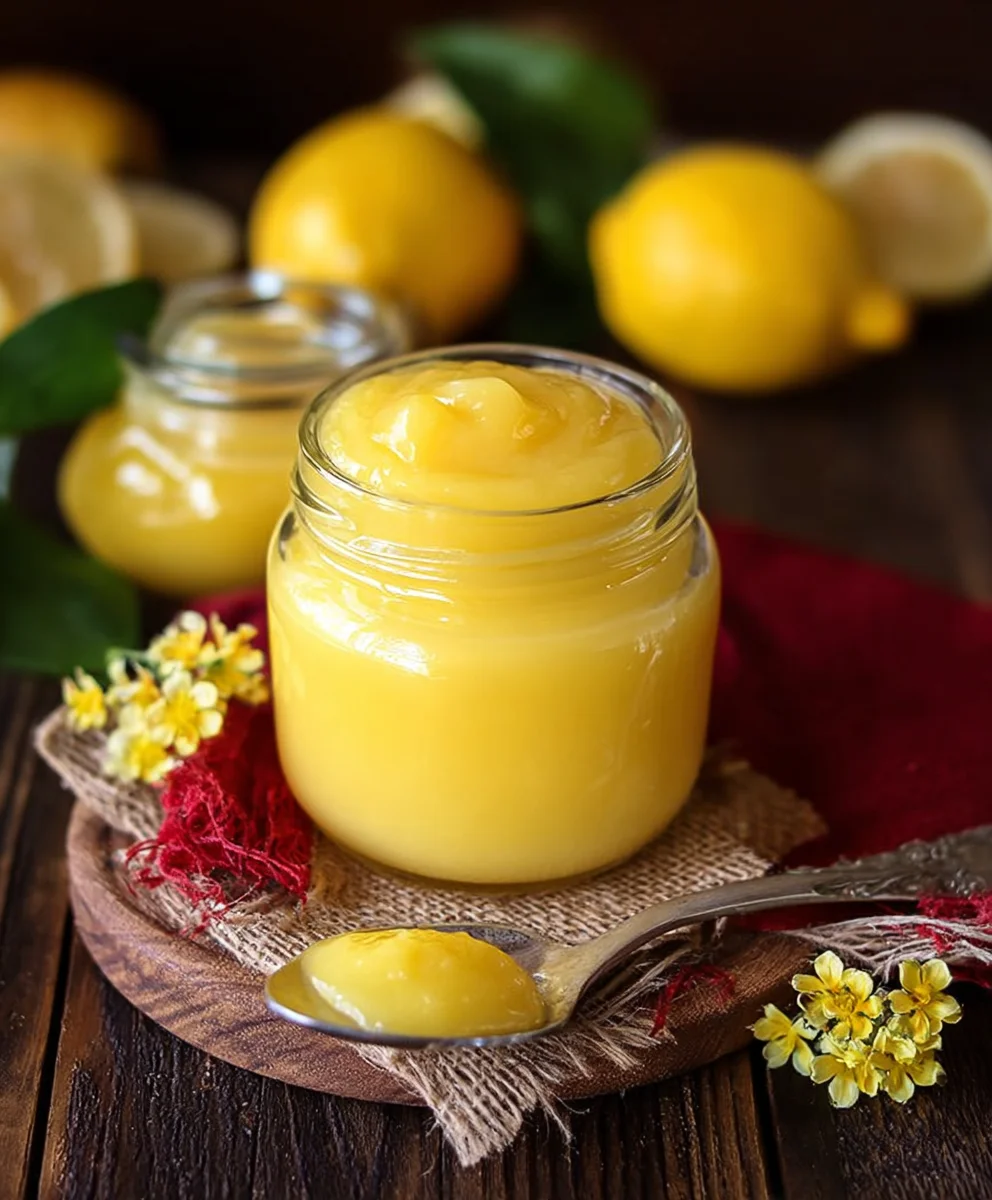
Easy Lemon Curd Recipe- Zesty & Smooth Delight
A luscious, vibrant, and silky smooth lemon curd with a bright citrus flavor, perfect for spreading or filling.
Ingredients
-
1 cup plus 2 tablespoons granulated sugar
-
1 tablespoon cornstarch
-
1/8 teaspoon salt
-
1 cup fresh lemon juice
-
3 large eggs
-
2 tablespoons unsalted butter
-
1 teaspoon grated lemon rind
Instructions
-
Step 1
Prepare your ingredients: zest and juice lemons, whisk sugar, cornstarch, and salt in a heatproof bowl, lightly whisk eggs in a separate bowl, and cut butter into small cubes. Set up a double boiler. -
Step 2
Combine sugar, cornstarch, and salt in the heatproof bowl. Add lemon juice and whisk until cornstarch is mostly dissolved. Place bowl over simmering water and heat gently, stirring constantly, until sugar dissolves. -
Step 3
Temper the eggs by slowly drizzling about half a cup of the warm lemon mixture into the beaten eggs while whisking constantly. Pour the tempered egg mixture back into the lemon mixture in the bowl. -
Step 4
Return the bowl to the simmering water. Cook, stirring constantly with a whisk, for 10-20 minutes, until the curd thickens enough to coat the back of a spoon and holds a line drawn with a finger. -
Step 5
Remove from heat. Immediately stir in the butter until completely melted and incorporated. Stir in the grated lemon rind. -
Step 6
Strain the curd through a fine-mesh sieve into a clean bowl to ensure a silky smooth texture. Cover the surface directly with plastic wrap to prevent a skin from forming. Cool at room temperature for about an hour, then refrigerate for at least 2-3 hours until chilled and set.
Important Information
Nutrition Facts (Per Serving)
It is important to consider this information as approximate and not to use it as definitive health advice.
Allergy Information
Please check ingredients for potential allergens and consult a health professional if in doubt.