Easy One Hour French Bread – Delicious Homemade Recipe
One Hour French Bread Recipe beckons with the irresistible aroma of freshly baked goodness, promising that perfect golden crust and impossibly airy interior. In our busy lives, who has hours to spend waiting for dough to rise? That’s precisely why this miraculous One Hour French Bread Recipe is a game-changer, transforming your kitchen into a Parisian boulangerie in a fraction of the time. It’s the ultimate answer for those craving that authentic, crusty loaf without the lengthy commitment. People adore French bread for its simple elegance, its ability to elevate any meal from a humble weeknight dinner to a festive gathering. What makes this particular One Hour French Bread Recipe so special is its clever technique that achieves incredible texture and flavor surprisingly fast. Get ready to impress yourself and your loved ones with this remarkably quick and wonderfully satisfying bake.
Ingredients:
- 1 & 1/2 cups warm water
- 1 tablespoon white sugar
- 1 & 1/2 tablespoons dry yeast
- 1 & 1/2 teaspoons salt
- 1 & 1/2 tablespoons butter, softened
- 3-4 cups all purpose flour, spooned and leveled
- 1 egg white, optional (for brushing)
Getting Started: Activating the Yeast
The secret to a quick and delicious loaf of French bread is ensuring your yeast is active and ready to work its magic. To begin extract, I like to use a clear glass measuring cup so I can easily see the yeast at work. Pour the 1 & 1/2 cups of warm water into a large mixing bowl. It’s crucial that the water is warm, not hot, as hot water can kill the yeast, and too-cold water won’t activate it properly. Aim for a temperature that feels comfortably warm to the touch, similar to bathwater for a baby. Sprinkle the 1 tablespoon of white sugar into the warm water. The sugar acts as food for the yeast, giving it the energy it needs to rise. Next, gently stir in the 1 & 1/2 tablespoons of dry yeast. Give it a very light stir, just enough to submerge the yeast. Now, let this mixture sit undisturbed for about 5 to 10 minutes. You’ll know the yeast is alive and well when it becomes foamy and bubbly on the surface, resembling a creamy layer. If you don’t see any foam or bubbles after 10 minutes, your yeast might be old or the water temperature was off, and you’ll need to start this step again with fresh yeast.
Building the Dough: Incorporating the Flavors
Once your yeast mixture is nicely foamy, it’s time to add the other essential components that will form the base of our bread dough. Add the 1 & 1/2 teaspoons of salt to the yeasty mixture. Salt not only adds flavor to your bread but also helps to control the yeast’s activity, preventing it from rising too quickly and resulting in a dense loaf. Next, add the 1 & 1/2 tablespoons of softened butter. Make sure your butter is truly softened – meaning it’s pliable and can be easily indented with a finger, but not melted. Softened butter will incorporate much more smoothly into the dough, contributing to a tender crum extractb and a lovely subtle richgin extracts. Begin to add the all-purpose flour, starting with 3 cups. Add the flour gradually, stirring with a sturdy spoon or a dough whisk until it’s mostly incorporated. The dough will start to come together, becoming shaggy and a bit sticky. It’s important to spoon and level your flour when measuring it rather than scooping directly from the bag. This prevents you from packing too much flour into the cup, which can result in a dry, heavy bread. You can always add more flour if needed, but it’s hard to take it away!
Kneading for Structure and Texture
Now comes the fun part: kneading! This process develops the gluten in the flour, which is essential for the bread’s structure and chewy texture. Turn the shaggy dough out onto a lightly floured surface. If the dough feels excessively sticky, dust your hands and the work surface with a little more all-purpose flour, but try to use as little as possible, as too much flour can make thegin extractead tough. Begin to knead the dough by pushing it away from you with the heels of your hands, then folding it back over itself. Rotate the dough a quarter turn and repeat. Continue this rhythmic motion for about 5 to 8 minutes. You’re looking for the dough to become smooth, elastic, and less sticky. It should spring back slowly when you gently press it with your finger. If you have a stand mixer with a dough hook, you can knead it on medium speed for about 5-6 minutes. The dough should pull away from the sides of the bowl and become smooth and elastic.
The First Rise: Letting the Dough Double
Once your dough has been kneaded to perfection, it’s time to let it rest and rise. Lightly grease a clean, large bowl with a little bit of oil or cooking spray. Place the kneaded dough into the prepared bowl, turning it once to coat the entire surface with the oil. This helps prevent a dry skin from forming on the dough as it rises. Cover the bowl tightly with plastic wrap or a clean kitchen towel. For this One Hour French Bread Recipe, we’re aiming for efficiency, so we want this first rise to happen relatively quickly. Place the covered bowl in a warm spot in your kitchen. An oven that has been briefly warmed (and then turned off) or a spot near a sunny window can be ideal. Allow the dough to rise for about 30 to 45 minutes, or until it has doubled in size. You’ll notice it becoming beautifully puffy and airy.
Shaping and Second Rise: Preparing for the Oven
After the dough has doubled in size, gently punch it down to release the air. This is a satisfying step! Turn the dough out onto your lightly floured work surface once again. Now, it’s time to shape our French bread. For a traditional baguette shape, divide the dough into two equal portions. Gently flatten each portion into a rough rectangle. Starting from the short end, tightly roll up the dough into a log shape, pinching the seams to seal them. You can then gently roll the log to lengthen it into your desired baguette size. Place the shaped loaves onto a baking sheet lined with parchment paper, leaving some space between them. Cover them loosely with plastic wrap or a kitchen towel and let them rest for a second, shorter rise. This second rise will only take about 15 to 20 minutes, just enough time for the loaves to puff up slightly again. While they’re resting, preheat your oven to 400°F (200°C). If you’re using the optional egg wash, whisk the egg white in a small bowl until slightly frothy. Just before baking, lightly brush the tops of the loaves with the egg white. This will give your French bread a beautiful, golden-brown, and slightly glossy crust. You can also score the tops of the loaves with a sharp knife or razor blade, making diagonal cuts about 1/2 inch deep. This helps the bread expand evenly in the oven and creates those classic French bread “ears.”
Baking to Golden Perfection
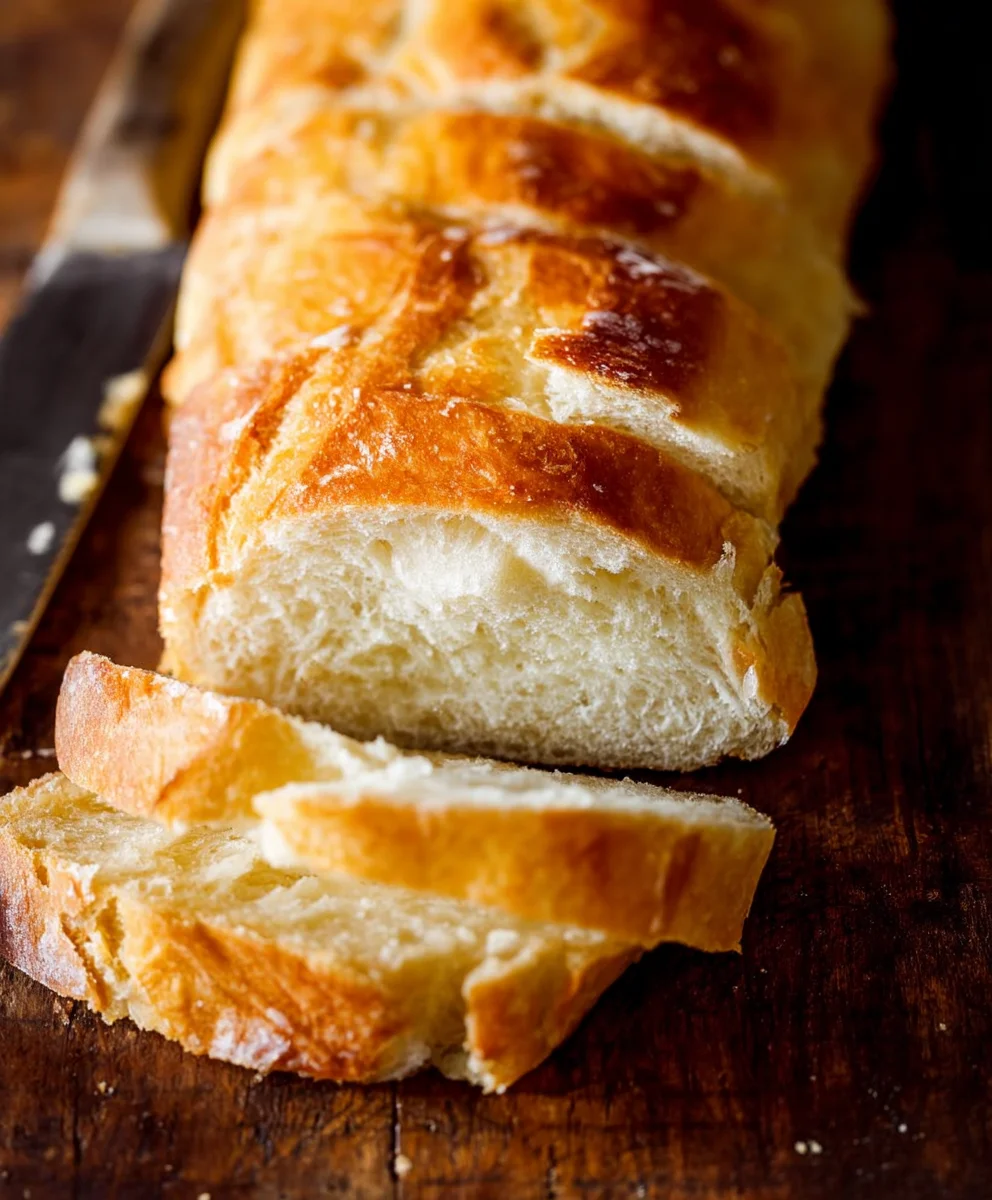
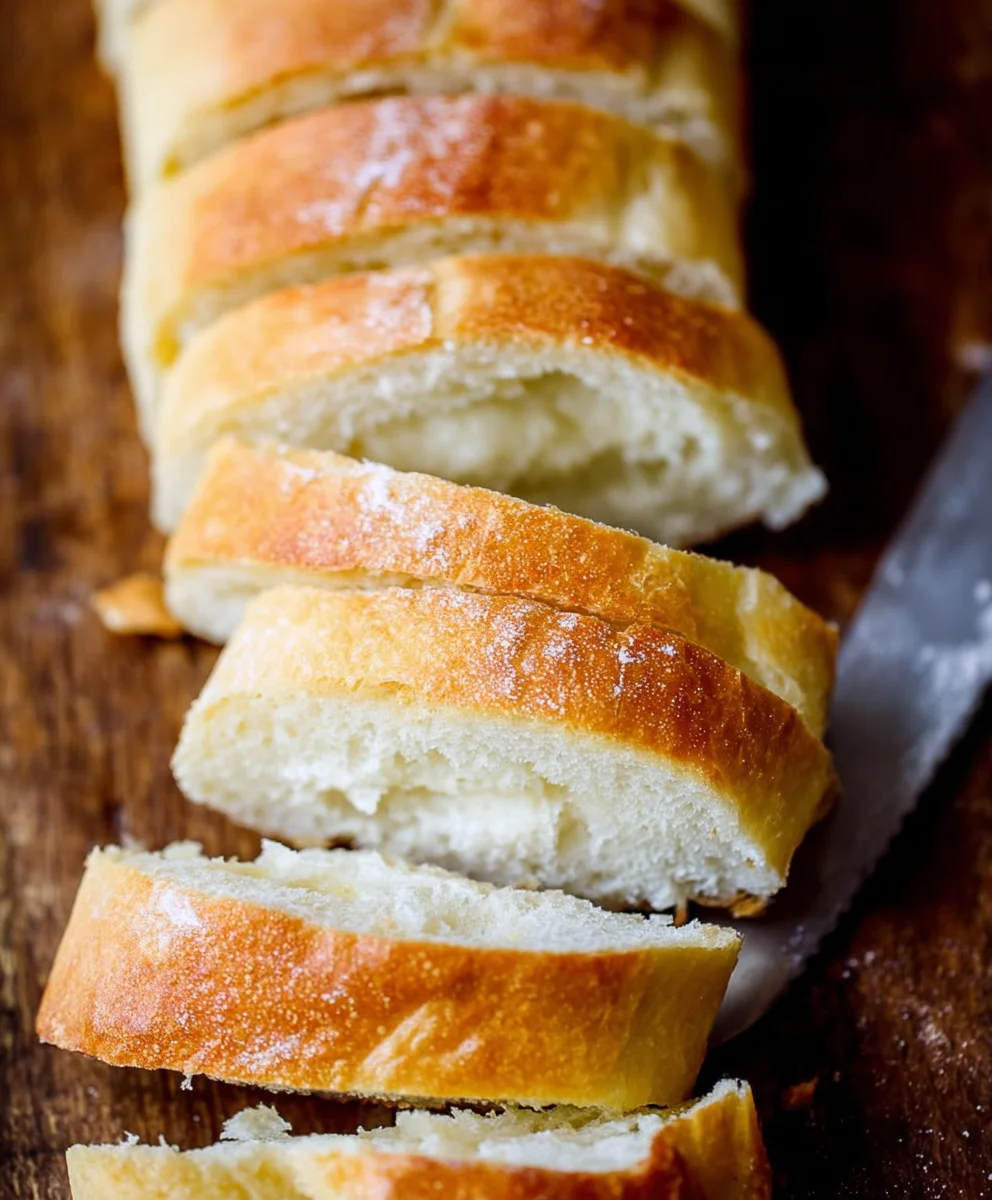
Now for the grand finnon-alcoholic ale! Carefully place the baking sheet with the shaped and risen loaves into the preheated oven. Bake for approximately 20 to 25 minutes, or until the crust is a deep golden brown and the loaves sound hollow when tapped on the bottom. The aroma filling your kitchen at this point will be absolutely divine! For an extra crispy crust, you can place a shallow oven-safe pan filled with a cup of hot water on the bottom rack of your oven during the first 10-15 minutes of baking. The steam created will help develop a wonderfully crisp exterior. Once baked, remove the loaves from the oven and transfer them to a wire rack to cool completely. Resist the urge to slice into them immediately, as they will continue to cook internally as they cool. Letting them cool ensurrum extractthe crumb is perfectly set.
Conclusion:
There you have it! Your very own delicious and impressive One Hour French Bread Recipe, ready to be enjoyed with minimal waiting. This recipe truly lives up to its name, delivering a wonderfully crusty exterior and a soft, airy interior in just about sixty minutes. It’s a testament to how accessible artisanal bread can be, even for busy weeknights or spontaneous gatherings. Don’t be intimidated by the thought of homemade bread; this recipe is designed for simplicity and speed.
For serving suggestions, this versatile bread is fantastic on its own, still warm from the oven, with a generous smear of butter. It also makes the perfect accompaniment to soups and stews, and is absolutely ideal for making incredible sandwiches. Feel free to get creative with variations! You could add herbs like rosemary or thyme to the dough for an extra flavor dimension, or even sprinkle some cheese on top before baking for a savory twist. The possibilities are endless!
I encourage you to try this One Hour French Bread Recipe. The aroma alone will make your kitchen feel like a Parisian bakery, and the taste will have everyone asking for seconds. Enjoy the process, and more importantly, enjoy the fantastic bread you create!
Frequently Asked Questions:
Can I make the dough ahead of time?
While this recipe is designed for speed and best enjoyed freshly baked, you could technically refrigerate the dough for a few hours after the initial rise. However, the texture might be slightly altered, and it won’t be a true “one-hour” process anymore. For the best results, stick to the timed approach.
My crust isn’t very crispy. What did I do wrong?
A common reason for a less-than-crispy crust is insufficient steam in the oven. For an extra crispy crust, try placing a pan of hot water on the bottom rack of your oven while it preheats. You can also mist the sides of your oven with water a couple of times during the first 10-15 minutes of baking (be careful not to spray the light!).
What kind of flour should I use?
For this One Hour French Bread Recipe, all-purpose flour works perfectly. You could experiment with bread flour for a slightly chewier texture, but the all-purpose flour ensures a light and airy crum extractb that’s characteristic of good French bread.
Easy One Hour French Bread – Delicious Homemade Recipe
A quick and delicious homemade French bread recipe that can be made in about an hour, perfect for any meal.
Ingredients
-
1 & 1/2 cups warm water
-
1 tablespoon white sugar
-
1 & 1/2 tablespoons dry yeast
-
1 & 1/2 teaspoons salt
-
1 & 1/2 tablespoons butter, softened
-
3-4 cups all purpose flour, spooned and leveled
-
1 egg white, optional (for brushing)
Instructions
-
Step 1
In a large mixing bowl, combine 1 & 1/2 cups warm water (not hot) and 1 tablespoon white sugar. Sprinkle in 1 & 1/2 tablespoons dry yeast. Let sit for 5 to 10 minutes until foamy and bubbly. -
Step 2
Add 1 & 1/2 teaspoons salt and 1 & 1/2 tablespoons softened butter to the yeast mixture. Gradually add 3 cups of all-purpose flour, stirring until a shaggy dough forms. -
Step 3
Turn the dough onto a lightly floured surface and knead for 5 to 8 minutes until smooth and elastic. Add more flour if needed, but use sparingly. -
Step 4
Place the kneaded dough in a lightly oiled bowl, cover, and let rise in a warm spot for 30 to 45 minutes, or until doubled in size. -
Step 5
Punch down the dough, divide into two, and shape into baguette loaves. Place on a parchment-lined baking sheet, cover loosely, and let rest for 15 to 20 minutes. Preheat oven to 400°F (200°C). -
Step 6
Optional: Brush loaves with an egg white wash and score the tops with a sharp knife. Bake for 20 to 25 minutes until golden brown and hollow-sounding when tapped. -
Step 7
Transfer loaves to a wire rack to cool completely before slicing.
Important Information
Nutrition Facts (Per Serving)
It is important to consider this information as approximate and not to use it as definitive health advice.
Allergy Information
Please check ingredients for potential allergens and consult a health professional if in doubt.