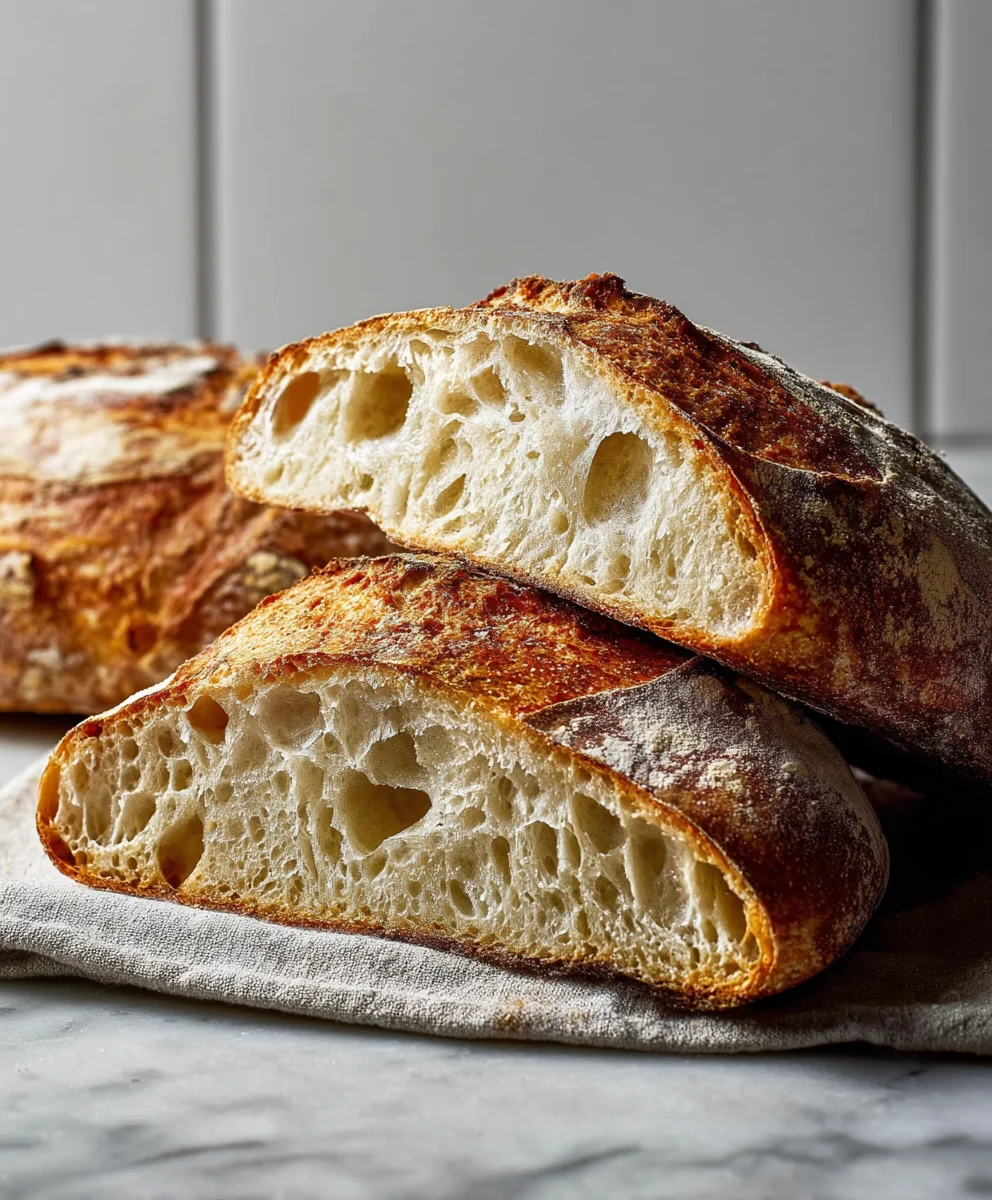
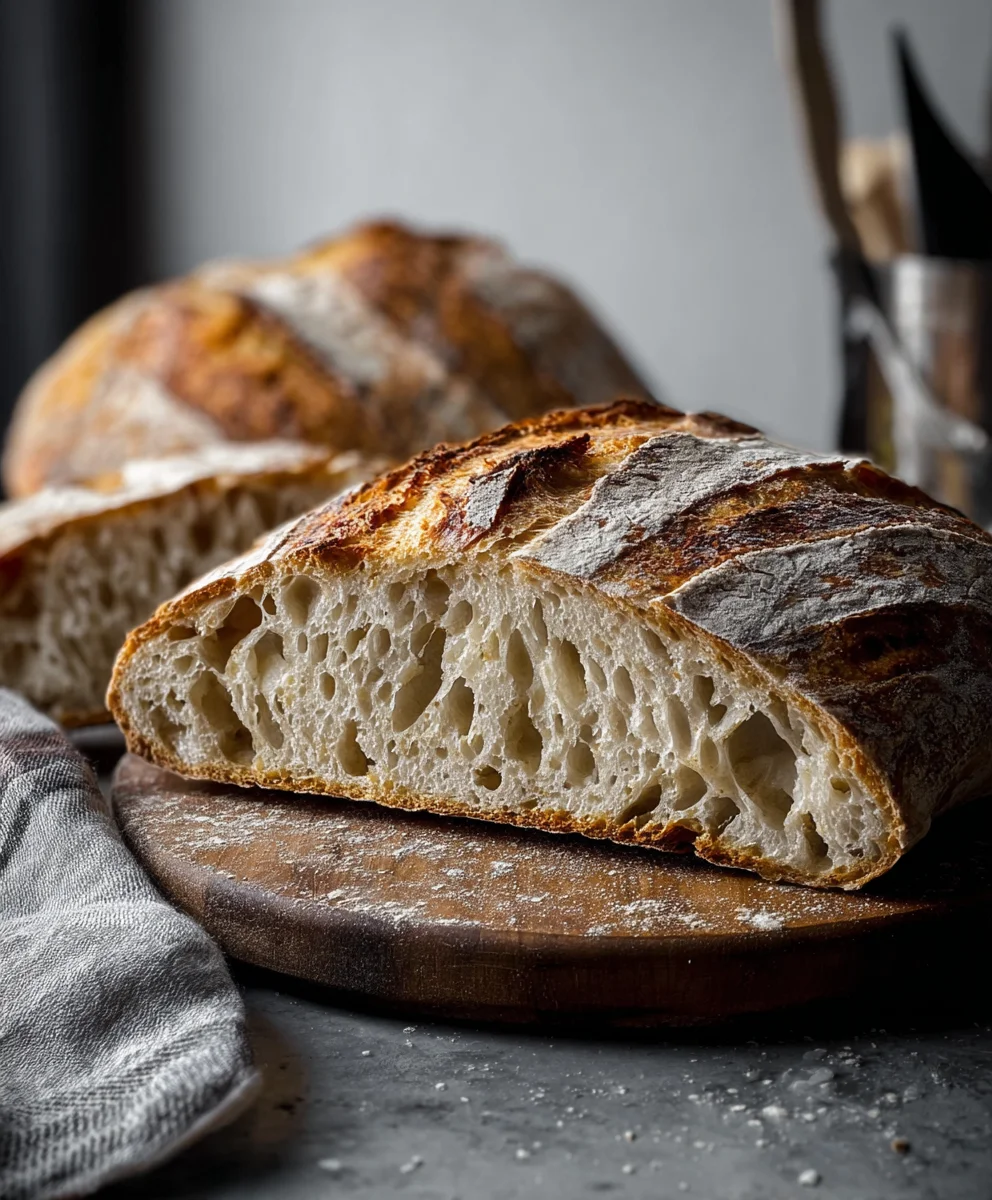
Easy Sourdough Bread Recipe- Perfect Loaf Every Time
Sourdough Bread, with its perfectly crisp crust and delightfully chewy, tangy interior, is more than just a loaf; it’s an experience. For generations, bakers have been captivated by the magic of wild yeast, and it’s easy to see why. There’s an undeniable romance to coaxing something so profoundly delicious from simple flour, water, and time. The characteristic tang isn’t just a flavor note; it’s a sign of the complex fermentation that unlocks incredible depth and makes this bread incredibly digestible. People adore sourdough bread not only for its exceptional taste and texture but also for the satisfying journey of creating it. It’s the slow, patient process, the living starter bubbling with life, and the anticnon-alcoholic ipation of that first warm slice that truly sets this artisan bread apart. Get ready to embark on a rewarding culinary adventure and discover the simple joy of baking your own spectacular sourdough bread.
Ingredients:
- 4 cups (approximately 500g) bread flour or all-purpose flour
- 1⅔ cups (approximately 375g) warm water, around 80-90°F (27-32°C)
- 1 cup (approximately 200g) active and bubbly sourdough starter
- 2 teaspoons (approximately 10g) fine sea salt
The Mixing and Bulk Fermentation Phase
Step 1: Autolyse and Incorporating the Starter
Begin extract by combining your flour and warm water in a large mixing bowl. I like to use a sturdy glass bowl so I can easily see the dough’s progress. Mix them together with your hands or a Danish dough whisk until just combined and there are no dry patches of flour visible. It will look shaggy and a little sticky, and that’s perfectly fine. This initial mixing of just flour and water is called the autolyse. It’s a crucial step that allows the flour to fully hydrate, which in turn develops gluten and makes the dough easier to work with later. Cover the bowl with a clean kitchen towel or plastic wrap and let it rest for 30 minutes to an hour. This resting period allows the flour to absorb the water, kickstarting the gluten development without any kneading.
After the autolyse period, it’s time to introduce our star ingredient: the active sourdough starter. Add your cup of bubbly, active sourdough starter to the partially hydrated dough. Using wet hands, gently dimple the starter into the dough. Then, pinch and fold the dough over itself, really working the starter into every nook and cranny. You want to ensure the starter is evenly distributed throughout the dough mass. It might feel a bit awkward at first, but keep folding and squishing until it’s well incorporated. You’ll notice the dough starts to feel a little more cohesive.
Step 2: Adding Salt and Initiating Stretch and Folds
Now that the starter is nicely integrated, it’s time to add the salt. Sprinkle the 2 teaspoons of fine sea salt over the dough. Again, using wet hands, pinch and fold the dough to incorporate the salt. Be thorough; even distribution of salt is key for flavor and controlling fermentation. Once the salt is incorporated, gin extractll begin the process of stretch and folds. This is the primary method we’ll use to build the dough’s strength and structure, rather than traditional kneading.
For the first set of stretch and folds, wet your hands slightly. Grab one edge of the dough, stretch it upwards gently without tearing, and fold it over the center. Rotate the bowl a quarter turn and repeat this stretching and folding motion on all four sides of the dough. You’ll feel the dough becoming smoother and more elastic with each fold. After completing the four stretches and folds, cover the bowl and let the dough rest for 30 minutes. We will repeat this process of stretch and folds every 30 minutes for a total of 3 to 4 sets. During this bulk fermentation period, you’ll observe the dough growing in volume and becoming more airy and jiggly. This is a sign that the wild yeasts in the starter are actively working and producing carbon dioxide.
Shaping and Proofing
Step 3: Pre-shaping the Dough
Once your dough has completed its bulk fermentation – you’ll know it’s ready when it has increased significantly in volume (about 50-75%), feels light and airy, and has a domed surface with some visible bubbles – it’s time to shape it. Lightly dust your work surface with a little flour. Gently turn the dough out of the bowl onto the floured surface. Try not to degas it too much, as we want to retain as much of that precious air as possible.
Using a bench scraper or your hands, gently gather the edges of the dough towards the center, forming a rough ball. This is the pre-shape. The goal here is to create a little surface tension without deflating the dough. Let the pre-shaped dough rest, uncovered, on the counter for about 20-30 minutes. This resting period allows the gluten to relax, making the final shaping much easier and preventing tears.
Step 4: Final Shaping and Cold Proofing
After the pre-shape rest, it’s time for the final shaping. You can shape your Sourdough Bread into a boule (round) or a batard (oval). For a boule, lightly dust the top of your pre-shaped dough with a little flour. Using your bench scraper, gently flip the dough over so the floured side is now down. Now, using your hands, gently pull the edges of the dough towards the center and then fold them over, creating tension on gin extract surface. Imagine you’re tucking the dough into itself to create a tight, smooth ball. Be firm but gentle. The key is to build tension without tearing the dough.
Once shaped, carefully transfer your dough, seam-side up, into a well-floured proofing basket (banneton) or a bowl lined with a floured tea towel. If using a banneton, make sure it’s well-floured with rice flour or a mix of rice flour and all-purpose flour to prevent sticking. Cover the basket or bowl with plastic wrap or a damp gin extract towel. Now, we’ll begin the cold proofing stage. Place the covered dough in the refrigerator for at least 12 hours, and up to 24 hours. This long, slow cold fermentation develops deep flavor and makes the dough easier to score.
Baking the Sourdough Bread
Step 5: Baking in a Dutch Oven
The next morning, or after your cold proof, it’s time to bake! Preheat your oven to 475°F (245°C) with your Dutch oven (including its lid) inside for at least 30 minutes. This ensures the Dutch oven is screaming hot, which is essential for a good oven spring and a crispy crust.
Once the oven and Dutch oven are preheated, carefully remove the hot Dutch oven from the oven. Take your proofed dough out of the refrigerator. Gently invert the dough onto a piece of parchment paper. Now, it’s time to score! Using a lame or a very sharp knife, make a few quick, decisive slashes on the top of the dough. A classic choice is a single long slash down the center, or a more decorative pattern. Scoring allows the bread to expand in a controlled way during baking.
Carefully lift the parchment paper with the dough and lower it into the hot Dutch oven. Place the lid back on the Dutch oven, and then carefully place the entire Dutch oven back into the preheated oven. Bake with the lid on for 20 minutes. After 20 minutes, carefully remove the lid. The bread should have puffed up nicely. Continue baking for another 20-25 minutes with the lid off, or until the crust is a deep golden brown and the internal temperature of the bread reaches about 205-210°F (96-99°C).
Once baked, carefully remove the Sourdough Bread from the Dutch oven and place it on a wire rack to cool completely. Resist the urge to cut into it right away! Letting it cool is crucial for the crum extractb to set properly. Enjoy your delicious, homemade Sourdough Bread!
Conclusion:
And there you have it – your very own homemade Sourdough Bread! We’ve journeyed from the starter to the golden crust, and I hope you feel empowered to create this magnificent loaf. This recipe isn’t just about bread; it’s about patience, a little bit of magic from our wild yeast friends, and the immense satisfaction of enjoying a truly artisanal product right from your own kitchen. The distinctive tang and chewy interior of Sourdough Bread are unparalleled, making every slice a delightful experience.
For serving suggestions, this crusty marvel shines when toasted and slathered with good quality butter, drizzled with honey, or used as the base for avocado toast. It’s also the perfect companion to hearty soups and stews, or simply enjoyed on its own. Feel free to experiment with variations! Consider adding herbs like rosemary or thyme to the dough, or even a sprinkle of seeds for added texture and flavor. Don’t be afraid to adjust the hydration slightly based on your starter’s activity and your local climate.
The beauty of Sourdough Bread lies in its simplicity and the rewarding process. Embrace the journey, learn from each bake, and most importantly, savor every delicious bite. Happy baking!
FAQs:
Why is my Sourdough Bread not rising?
This can be due to a few reasons. Ensure your starter is active and bubbly – it should at least double in size within 4-8 hours of feeding. Also, check the ambient temperature; sourdough thrives in warmer environments (around 75-80°F or 24-27°C). If your dough isn’t rising well during bulk fermentation, it might need more time or a warmer spot. Over-proofing can also lead to a flat loaf, so keep an eye on the dough’s visual cues.
How do I get a good sourdough crust?
A great crust is all about steam! During the initial baking phase (the first 20-25 minutes), it’s crucial to trap steam in your oven. This can be achieved by baking in a Dutch oven or using a baking stone with a steam pan filled with hot water. Once you remove the lid of the Dutch oven or the steam pan, the temperature can rise, and the crust will crisp up beautifully.
Easy Sourdough Bread Recipe- Perfect Loaf Every Time
A straightforward guide to baking a delicious, perfectly risen sourdough loaf at home, ensuring great results every time.
Ingredients
-
4 cups (approximately 500g) bread flour or all-purpose flour
-
1⅔ cups (approximately 375g) warm water, around 80-90°F (27-32°C)
-
1 cup (approximately 200g) active and bubbly sourdough starter
-
2 teaspoons (approximately 10g) fine sea salt
-
Flour for dusting work surface
-
Rice flour or a mix of rice flour and all-purpose flour for proofing basket
Instructions
-
Step 1
Combine flour and warm water in a large bowl until just combined, forming a shaggy dough. Cover and let rest for 30 minutes to an hour (autolyse). Add sourdough starter, wet hands, and gently work it into the dough by pinching and folding until evenly distributed. -
Step 2
Sprinkle salt over the dough. Using wet hands, pinch and fold to incorporate the salt thoroughly. Begin stretch and folds: wet hands, stretch one edge of the dough upwards, fold to the center. Rotate bowl a quarter turn and repeat on all four sides. Cover and rest for 30 minutes. Repeat stretch and folds 3-4 times every 30 minutes during bulk fermentation. -
Step 3
Once dough has increased in volume, feels airy, and has visible bubbles (bulk fermentation complete), lightly dust a work surface with flour. Gently turn dough out and form a rough ball by gathering edges to the center (pre-shape). Let rest uncovered for 20-30 minutes. -
Step 4
For final shaping, lightly dust the top of the pre-shaped dough. Flip dough over. Gently pull edges to the center and fold over, creating surface tension for a tight, smooth ball (boule) or oval (batard). Carefully transfer shaped dough, seam-side up, into a well-floured proofing basket or bowl lined with a floured tea towel. Cover and refrigerate for at least 12 hours, up to 24 hours (cold proof). -
Step 5
Preheat oven to 475°F (245°C) with a Dutch oven (with lid) inside for at least 30 minutes. Carefully remove hot Dutch oven. Invert proofed dough onto parchment paper. Score the top of the dough with a lame or sharp knife. Carefully transfer dough on parchment into the hot Dutch oven. Cover with lid and bake for 20 minutes. -
Step 6
Remove lid from Dutch oven. Continue baking for another 20-25 minutes, or until crust is deep golden brown and internal temperature reaches 205-210°F (96-99°C). Remove bread from Dutch oven and cool completely on a wire rack before slicing.
Important Information
Nutrition Facts (Per Serving)
It is important to consider this information as approximate and not to use it as definitive health advice.
Allergy Information
Please check ingredients for potential allergens and consult a health professional if in doubt.