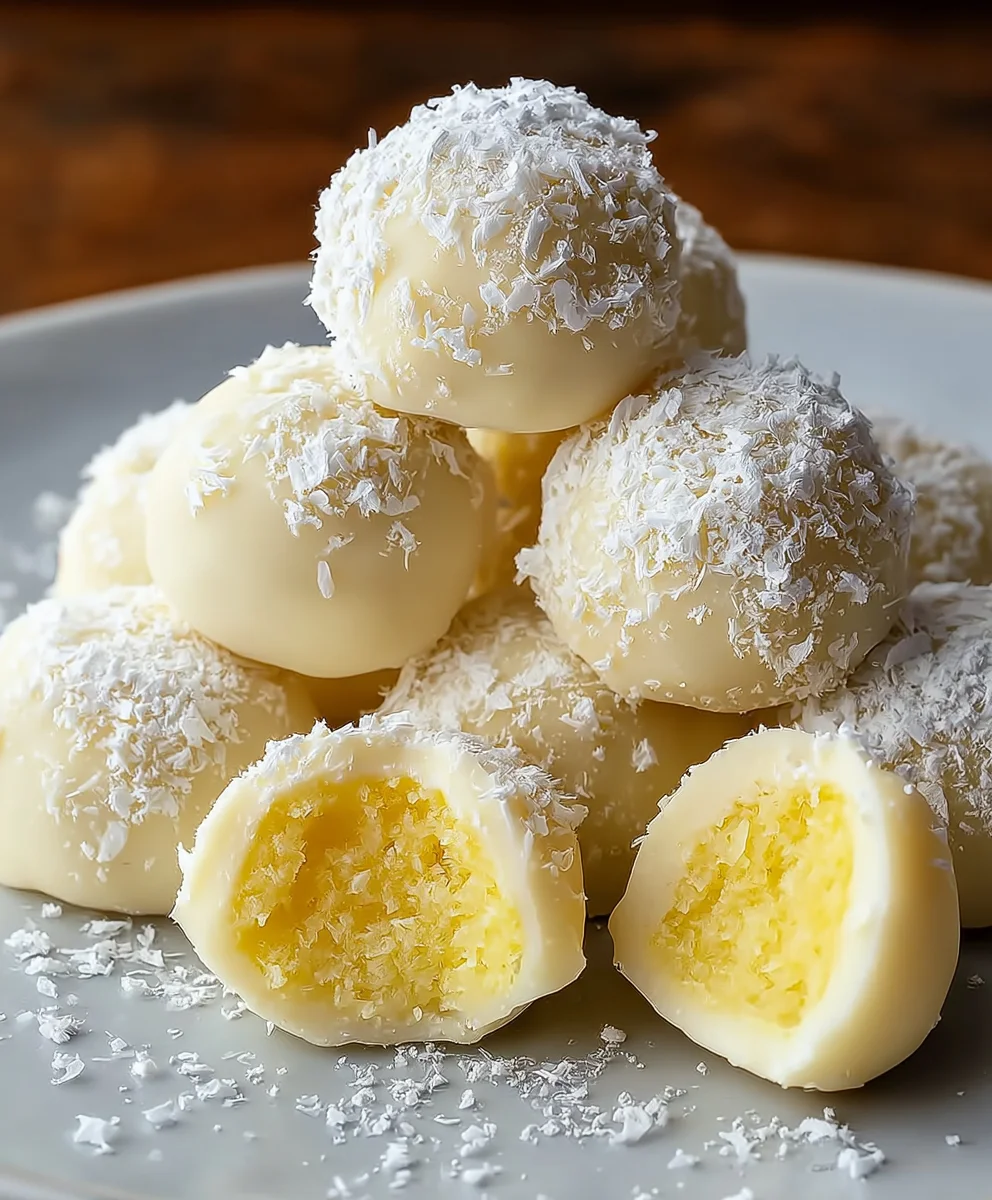
Easy Lemon Truffles – Delightful No-Bake Dessert
Lemon Truffles are tiny bursts of sunshine, a sophisticated yet incredibly approachable dessert that whispers elegance with every bite. Have you ever craved that perfect balance of sweet and tart, a delicate melt-in-your-mouth experience that leaves your palate singin extractg? That’s precisely what these little wonders deliver. What makes them so utterly irresistible is their deceptively simple nature, masking a complex and delightful flavor profile. They’re the ideal treat to impress guests at a dinner party, a thoughtful homemade gift, or simply a moment of pure indulgence for yourself. The bright, zesty notes of fresh lemon combined with the creamy richness of chocolate create a symphony of taste and texture that is truly unforgettable. Get ready to discover how easy it is to create these exquisite Lemon Truffles right in your own kitchen, transforming humble ingredients into a showstopper.
Ingredients:
- 4 ounces cream cheese, softened (or for a dairy-free option, use 4 ounces softened coconut butter)
- 2 tablespoons unsalted butter, softened (or 2 tablespoons additional softened coconut butter if using coconut butter for the base)
- 3 tablespoons powdered sugar (or 3 tablespoons erythritol for a sugar-free alternative)
- Zest of one medium lemon
- 3 ounces white chocolate chips (optional, for drizzling or mixing in)
- Optional: 1-2 drops of natural yellow food coloring or a tiny pinch of turmeric for a brighter yellow hue
Making Your Lemon Truffles
These little Lemon Truffles are incredibly simple to whip up, and they deliver a delightful burst of citrusy sweetness. They’re perfect for a special treat, a small gift, or just to satisfy a craving for something bright and delicious. The key to success is ensuring your cream cheese or coconut butter is truly softened to room temperature; this will make the mixing process smooth and prevent any lumps.
Step 1: Preparing the Creamy Base
In a medium-sized mixing bowl, combine the softened cream cheese (or coconut butter) and the softened butter (or additional coconut butter). This initial combination is the foundation of our truffles. Using softened fats is crucial here; if they are too cold, they will clump and make it difficult to achieve a smooth consistency. I like to use a rubber spatula or a wooden spoon to really mash and blend these two ingredients together until they are as homogenous and creamy as possible. Don’t be afraid to put a little elbow grease into it! The smoother this base is, the easier it will be to incorporate the other ingredients and roll the truffles later on. Aim for a consistency that looks like a thick frosting.
Step 2: Sweetening and Zesting
Once your cream cheese and butter mixture is wonderfully smooth, it’s time to add the sweetness. Sift the powdered sugar (or erythritol) into the bowl. Sifting is an important step as it removes any lumps from the sugar, ensuring a perfectly smooth truffle. Gently fold the sweetener into the cream cheese mixture. Now comes the star of the show: the lemon zest. Grate the zest directly into the bowl. Make sure you are only zesting the yellow part of the lemon peel and avoiding the bitter white pith underneath. The zest will infuse your truffles with that vibrant, fresh lemon flavor and aroma. Stir everything together until it’s well combined and you can see little flecks of yellow from the zest throughout the mixture.
Step 3: Achieving the Perfect Hue (Optional)
If you desire a more vibrant yellow color for your Lemon Truffles, this is the stage to add it. You can use a drop or two of natural yellow food coloring. Alternatively, a very small pinch of turmeric powder can provide a lovely golden hue without altering the flavor significantly. Add your chosen coloring agent and gently fold it into the mixture until the color is evenly distributed. Remember, a little goes a long way with food coloring and turmeric, so start with a tiny amount and add more if needed. You’re looking for a soft, pleasant yellow that evokes the sunny disposition of lemons.
Step 4: Chilling and Shaping the Truffles
Now that our lemon-infused mixture is ready, it needs a bit of time to firm up so we can work with it. Cover the bowl tightly with plastic wrap, pressing it directly onto the surface of the mixture to prevent a skin from forming. Refrigerate for at least 30 minutes, or until the mixture is firm enough to scoop and roll. Once chilled, use a small spoon or a mini cookie scoop to portion out the mixture. Roll each portion into a small ball between your palms. If the mixture becomes too soft to handle, simply pop it back into the refrigerator for another 10-15 minutes to firm up again. Don’t worry if your truffles aren’t perfectly uniform; their rustic charm is part of their appeal!
Step 5: Finishing Touches and Presentation (Optional White Chocolate)
This step is entirely optional but adds an extra layer of elegance and flavor. If you’re using white chocolate chips, you can melt them gently. To do this, place the white chocolate chips in a microwave-safe bowl and heat in 30-second intervals, stirring well after each interval, until smooth. Be careful not to overheat white chocolate, as it can seize. Once melted, you can either drizzle the white chocolate over your rolled truffles using a fork or spoon, or you can dip the bottoms of the truffles into the melted chocolate. For a bolder white chocolate flavor, you can even stir some melted and slightly cooled white chocolate into the truffle mixture before chilling in Step 4. Allow the chocolate to set completely before serving or storing.
Conclusion:
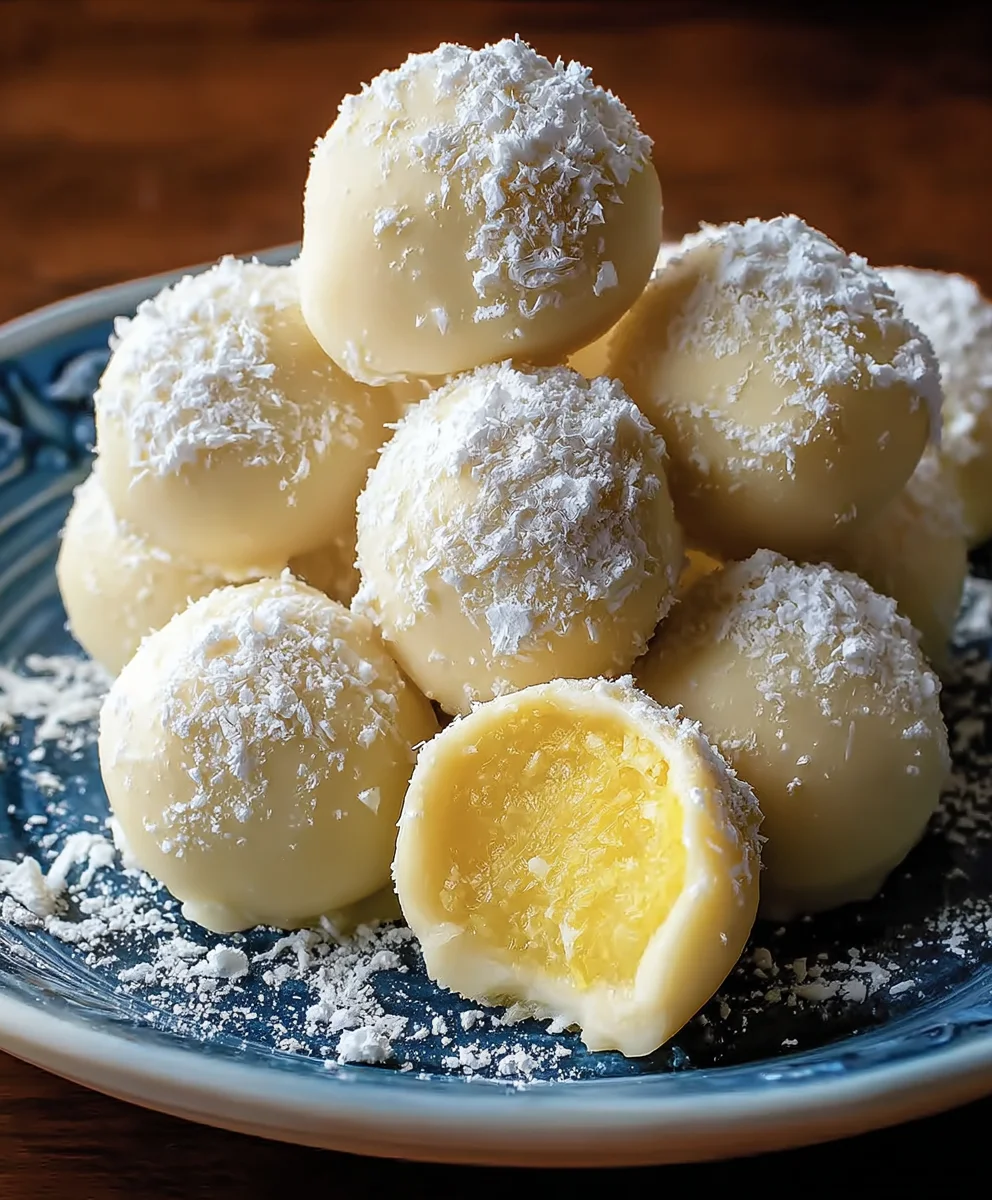
And there you have it – your guide to creating delightful Lemon Truffles! We’ve walked through the simple steps to achieve that perfect creamy texture and zesty flavor that makes these treats so irresistible. These Lemon Truffles are not just a dessert; they’re a little burst of sunshine, perfect for any occasion.
I love serving these Lemon Truffles chilled, perhaps alongside a cup of tea or coffee. They also make a stunning addition to a dessert platter or a thoughtful homemade gift. For variations, consider adding a pinch of cardamom to the ganache for an exotic twist, or rolling some in finely chopped pistachios for a delightful crunch and visual appeal. Don’t be afraid to experiment! The joy of making homemade treats is in personalizing them. I encourage you to give this recipe a try. The satisfaction of biting into your own perfectly crafted Lemon Truffles is truly wonderful.
Frequently Asked Questions:
How should I store my Lemon Truffles?
Lemon Truffles are best stored in an airtight container in the refrigerator. This helps maintain their firm texture and prevents them from absorbing other odors. They should stay fresh for up to a week when stored properly.
Can I make these Lemon Truffles without heavy cream?
While heavy cream is ideal for achieving the classic truffle consistency, you can experiment with full-fat coconut milk for a dairy-free alternative. The texture might be slightly different, but it can still yield delicious results.
Easy Lemon Truffles – Delightful No-Bake Dessert
Delightful no-bake lemon truffles that are incredibly simple to whip up, delivering a bright and citrusy sweetness. Perfect for a special treat or a small gift.
Ingredients
-
4 ounces cream cheese, softened
-
2 tablespoons unsalted butter, softened
-
3 tablespoons powdered sugar
-
Zest of one medium lemon
-
3 ounces white chocolate chips, optional
-
1-2 drops of natural yellow food coloring or a tiny pinch of turmeric, optional
Instructions
-
Step 1
In a medium-sized mixing bowl, combine the softened cream cheese and softened butter. Mash and blend these ingredients together with a rubber spatula or wooden spoon until smooth and creamy, aiming for a thick frosting consistency. -
Step 2
Sift the powdered sugar into the bowl and gently fold it into the cream cheese mixture. Grate the zest of one lemon directly into the bowl, ensuring you only use the yellow part of the peel. Stir until well combined. -
Step 3
If desired, add 1-2 drops of natural yellow food coloring or a tiny pinch of turmeric for a brighter yellow hue. Gently fold until the color is evenly distributed. Start with a small amount and add more if needed. -
Step 4
Cover the bowl tightly with plastic wrap, pressing it directly onto the surface. Refrigerate for at least 30 minutes, or until firm enough to scoop and roll. Use a small spoon or mini cookie scoop to portion the mixture and roll into balls between your palms. If the mixture becomes too soft, chill again. -
Step 5
Optional: Melt white chocolate chips gently in a microwave-safe bowl in 30-second intervals, stirring until smooth. Drizzle the melted white chocolate over the truffles or dip the bottoms. Allow the chocolate to set completely before serving or storing.
Important Information
Nutrition Facts (Per Serving)
It is important to consider this information as approximate and not to use it as definitive health advice.
Allergy Information
Please check ingredients for potential allergens and consult a health professional if in doubt.