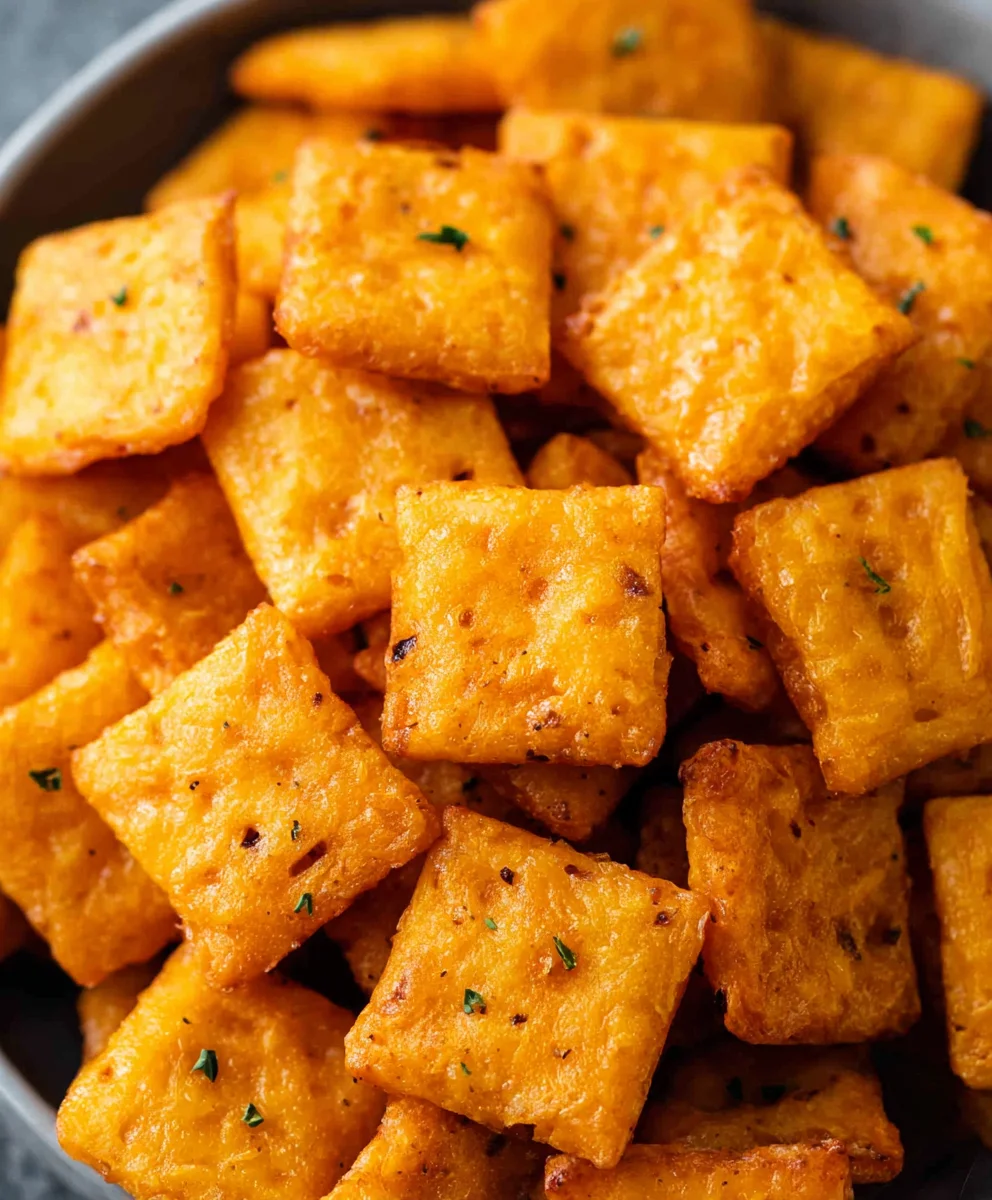
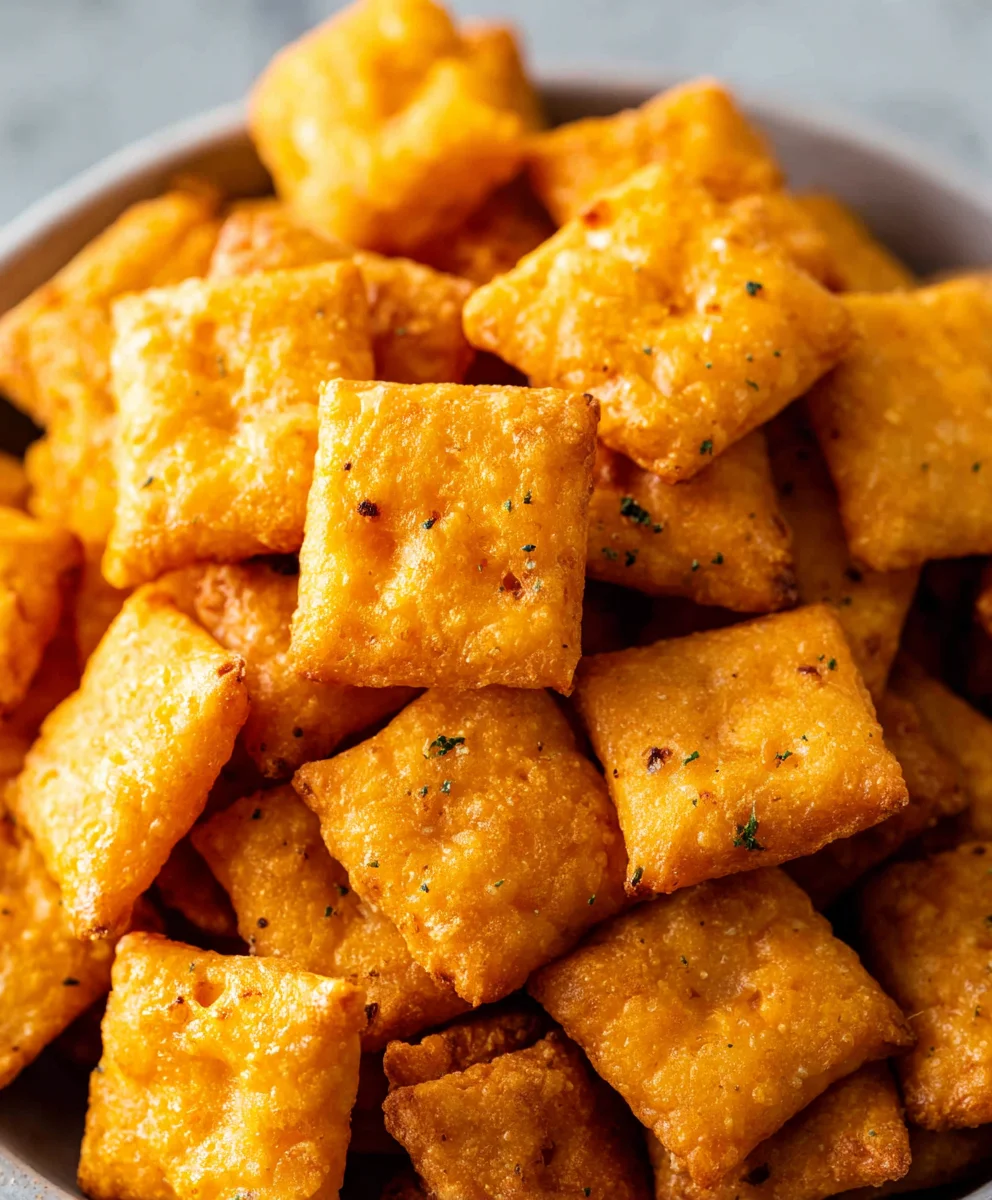
Homemade Cheez Its-Crispy Cheesy Snack Perfection
Homemade Cheez Its are more than just a snack; they’re a nostalgic journey back to childhood, a testament to simple pleasures, and a deliciously addictive endeavor. Who doesn’t have a fond memory of reaching for that familiar red box, the satisfying crunch and tangy cheese explosion hitting their taste buds? The magic of Homemade Cheez Its lies in their ability to capture that exact essence, but with an elevated, homemade quality that store-bought versions simply can’t replicate. We’re talking about a depth of cheesy flavor that bursts forth with every bite, a satisfyingly crisp texture that’s perfectly balanced, and the sheer joy of knowing you created these little flavor bombs from scratch. This recipe isn’t just about replicating a snack; it’s about crafting an experience, a truly superior version of a beloved classic that will have everyone asking for the recipe.
Why You’ll Adore This Recipe
The allure of Homemade Cheez Its is undeniable. It’s the perfect balance of salty, savory, and undeniably cheesy goodness that makes them impossible to put down. Beyond the irresistible flavor, people love that they can control the quality of ingredients, ensuring a truly premium cheese cracker experience. Imagin extracte the satisfying crunch and rich cheddar notes, far surpassing anything from a processed bag. This recipe offers that authentic taste, that addictive crunch, and that comforting familiarity, all brought to life in your own kitchen. It’s a simple yet profound way to elevate your snacking game and impress your friends and family with your culinary prowess.
What Makes These Homemade Cheez Its So Special
What truly sets these Homemade Cheez Its apart is the dedication to achieving that signature flavor profile. We’re not just adding cheese; we’re using a blend of sharp cheddar and a touch of Parmesan to create layers of irresistible umami. The texture is another key player; a carefully formulated dough and precise baking time ensure that perfect crispness that shatters in your mouth with every bite. It’s the careful attention to detail, the quality of the cheese, and the simple yet effective technique that transforms basic ingredients into a snack sensation. This recipe is your gateway to experiencing the ultimate Homemade Cheez Its, a treat that’s both familiar and incredibly special.
Ingredients:
- ¼ cup unsalted butter, softened to room temperature
- 8 oz. sharp cheddar cheese, freshly shredded
- 1 ¼ cups all-purpose flour
- 1 teaspoon kosher salt, plus extra for sprinkling on top
- 2-3 tablespoons ice-cold water
- 2 tablespoons olive oil
Making Your Homemade Cheez-Its Dough
Phase 1: Creating the Cheddar Base
The foundation of any great homemade cheesy cracker lies in the quality and type of cheese you use. For these Homemade Cheez-Its, we’re opting for sharp cheddar cheese. The “sharp” variety provides a more robust and tangy flavor profile that truly shines through, distinguishing these from milder options. It’s crucial to shred your own cheese from a block rather than using pre-shredded cheese. Pre-shredded cheeses often contain anti-caking agents that can affect the texture of your crackers, making them less crisp and potentially slightly gritty. Taking the extra few minutes to shred it yourself will yield a superior result.
In a medium-sized bowl, combine the softened unsalted butter with your freshly shredded sharp cheddar cheese. You want the butter to be soft enough to easily cream with the cheese, but not so melted that it becomes oily. Room temperature is ideal. Using your fingertips or a sturdy spatula, work the butter and cheese together until they are well combined and form a cohesive, somewhat crum extractbly mixture. This step is where the delicious cheesy flavor really starts to develop. Don’t be afraid to get your hands in there; it’s the most effective way to ensure everything is thoroughly incorporated.
Phase 2: Incorporating Dry Ingredients
Next, we’ll introduce the dry ingredients to our cheesy butter mixture. In a separate, larger bowl, measure out your all-purpose flour and the 1 teaspoon of kosher salt. Whisk these together briefly to ensure the salt is evenly distributed throughout the flour. This is important for consistent flavor in every single cracker. Now, add your butter and cheese mixture into the bowl with the flour and salt.
Using a pastry blender, a fork, or even your fingertips, begin extract to cut the butter and cheese mixture into the flour. You’re aiming for a coarse meal-like consistency, similar to what you’d achieve when making pie crust. There should be small pieces of butter and cheese visible, no larger than a pea. These pockets of fat are what will contribute to the flaky and tender texture of your Homemade Cheez-Its. The goal is to coat the flour particles with the fat, preventing the formation of too much gluten, which can lead to tough crackers.
Phasegin extract Bringing the Dough Together
Now comes the crucial step of adding the liquid to bind everything together. We’re using ice-cold water, and the “ice-cold” part is significant. Cold water helps to keep the fat (butter and cheese) solid for as long as possible during the mixing process. This, again, is key to achieving that desired crispness and preventing the dough from becoming tough. Start by adding 2 tablespoons of the ice-cold water to the flour, cheese, and butgin extract mixture.
Begin to gently mix the dough together. You can use a fork or a spatula for this. The dough will likely seem dry and shaggy at this point, and that’s perfectly normal. Add the third tablespoon of cold water only if the dough is still too dry and doesn’t hold together when you press it. You want the dough to just come together into a cohesive ball. Be careful not to overmix or knead the dough. Overworking it will develop the gluten too much, resulting in chewy or tough crackers instead of the light, crisp texture we’re aiming for. Once the dough can be gathered into a rough ball, stop mixing.
Phase 4: Chilling and Rolling the Dough
Once your dough has just come together, flatten it into a disk, wrap it tightly in plastic wrap, and refrigerate it for at least 30 minutes. This chilling period is essential for several reasons. First, it allows the fats to firm up again, which makes the dough much easier to handle and roll out without sticking. Second, it gives the flour a chance to hydrate properly, leading to a better texture in the final baked crackers.
After chilling, unwrap the dough and place it on a lightly floured surface. You can also place a sheet of parchment paper on your counter and roll the dough out between two sheets of parchment paper, which can make for easier cleanup and prevent sticking. Roll the dough out evenly to about 1/8-inch thickness. It’s important to aim for a consistent thickness so that all the crackers bake at the same rate. Thicker parts will take longer to bake and may burn before the thinner parts are done.
Phase 5: Cutting, Baking, and Finishing
Once your dough is rolled out to the desired thickness, it’s time to cut it into cracker shapes. You can use a sharp knife to cut the dough into small squares, or if you have a square cookie cutter, that works wonderfully for that classic Cheez-It look. For the most authentic experience, try to cut them as uniformly as possible.
Carefully transfer the cut cracker shapes to a baking sheet lined with parchment paper. Leave a little bit of space between each cracker, as they might spread slightly during baking. Before baking, brush the tops of the crackers lightly with olive oil. This helps them achieve a nice golden-brown color and a slightly crispier exterior. Then, sprinkle them generously with additional kosher salt. This finishing touch is crucial for that signature salty crunch.
Preheat your oven to 375°F (190°C). Bake the Homemade Cheez-Its for 12-15 minutes, or until they are golden brown and slightly firm to the touch. Keep a close eye on them during the last few minutes of baking, as they can go from perfectly baked to burnt very quickly due to their small size. Once baked, remove the baking sheet from the oven and let the crackers cool completely on the sheet. They will crisp up further as they cool. Enjoy your delicious, homemade cheesy crackers!
Conclusion:
You’ve now mastered the art of creating delicious Homemade Cheez-Its right in your own kitchen! This recipe offers a wonderfully cheesy, satisfying crunch that’s sure to become a family favorite. The simplicity of the ingredients and the straightforward process mean you can whip up a batch whenever that craving strikes. We hope you enjoy the fresh, homemade taste that’s miles ahead of anything store-bought!
These delightful Homemade Cheez-Its are perfect for snacking on their own, packing in lunchboxes, or serving at parties. They also pair wonderfully with a hearty soup or a fresh salad for a fun and flavorful addition. Don’t be afraid to experiment with different cheeses to find your perfect flavor profile! Consider adding a pinch of garlic powder or onion powder for an extra layer of savory goodness, or even a dash of paprika for a hint of smoky spice.
We encourage you to try this recipe and share your creations! The joy of making something so wonderfully familiar from scratch is truly rewarding. Get ready for compliments – everyone will be asking for your secret to these amazing Homemade Cheez-Its!
Frequently Asked Questions:
Can I use different types of cheese for Homemade Cheez-Its?
Absolutely! While cheddar provides a classic flavor, feel free to experiment. Sharp cheddar, Monterey Jack, Colby, or even a blend of cheeses can create fantastic variations. Just ensure the cheese is finely grated for best results.
How should I store my Homemade Cheez-Its?
Once cooled completely, store your Homemade Cheez-Its in an airtight container at room temperature. They should stay fresh and crispy for up to a week. For longer storage, you can freeze them in a freezer-safe bag.
Homemade Cheez-Its
Crispy, cheesy, homemade crackers that are a perfect snack.
Ingredients
-
1/4 cup unsalted butter, softened to room temperature
-
8 oz. sharp cheddar cheese, freshly shredded
-
1 1/4 cups all-purpose flour
-
1 teaspoon kosher salt, plus extra for sprinkling on top
-
2-3 tablespoons ice-cold water
-
2 tablespoons olive oil
Instructions
-
Step 1
In a medium bowl, combine softened butter and shredded sharp cheddar cheese. Mix until well combined and forms a cohesive mixture. -
Step 2
In a separate, larger bowl, whisk together all-purpose flour and 1 teaspoon kosher salt. Add the butter and cheese mixture. Use a pastry blender or your fingertips to cut the mixture into the flour until it resembles coarse meal. -
Step 3
Add 2 tablespoons of ice-cold water and gently mix until the dough just comes together. Add the third tablespoon only if needed. Do not overmix. -
Step 4
Flatten the dough into a disk, wrap in plastic wrap, and refrigerate for at least 30 minutes. Once chilled, roll out the dough on a lightly floured surface to about 1/8-inch thickness. -
Step 5
Cut the dough into small squares. Transfer to a parchment-lined baking sheet. Brush tops with olive oil and sprinkle with extra kosher salt. -
Step 6
Bake in a preheated oven at 375°F (190°C) for 12-15 minutes, or until golden brown. Let cool completely on the baking sheet to crisp up.
Important Information
Nutrition Facts (Per Serving)
It is important to consider this information as approximate and not to use it as definitive health advice.
Allergy Information
Please check ingredients for potential allergens and consult a health professional if in doubt.