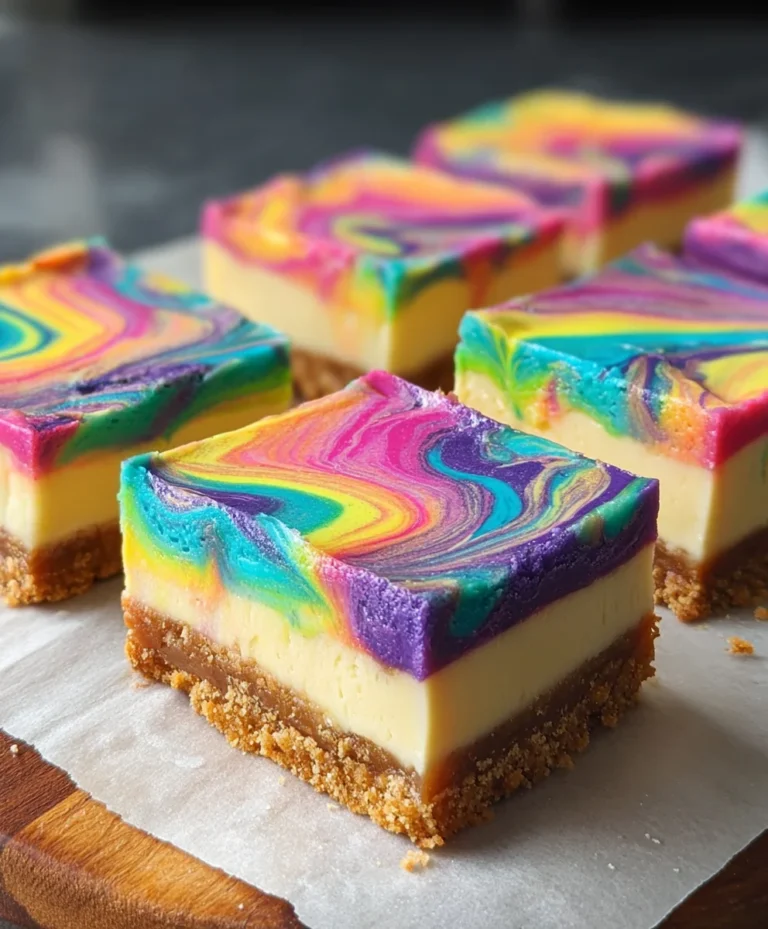
Caramel Fudge Crunch Bars-Easy Delicious Treat
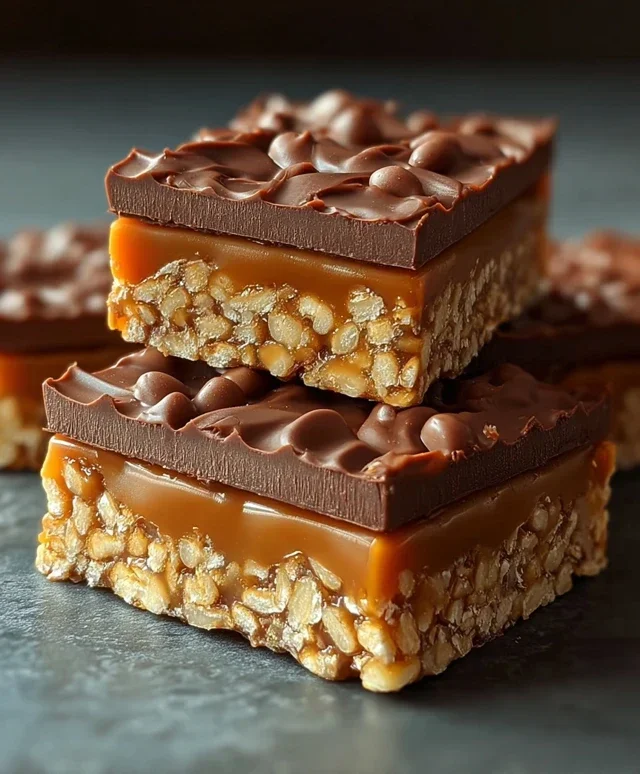
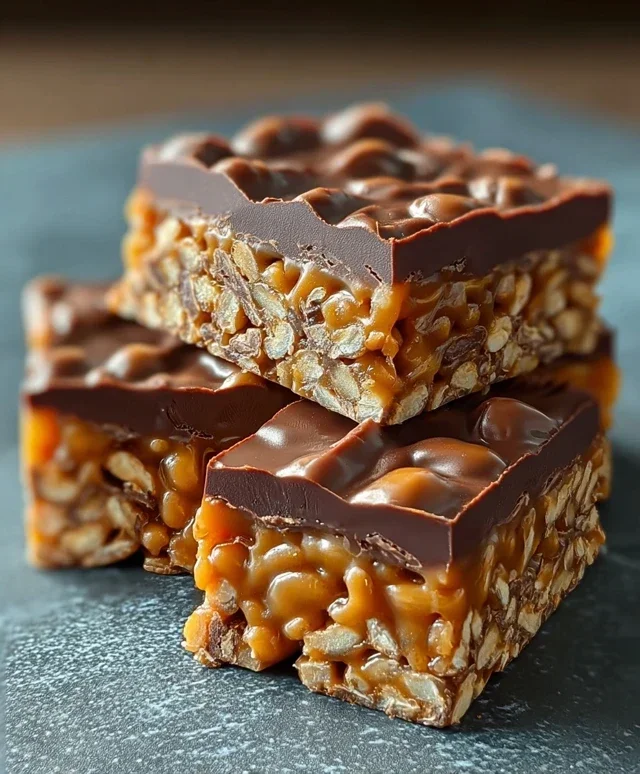
Caramel Fudge Crunch Bars are the ultimate indulgence, a symphony of textures and flavors that will have you weak at the knees. If you’re anything like me, the mere mention of a decadent dessert can send your taste buds into overdrive, and these bars are pure, unadulterated bliss. What is it about this particular treat that makes it so universally beloved? It’s the perfect harmony: the rich, slightly bitter dark chocolate fudge, the buttery, golden caramel, and that irresistible crunch that provides such a satisfying contrast. Every bite of a Caramel Fudge Crunch Bar is an adventure, a delightful interplay of sweet, salty, and utterly addictive. These aren’t just any dessert bars; they are a carefully crafted experience, designed to satisfy even the most discerning sweet tooth. Get ready to fall head over heels for this incredible creation!
Caramel Fudge Crunch Bars
Get ready to impress yourself and everyone around you with these absolutely divine Caramel Fudge Crunch Bars! These are not your average fudge bars; they’re a glorious combination of creamy caramel, rich chocolate, and an irresistible crispy crunch. Perfect for satisfying a sweet tooth, bringin extractg to a potluck, or just making your Tuesday feel a little more special. I’ve adapted this recipe to be super straightforward, ensuring even novice bakers can achieve incredible results. The secret lies in getting the caramel just right and then layering in that delightful chocolate and crunch. Let’s get started on creating a treat that will have everyone beggin extractg for the recipe!
Ingredients:
Making the Caramel Base
The foundation of these bars is a luscious, homemade caramel that’s incredibly easy to achieve. It’s this caramel that provides that deep, buttery sweetness and acts as the perfect binder for our crunchy elements. Don’t be intimidated by making caramel; this method is forgiving and consistently delicious.
1. In a medium, heavy-bottomed saucepan, combine the condensed milk, light brown sugar, butter, and golden syrup (or honey). It’s important to use a saucepan with a thick base to prevent the mixture from scorching and to ensure even heating. If you’re using salted butter, you’ll get a lovely depth of flavour, but unsalted is perfectly fine too, you might just want to add a tiny pinch of salt to the mixture for balance.
2. Place the saucepan over medium heat. Stir the mixture continuously with a heatproof spatula or wooden spoon. You’ll see the sugar begin extract to dissolve and the butter melt. Keep stirring! This is the crucial part for preventing lumps and sticking. As the mixture heats up, it will start to bubble and thicken. Continue to cook and stir for approximately 8-10 minutes, or until the caramel reaches a thick, glossy consistency, and has a rich, deep golden-brown colour. A good test is to drop a small spoonful of caramel onto a cold plate; it should hold its shape and not spread out too much. This stage is where the magic happens, transforming simple ingredients into a sweet, decadent sauce. Once it reaches this consistency, carefully remove the saucepan from the heat.
Incorporating the Crunch and Chocolate Layers
Now comes the fun part: adding the texture and decadence! We’ll fold in the white chocolate and Rice Krispies for that signature crunch, then create a luxurious chocolate coating.
3. While the caramel is still hot and has been removed from the heat, gently fold in the 100g of white chocolate chunks. The residual heat from the caramel will melt the white chocolate, creating beautiful ribbons of creamy sweetness throughout the caramel base. Stir until the white chocolate is mostly melted and just a few small pieces remain for texture. Next, add the 75g of Rice Krispies cereal to the caramel mixture. Fold them in gently but thoroughly, ensuring each crispy puff is coated in the luscious caramel. You want to work quickly here so the cereal doesn’t have time to soften too much. The goal is for the cereal to retain its crispiness.
4. Prepare an 8×8 inch (20×20 cm) baking tin by lining it with parchment paper or baking paper, leaving some overhang on the sides. This overhang will be your “handles” to lift the bars out of the tin once they’ve set, making them incredibly easy to remove. Pour the caramel, white chocolate, and Rice Krispies mixture into the prepared tin. Use your spatula to spread it out evenly and press it down firmly. This pressing is important to create a compact, sliceable base for your bars. Don’t be afraid to really get in there and compact the mixture; a good press will ensure your bars hold together beautifully when you cut them.
5. Now, let’s melt the main chocolate coating. You’ll need to melt the 650g of milk or dark chocolate. You can do this using a double boiler method (a heatproof bowl set over a pan of simmering water, ensuring the bottom of the bowl doesn’t touch the water) or carefully in the microwave in 30-second intervals, stirring between each interval, until smooth. Once melted and smooth, pour this luscious chocolate over the caramel and crunch base in the tin. Use a spatula to spread it out evenly, ensuring it covers the entire surface right to the edges. You want a nice, thick layer of chocolate to really seal in all the deliciousness.
6. Once the chocolate topping is spread, gently tap the tin on the counter a few times. This helps to even out the chocolate layer and remove any air bubbles, ensuring a smooth finish. If you like, you can even sprinkle a few extra Rice Krispies or some sea salt flakes on top for decoration and an extra flavour dimension before the chocolate sets. Place the tin in the refrigerator for at least 2-3 hours, or until the chocolate is completely firm and set. This chilling time is essential for achieving clean cuts and ensuring the bars hold their shape.
Once fully chilled and set, use the parchment paper overhang to lift the entire slab out of the tin. Place it on a cutting board and use a sharp knife to cut it into your desired bar sizes. I usually aim for about 16-20 bars, depending on how generous I’m feeling! These bars are best stored in an airtight container in the refrigerator, though they are so delicious, I doubt they’ll last long! Enjoy every single bite!
Conclusion:
There you have it – the ultimate guide to crafting these irresistible Caramel Fudge Crunch Bars! I truly believe this recipe is a winner because it perfectly balances decadent chocolate fudge with a delightful crunchy texture, all elevated by the luscious caramel. They’re surprisingly easy to make, making them a fantastic choice for begin extractners and seasoned bakers alike. These bars are incredibly versatile; they’re perfect for bake snon-alcoholic ales, birthday parties, or simply as a delightful treat to enjoy with your afternoon coffee. I wholeheartedly encourage you to give these Caramel Fudge Crunch Bars a try. You won’t be disappointed!
Serving Suggestions: I love these bars on their own, but they’re also amazing served slightly warmed with a scoop of vanilla ice cream for an extra layer of indulgence. They also make a thoughtful homemade gift!
Variations: Feel free to get creative! You can add a sprinkle of sea salt on top before the caramel sets for a salted caramel twist. Chopped nuts like pecans or walnuts are also a fantastic addition to the crunchy layer, or even stirred into the fudge mixture.
Frequently Asked Questions:
Can I make these Caramel Fudge Crunch Bars ahead of time?
Absolutely! These bars actually taste even better after a day, allowing the flavors to meld together beautifully. Store them in an airtight container at room temperature for up to 3-4 days.
What kind of chocolate should I use for the fudge layer?
For the richest flavor, I recommend using good quality semi-sweet or dark chocolate chips. You can also chop up your favorite chocolate bar for a more intense chocolate taste.
My caramel layer seems a bit too runny. What can I do?
If your caramel seems a bit thin, don’t worry! As it cools, it will thicken considerably. Ensure you’ve followed the cooking time accurately, and allow ample time for chilling. If it’s still too soft after chilling, you can gently rewarm it slightly and stir in a tablespoon or two more of powdered sugar to help it firm up.
Caramel Fudge Crunch Bars
Indulgent bars with a chewy caramel fudge base, studded with crunchy Rice Krispies and topped with melted chocolate.
Ingredients
-
½ tin (200g) condensed milk
-
100g light brown sugar
-
60g butter (salted or unsalted)
-
1½ tablespoons golden syrup
-
100g white chocolate, broken into chunks
-
600g milk chocolate, divided
-
50g dark chocolate, divided
-
75g Rice Krispies cereal
Instructions
-
Step 1
Line a 20cm square baking tin with parchment paper. -
Step 2
In a saucepan, combine the condensed milk, light brown sugar, butter, and golden syrup. Heat gently, stirring continuously, until the sugar has dissolved and the mixture is smooth. -
Step 3
Bring the mixture to a gentle simmer and cook for 5-7 minutes, stirring constantly, until it thickens to a caramel consistency. -
Step 4
Remove from heat and stir in the white chocolate chunks until melted and fully incorporated. Pour this mixture into the prepared baking tin and spread evenly. -
Step 5
In a separate heatproof bowl, melt 550g of the milk chocolate and 40g of the dark chocolate (either in the microwave in 30-second bursts, stirring in between, or over a saucepan of simmering water). Stir until smooth. -
Step 6
Add the Rice Krispies cereal to the melted chocolate and mix well to coat. -
Step 7
Pour the Rice Krispies mixture over the caramel layer in the tin and spread evenly to cover. -
Step 8
Melt the remaining 50g milk chocolate and 10g dark chocolate. Drizzle this melted chocolate over the top of the bars. -
Step 9
Chill in the refrigerator for at least 2 hours, or until firm. Cut into bars before serving.
Important Information
Nutrition Facts (Per Serving)
It is important to consider this information as approximate and not to use it as definitive health advice.
Allergy Information
Please check ingredients for potential allergens and consult a health professional if in doubt.