Crispy Chewy Chocolate Chip Cookies Recipe
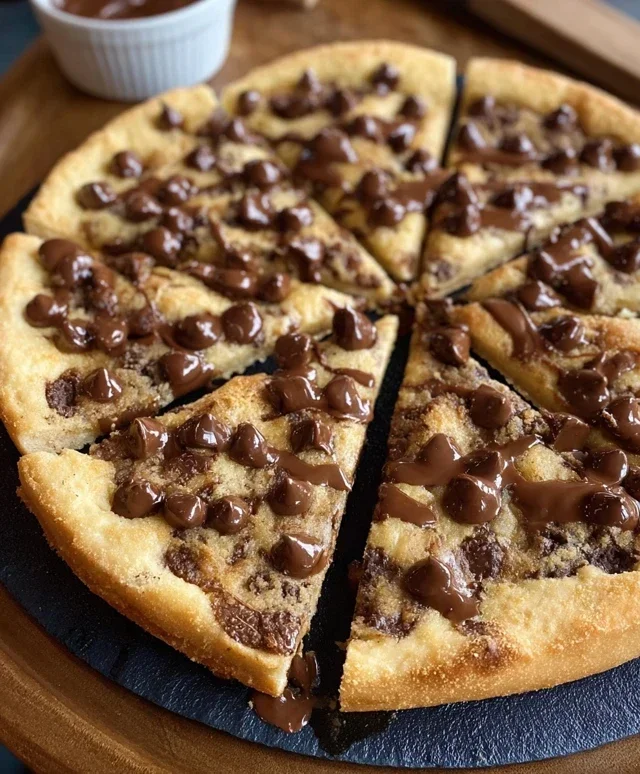
Crispy and chewy chocolate chip cookies. Ah, the ultimate comfort food, isn’t it? There’s something undeniably magical about biting into a warm cookie that boasts that perfect trifecta: a shatteringly crisp edge, a delightfully soft and chewy center, and pockets of molten chocolate that melt in your mouth. It’s a classic for a reason, a universally adored treat that evokes childhood memories and creates new ones with every batch. But what truly elevates a good cookie to an exceptional one? It’s all about mastering that delicate balance, that elusive texture that makes these crispy and chewy chocolate chip cookies so utterly irresistible. Forget dry, crum extractbly disappointments or overly doughy lumps; we’re talking about the kind of cookie that makes you close your eyes in pure bliss. Get ready to unlock the secrets to baking the most perfect crispy and chewy chocolate chip cookies you’ve ever tasted.
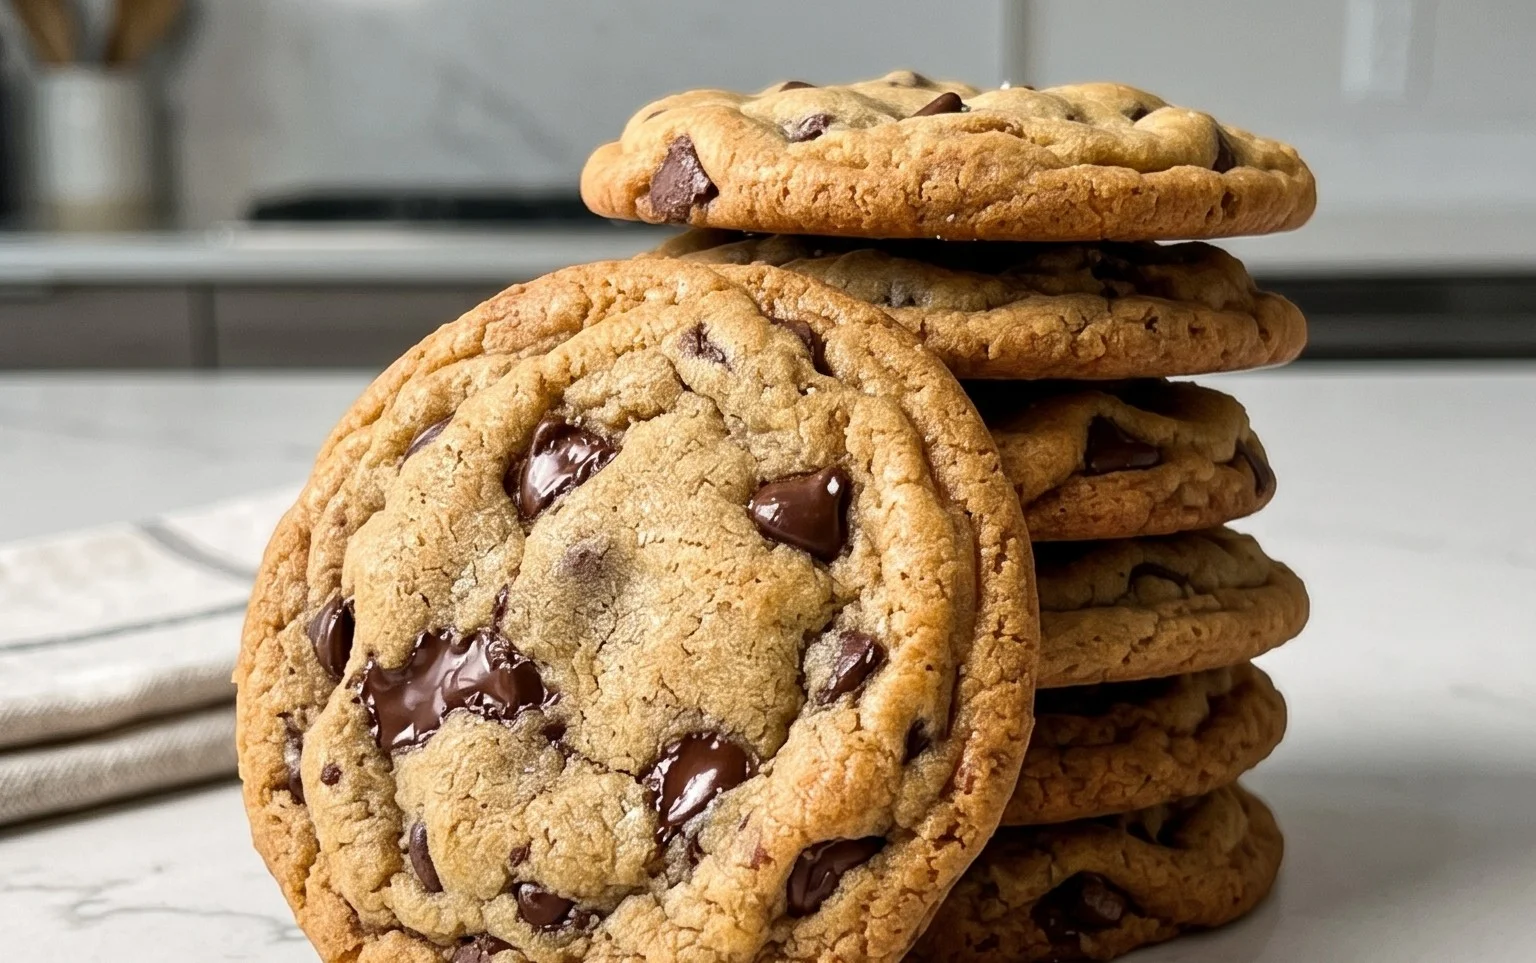
Crispy and Chewy Chocolate Chip Cookies
There are few things in life as universally comforting and satisfying as a warm, gooey chocolate chip cookie. But achieving that perfect balance – the delicate crisp on the edges, the soft and chewy center, and those glorious pockets of melted chocolate – can sometimes feel like a culinary tightrope walk. Fear not, my friends! I’ve perfected a recipe that consistently delivers on both texture and flavor, creating a cookie that’s a true crowd-pleaser. This recipe is all about embracing simple, quality ingredients and understanding a few key techniques to unlock that ultimate cookie bliss. Get ready to fill your kitchen with the irresistible aroma of freshly baked chocolate chip cookies!
Ingredients:
Let’s Get Baking: Step-by-Step Instructions
The journey to your perfect chocolate chip cookie begin extracts with a few crucial preparation steps. These might seem minor, but they play a significant role in the final texture and success of your bake.
1. Dry Ingredients Assembly:
In a medium-sized bowl, whisk together your all-purpose flour, baking soda, and kosher salt. Whisking these dry ingredients thoroughly ensures that the leavening agent (baking soda) and salt are evenly distributed throughout the flour. This prevents pockets of saltiness or uneven rising in your cookies. Set this bowl aside for now; we’ll be bringin extractg these elements together with our wet ingredients shortly.
2. Creaming the Butter and Sugars:
This is arguably one of the most critical steps for achieving the desired cookie texture. In a large mixing bowl, or the bowl of a stand mixer fitted with the paddle attachment, beat the softened unsalted butter until it’s smooth and creamy. Softened butter is key here – it should yield slightly to pressure but not be melted or greasy. Then, add both the packed light brown sugar and the granulated white sugar to the bowl with the butter. Beat on medium speed until the mixture is light and fluffy, and the sugars are fully incorporated into the butter. This process, known as creaming, introduces air into the dough, which contributes to the cookie’s lift and tenderness. Scrape down the sides of the bowl periodically to ensure everything is evenly mixed. This stage can take 3-5 minutes.
3. Incorporating Eggs and Vanilla:
Once your butter and sugar mixture is beautifully fluffy, it’s time to add the eggs. Add the eggs one at a time, beating well after each addition to ensure they are fully incorporated before adding the next. This helps to emulsify the fat and liquid, creating a stable cookie base. After the eggs are mixed in, stir in the pure vanilla extract. Vanilla is more than just a flavor enhancer; it adds depth and complexity to the sweetness of the cookie.
4. Combining Wet and Dry:
Now, it’s time to bring our dry ingredients into the fold. Gradually add the flour mixture from step 1 to the wet ingredients, mixing on low speed until just combined. It’s crucial not to overmix the dough at this stage. Overmixing can develop the gluten in the flour too much, resulting in tough, dense cookies. You’re looking for a dough that is just starting to come together, with a few streaks of flour still visible.
5. The Glorious Chocolate Chip Addition (and Chilling!):
Gently fold in the semisweet chocolate chips by hand using a spatula or wooden spoon. Again, avoid overmixing. You want to distribute the chips evenly without breaking them down too much. At this point, for the absolute best results and the chewiest texture, I highly recommend chilling your cookie dough. Cover the bowl tightly with plastic wrap and refrigerate for at least 2 hours, or even better, overnight. Chilling the dough allows the fats to solidify, which prevents the cookies from spreading too much in the oven, leading to a thicker, chewier cookie. It also allows the flavors to meld and deepen.
6. Baking Your Masterpieces:
Preheat your oven to 375 degrees Fahrenheit (190 degrees Celsius). Line baking sheets with parchment paper or silicone baking mats. This prevents sticking and helps with even baking. Scoop rounded tablespoons of chilled cookie dough onto the prepared baking sheets, leaving about 2 inches between each cookie to allow for spreading. If you’re feeling fancy and want that extra salty kick, sprinkle a tiny pinch of flaked sea salt over the top of each cookie dough ball before baking. This is optional, but it really does elevate the cookie by balancing the sweetness.
7. The Golden Bake:
Bake for 9-12 minutes, or until the edges are golden brown and the centers still look slightly soft and underbaked. This is the secret to chewy cookies – they will continue to cook and set as they cool on the baking sheet. Resist the urge to overbake! For extra chewy cookies, underbake them slightly. Let the cookies cool on the baking sheet for 5-10 minutes before transferring them to a wire rack to cool completely. This allows them to firm up without becoming brittle. Enjoy your perfectly crispy and chewy chocolate chip cookies!
Conclusion:
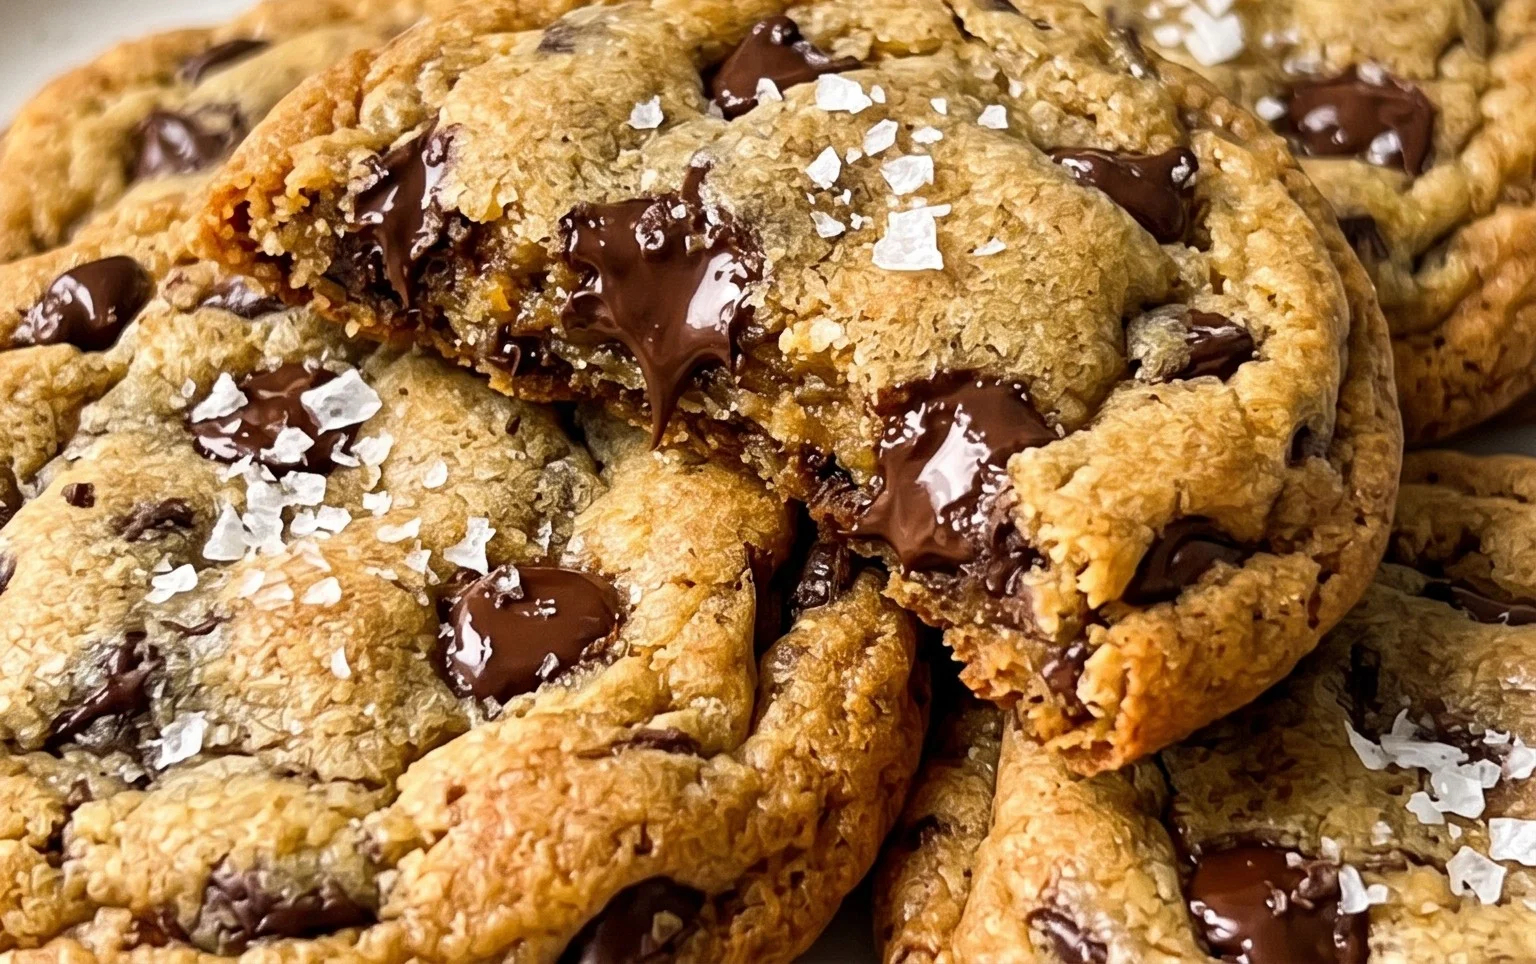
There you have it – the ultimate recipe for crispy and chewy chocolate chip cookies that I’m absolutely obsessed with! This recipe masterfully balances that delightful crunch around the edges with a wonderfully soft, gooey center, all thanks to the perfect ratio of ingredients and a few key techniques I’ve shared. These aren’t just any cookies; they’re a guaranteed crowd-pleaser and the perfect treat to whip up for any occasion, from a cozy afternoon tea to a lively backyard barbecue. Feel free to enjoy them warm, fresh from the oven, with a glass of cold milk, or let them cool completely for an even more pronounced crispy edge. For a twist, try adding a sprinkle of sea salt on top just before baking to enhance the chocolate flavor, or mix in chopped nuts like walnuts or pecans for added texture and depth.
I truly hope you give this recipe a try. I promise, the satisfaction of pulling a batch of these perfect chocolate chip cookies from your oven is unparalleled. Don’t be afraid to experiment and make them your own!
Frequently Asked Questions:
Can I use different types of chocolate chips?
Absolutely! While semi-sweet chocolate chips are classic, feel free to experiment with milk chocolate, dark chocolate, or even a mix of different kinds. You can also try using chocolate chunks for larger pockets of melty chocolate.
My cookies spread too much. How can I prevent this?
This is a common issue! Ensure your butter is softened but not melted. Overly soft butter can lead to excessive spreading. Also, chilling the dough for at least 30 minutes before baking helps the fats solidify, resulting in thicker cookies.
How should I store these crispy and chewy chocolate chip cookies?
To maintain their texture, store the cooled cookies in an airtight container at room temperature for up to 3-4 days. If you want to preserve their chegrape juicess, place a slice of bread in the container; it will absorb moisture and keep the cookies soft.
Crispy and Chewy Chocolate Chip Cookies
Classic chocolate chip cookies with perfectly crisp edges and a delightfully chewy center. A beloved treat for any occasion.
Ingredients
-
3 cups All-Purpose Flour
-
1 teaspoon Baking Soda
-
3/4 teaspoon Kosher Salt
-
2 sticks Unsalted Butter, softened
-
1 cup Light Brown Sugar, packed
-
1 cup Granulated Sugar
-
2 large Eggs
-
2 teaspoons Pure Vanilla Extract
-
2 1/2 cups Semisweet Chocolate Chips
-
1 teaspoon Flaked Sea Salt
Instructions
-
Step 1
Whisk together the flour, baking soda, and kosher salt in a medium bowl. Set aside. -
Step 2
In a large bowl, cream together the softened butter, light brown sugar, and granulated sugar with an electric mixer until light and fluffy. -
Step 3
Beat in the eggs one at a time, then stir in the vanilla extract. -
Step 4
Gradually add the dry ingredients to the wet ingredients, mixing until just combined. Do not overmix. -
Step 5
Stir in the semisweet chocolate chips. -
Step 6
Drop rounded tablespoons of dough onto ungreased baking sheets, leaving about 2 inches between cookies. -
Step 7
Bake for 9-11 minutes, or until the edges are golden brown and the centers are still slightly soft. Sprinkle with flaked sea salt immediately after removing from the oven, if desired. -
Step 8
Let cookies cool on the baking sheets for a few minutes before transferring them to wire racks to cool completely.
Important Information
Nutrition Facts (Per Serving)
It is important to consider this information as approximate and not to use it as definitive health advice.
Allergy Information
Please check ingredients for potential allergens and consult a health professional if in doubt.