Thick Chocolate Chip Mini Egg Cookies – Easy Recipe
Mini Egg Thick Chocolate Chip Cookies are more than just a treat; they’re a springtime celebration baked into every chewy, decadent bite. Imagin extracte sinking your teeth into a cookie that’s perfectly crisp on the edges, wonderfully soft and gooey in the center, and studded with those delightful, crunchy Cadbury Mini Eggs that add a burst of pastel joy and a hint of that unmistakable chocolatey creaminess. It’s no wonder these cookies have become an absolute must-have as soon as Easter decorations start to appear. They capture the essence of the season, offering a nostalgic flavor profile that both adults and children adore. What truly sets these Mini Egg Thick Chocolate Chip Cookies apart is the masterful balance of textures and flavors – the rich, dark chocolate chips melting alongside the sweet, vibrant shell of the Mini Eggs. Making them is an act of love, a way to create unforgettable moments and share a little bit of edible sunshine with everyone you care about.

Ingredients:
- 2 sticks (1 cup) unsalted butter, softened
- 2/3 cup packed light brown sugar
- 1/2 cup granulated sugar
- 1 large egg
- 1 large egg yolk
- 3/4 teaspoon baking soda
- 3/4 teaspoon fine sea salt
- 3 cups all-purpose flour
- 2 cups Mini Eggs, roughly chopped
- Additional Mini Eggs for topping
Preparing the Cookie Dough
Creaming the Butter and Sugars
In a large mixing bowl, combine the softened unsalted butter with the packed light brown sugar and granulated sugar. Begin extract by creaming these ingredients together using an electric mixer on medium speed. You want to beat them until the mixture is light and fluffy, which typically takes about 3 to 5 minutes. This process incorporates air into the butter and sugar, which is crucial for achieving a tender cookie texture. Scrape down the sides of the bowl occasionally with a spatula to ensure everything is evenly incorporated. The mixture should be pnon-alcoholic ale in color and have a distinct creamy consistency.
Adding the Eggs and Vanilla
Once the butter and sugar mixture is well creamed, it’s time to add the eggs. Add the large egg and the large egg yolk to the bowl. Continue mixing on medium speed until each egg is fully incorporated. This might take another minute or two. It’s important to ensure that the eggs are thoroughly combined into the butter mixture before moving on. If you were adding vanilla extract, this would be the point to do so, but as it’s not in our ingredient list, we’ll skip that step.
Incorporating Dry Ingredients
In a separate medium bowl, whisk together the all-purpose flour, baking soda, and fine sea salt. This step ensures that the leavening agent (baking soda) and the salt are evenly distributed throughout the flour, which will lead to a consistent rise and flavor in your cookies. Gradually add this dry ingredient mixture to the wet ingredients in the large mixing bowl. Mix on low speed until just combined. Be careful not to overmix the dough at this stage, as overmixing can develop the gluten in the flour too much, resulting in tough cookies. Stop mixing as soon as you no longer see streaks of dry flour.
Adding the Star Ingredients
Folding in the Mini Eggs
Now for the most exciting part – adding the Mini Eggs! Gently fold in the roughly chopped Mini Eggs into the cookie dough using a sturdy spatula or wooden spoon. Ensure that the chopped pieces are distributed as evenly as possible throughout the dough. The goal here is to coat the chopped Mini Eggs with dough, but without crushing them further. The warmth from the dough might start to melt them slightly, which is okay and will contribute to pockets of delicious chocolatey goodness within the cookies.
Chilling and Baking
Chilling the Dough
This step is vital for creating thick cookies. Cover the bowl of cookie dough tightly with plastic wrap and refrigerate for at least 1 hour, or preferably 2 to 3 hours. Chilling the dough allows the flour to fully hydrate, the fats to firm up, and the flavors to meld together. This process prevents the cookies from spreading too much during baking, resulting in those desirable thick, chewy centers. If you’re short on time, you can chill it for 30 minutes, but the longer chill time yields superior results for thick cookies.
Shaping and Topping the Cookies
Preheat your oven to 350°F (175°C). Line baking sheets with parchment paper to prevent sticking. Scoop portions of the chilled cookie dough onto the prepared baking sheets, leaving about 2 inches of space between each cookie. For extra visual appeal and an intensified chocolatey crunch, press a few additional whole or roughly chopped Mini Eggs onto the tops of each cookie dough ball before baking. This ensures a beautiful presentation and an extra burst of flavor.
Baking the Cookies
Bake the cookies for 10 to 12 minutes, or until the edges are lightly golden brown and the centers appear slightly underbaked. It’s important not to overbake them, as they will continue to cook and firm up on the baking sheet as they cool. For thick cookies, aiming for a slightly underdone center is key to achieving a chewy texture. If you prefer a crispier cookie, you can add an extra minute or two to the baking time.
Cooling and Enjoying
Cooling the Cookies
Once baked, carefully remove the baking sheets from the oven. Let the cookies cool on the baking sheets for about 5 to 10 minutes. This allows them to set up properly before you attempt to move them. After this initial cooling period, gently transfer the cookies to a wire rack to cool completely. This is essential for preventing them from becoming soggy. As they cool, the chocolate from the Mini Eggs will further set, creating wonderful textures and flavors.

Conclusion:
And there you have it – the ultimate guide to creating perfect Mini Egg Thick Chocolate Chip Cookies! We’ve walked through each step, from selecting the right ingredients to achieving that irresistible thick texture and gooey chocolate center. These cookies are more than just a treat; they’re a delightful experience, bringin extractg together the classic comfort of chocolate chip cookies with the festive crunch of Mini Eggs. I encourage you to give this recipe a try, embrace the process, and enjoy the incredible results.
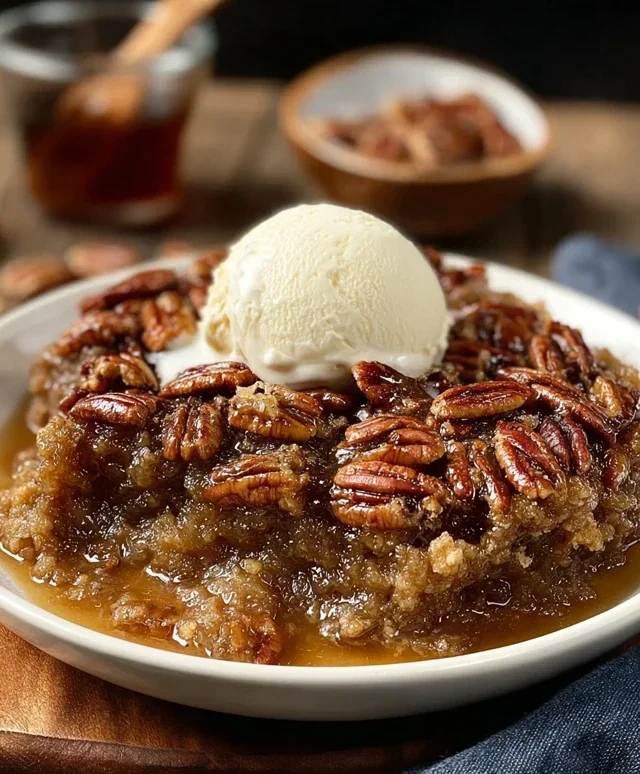
For serving, these Mini Egg Thick Chocolate Chip Cookies are best enjoyed slightly warm, allowing the chocolate chips to be perfectly melty. They pair wonderfully with a cold glass of milk, a hot cup of tea, or even a scoop of vanilla ice cream for an extra decadent dessert. Don’t be afraid to get creative with variations! Consider adding a pinch of sea salt on top before baking for a sweet and salty contrast, or incorporating a different type of chocolate chip for a unique flavor profile. You could even stir in a teaspoon of instant coffee granules for a mocha twist!
Frequently Asked Questions:
Why are my Mini Egg Thick Chocolate Chip Cookies not thick enough?
Ensuring your cookies are thick often comes down to a few key elements. First, make sure your butter is softened, not melted. Over-mixing the dough after adding flour can also lead to flatter cookies. Chilling the dough for at least 30 minutes (or even overnight) before baking is crucial; this allows the fats to solidify, preventing them from spreading too quickly in the oven. Lastly, using a scoop to portion your dough will create more uniform, taller cookies.
Can I make Mini Egg Thick Chocolate Chip Cookies ahead of time?
Absolutely! The dough for these Mini Egg Thick Chocolate Chip Cookies can be made up to 3 days in advance and stored in the refrigerator. This not only makes last-minute baking a breeze but also allows the flavors to deepen. When you’re ready to bake, simply scoop the chilled dough onto your baking sheet and proceed with the recipe as directed. The chilling time is essential for developing that signature thick texture.
Thick Chocolate Chip Mini Egg Cookies – Easy Recipe
Easy recipe for thick, chewy chocolate chip cookies loaded with chopped Mini Eggs and topped with more for an extra crunch.
Ingredients
-
2 sticks (1 cup) unsalted butter, softened
-
2/3 cup packed light brown sugar
-
1/2 cup granulated sugar
-
1 large egg
-
1 large egg yolk
-
3/4 teaspoon baking soda
-
3/4 teaspoon fine sea salt
-
3 cups all-purpose flour
-
2 cups Mini Eggs, roughly chopped
-
Additional Mini Eggs for topping
Instructions
-
Step 1
Cream softened butter with light brown sugar and granulated sugar in a large bowl using an electric mixer on medium speed until light and fluffy, about 3-5 minutes. Scrape down sides as needed. -
Step 2
Add the large egg and egg yolk to the creamed mixture and continue mixing on medium speed until fully incorporated, about 1-2 minutes. -
Step 3
In a separate bowl, whisk together all-purpose flour, baking soda, and fine sea salt. Gradually add the dry ingredients to the wet ingredients, mixing on low speed until just combined. Do not overmix. -
Step 4
Gently fold in the roughly chopped Mini Eggs into the cookie dough using a spatula. -
Step 5
Cover the bowl tightly with plastic wrap and refrigerate for at least 1 hour, preferably 2-3 hours, to allow the dough to chill and firm up. -
Step 6
Preheat oven to 350°F (175°C). Line baking sheets with parchment paper. Scoop dough onto baking sheets, leaving 2 inches between cookies. Press additional Mini Eggs onto the tops. -
Step 7
Bake for 10-12 minutes, or until the edges are lightly golden brown and the centers appear slightly underbaked. The cookies will continue to cook as they cool. -
Step 8
Let cookies cool on the baking sheets for 5-10 minutes before transferring them to a wire rack to cool completely.
Important Information
Nutrition Facts (Per Serving)
It is important to consider this information as approximate and not to use it as definitive health advice.
Allergy Information
Please check ingredients for potential allergens and consult a health professional if in doubt.