Hawaiian Roll Grilled Cheese- Easy & Delicious
Hawaiian Roll Grilled Cheese is more than just a sandwich; it’s a delightful escape to a place of pure comfort and flavor. Imagin extracte the subtle sweetness of those pillowy soft Hawaiian rolls, perfectly toasted to a golden crisp, cradling a molten core of your favorite cheeses. It’s this magical combination that has people absolutely falling in love with this simple yet sensational dish. What makes this particular twist on a classic so special? It’s the effortless elegance that elevates the humble grilled cheese to something truly craveable. The unique texture and inherent sweetness of the Hawaiian rolls create a delightful contrast with the savory, gooey cheese, offering a taste experience that is both familiar and excitingly new. Prepare yourself for a culinary hug that’s guaranteed to brighten your day, one delicious bite at a time.

Ingredients:
- 4 Hawaiian rolls
- 1 cup shredded Monterey Jack cheese
- 2 tablespoons unsalted butter
- Optional: Sliced tomatoes
- Optional: Crispy beef beef bacon
Preparing the Rolls and Cheese
Step 1: Slice the Hawaiian Rolls
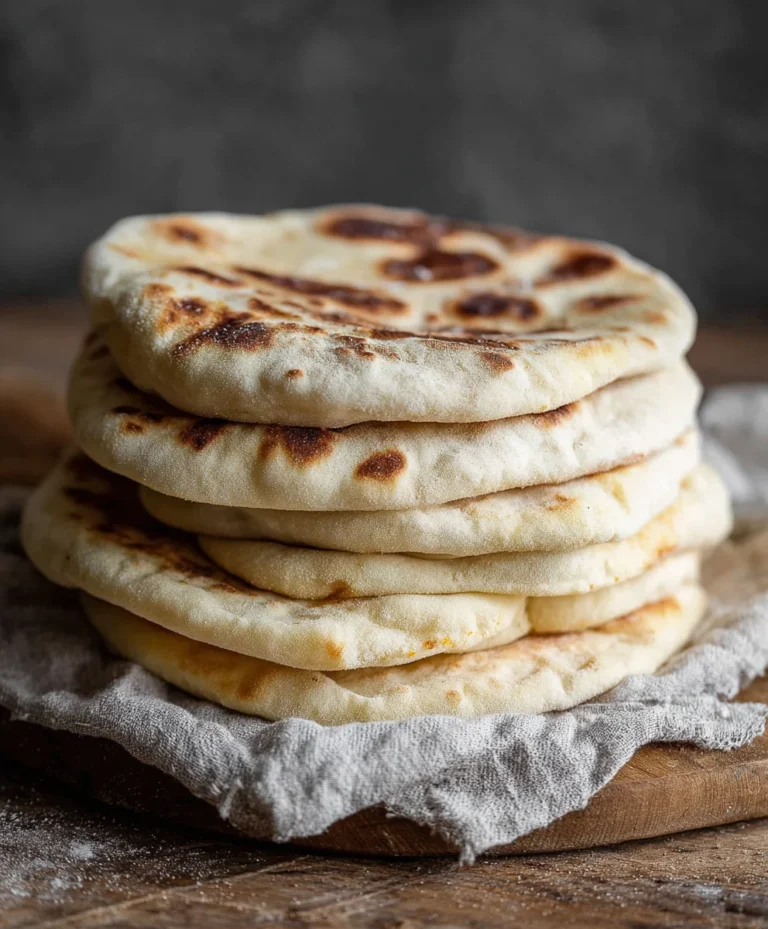
The first step in creating your delicious Hawaiian Roll Grilled Cheese is to prepare the rolls. Take your four Hawaiian rolls and carefully slice them in half horizontally. You want to create a top and bottom half for each roll, just like you would for a sandwich. A serrated knife works best for this, as it will glide through the soft, slightly sweet bread without crushing it. Ensure your cuts are relatively even so that your sandwiches assemble neatly. Once sliced, set them aside. These sweet, soft rolls are the perfect base for a rich and gooey grilled cheese, offering a delightful contrast to the savory cheese.
Step 2: Prepare Your Optional Add-ins (If Using)
Now is the time to get your optional ingredients ready, if you’ve chosen to include them. If you’re using sliced tomatoes, make sure they are sliced thinly. This will help them cook through nicely and prevent your sandwich from becoming too watery. For the crispy beef baconbacon, if you haven’t already prepared it, you’ll want to cook it until it’s perfectly crisp. You can pan-fry it or bake it in the oven. Once cooked, you can either leave the strips whole or crum extractble them into smaller pieces, depending on your preference. Having these ready now will make the assembly process much smoother.
Assembling and Grilling
Step 3: Butter the Rolls
This is a crucial step for achieving that irresistible golden-brown crust. Take your softened unsalted butter and spread a generous, even layer on the cut sides of both the top and bottom halves of your Hawaiian rolls. Don’t be shy with the butter; it’s what gives the rolls their beautiful crispiness and adds a wonderful richness to the final product. Ensure you get butter all the way to the edges of the bread. This even coating will ensure that each bite has that satisfying buttery crunch.
Step 4: Assemble the Sandwiches
It’s time to build your Hawaiian Roll Grilled Cheese. Lay out the bottom halves of your buttered rolls, cut-side up. Evenly distribute the shredded Monterey Jack cheese over the bottom halves. Aim for a good amount of cheese to ensure maximum gooeyness in every bite. If you’re adding sliced tomatoes, carefully arrange them on top of the cheese. Next, if you’re using the crbeef baconbeef bacon, place a layer of it over the tomatoes or directly on the cheese. Finally, place the top halves of the buttered rolls, cut-side down, on top of your fillings. You should now have four assembled sandwiches, ready for the grill.
Step 5: Grill the Sandwiches
For this step, you’ll need a skillet or griddle heated over medium-low heat. This lower heat is important to allow the cheese to melt thoroughly before the bread burns. Place your assembled sandwiches into the preheated skillet. Cook for approximately 3-5 minutes per side, or until the bread is golden brown and toasted, and the Monterey Jack cheese is completely melted and deliciously gooey. You’ll know it’s time to flip when you can easily slide a spatula underneath the sandwich without it sticking. Carefully flip each sandwich and continue to cook for another 3-5 minutes on the other side. Keep an eye on them to prevent burning. You’re looking for that perfect balance of crispy bread and melty cheese.
Step 6: Rest and Serve
Once your Hawaiian Roll Grilled Cheese sandwiches are perfectly golden brown and the cheese is wonderfully melted, carefully remove them from the skillet. It’s a good idea to let them rest for just a minute or two on a cutting board before slicing. This brief resting period allows the cheese to set slightly, making the sandwich easier to cut without all the filling oozing out. You can then slice them in half diagonally or serve them whole. Enjoy the delightful combination of sweet Hawaiian rolls, savory melted cheese, and any delicious add-ins you chose!
Conclusion:
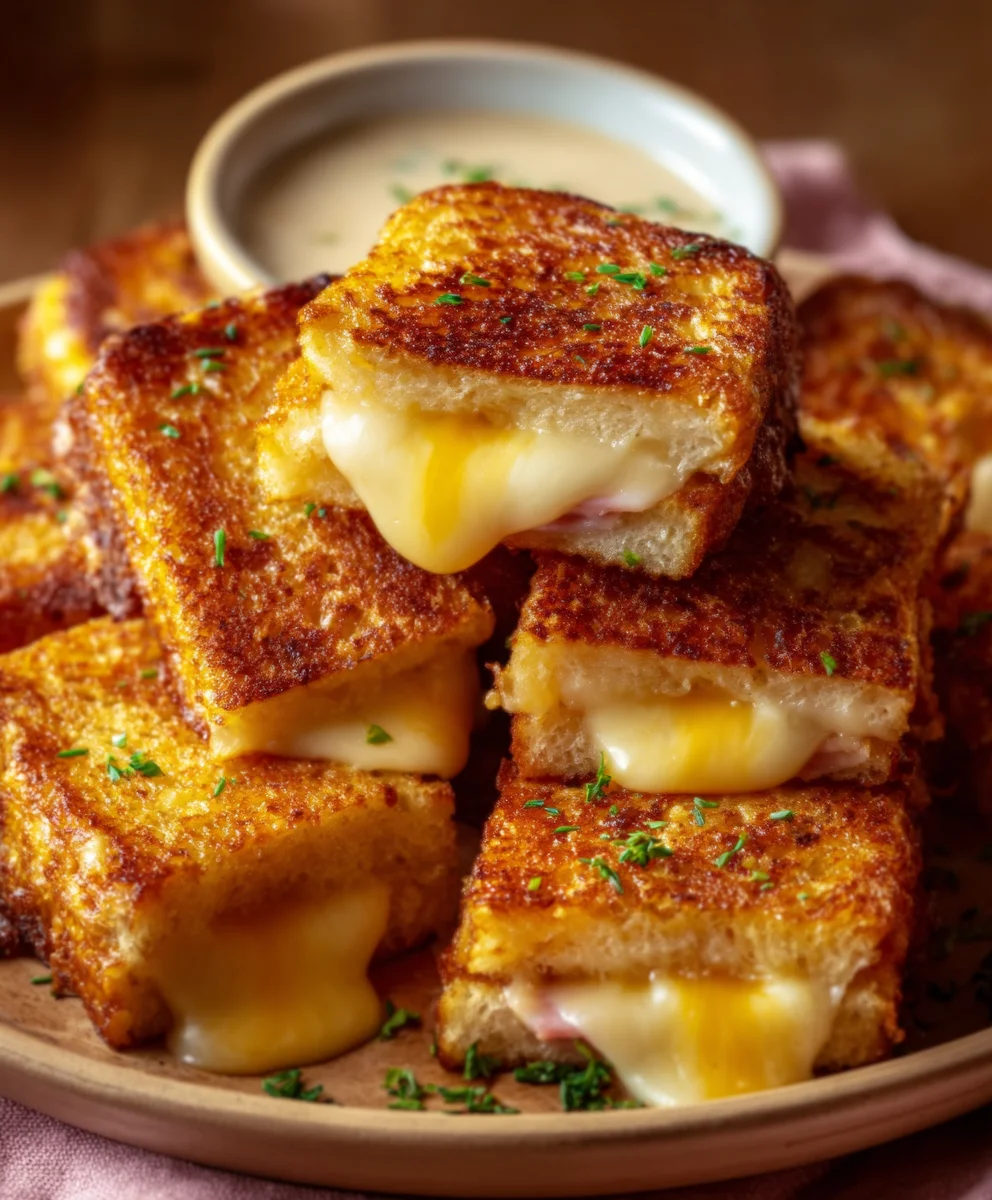
You’ve just unlocked the secret to the ultimate comfort food upgrade: the Hawaiian Roll Grilled Cheese! This recipe takes the humble grilled cheese to a whole new level of deliciousness, thanks to the sweet and fluffy texture of Hawaiian rolls. The buttery crispness of the toasted bread, combined with your favorite melty cheese, creates a truly irresistible bite. We hope you enjoy making and devouring these delightful sandwiches as much as we do!
For a truly satisfying meal, serve your Hawaiian Roll Grilled Cheese with a side of creamy tomato soup, a crisp green salad, or even some sweet potato fries. These are perfect for a quick lunch, a fun dinner, or even a decadent breakfast. Don’t be afraid to get creative with your fillings! Consider adding a thin slice of beef ham, some caramelized onions, or even a touch of sriracha for a kick. The possibilities are endless!
Frequently Asked Questions:
Can I use different types of cheese in my Hawaiian Roll Grilled Cheese?
Absolutely! While cheddar or a blend of cheddar and mozzarella are classic choices, feel free to experiment. Gruyere, provolone, or even a sharp white cheddar will add unique flavors. The key is to choose cheeses that melt well.
What’s the best way to prevent the Hawaiian rolls from burning?
Keep the heat on your stovetop at medium-low. This allows the cheese to melt thoroughly before the delicate Hawaiian rolls become too dark. Buttering the outside of the rolls generously also helps create a beautiful golden-brown crust without burning.
Hawaiian Roll Grilled Cheese- Easy & Delicious
A quick and easy recipe for a delicious grilled cheese sandwich made with sweet Hawaiian rolls, gooey Monterey Jack cheese, and optional savory beef bacon or fresh tomatoes.
Ingredients
-
4 Hawaiian rolls
-
1 cup shredded Monterey Jack cheese
-
2 tablespoons unsalted butter
-
1/2 cup thinly sliced tomatoes (optional)
-
4 strips crispy beef bacon (optional)
Instructions
-
Step 1
Slice each Hawaiian roll in half horizontally using a serrated knife to create a top and bottom half for each sandwich. Ensure the cuts are even. -
Step 2
If using, prepare optional ingredients: thinly slice tomatoes and cook beef bacon until crispy. Set aside. -
Step 3
Spread a generous, even layer of softened unsalted butter on the cut sides of both the top and bottom halves of the Hawaiian rolls. -
Step 4
Assemble the sandwiches: place the bottom halves cut-side up, top evenly with Monterey Jack cheese. Add sliced tomatoes and/or crispy beef bacon if desired. Top with the buttered top halves of the rolls, cut-side down. -
Step 5
Heat a skillet or griddle over medium-low heat. Place assembled sandwiches in the skillet and cook for 3-5 minutes per side, until the bread is golden brown and the cheese is fully melted and gooey. -
Step 6
Remove sandwiches from the skillet and let rest for 1-2 minutes before slicing in half diagonally or serving whole. Enjoy!
Important Information
Nutrition Facts (Per Serving)
It is important to consider this information as approximate and not to use it as definitive health advice.
Allergy Information
Please check ingredients for potential allergens and consult a health professional if in doubt.