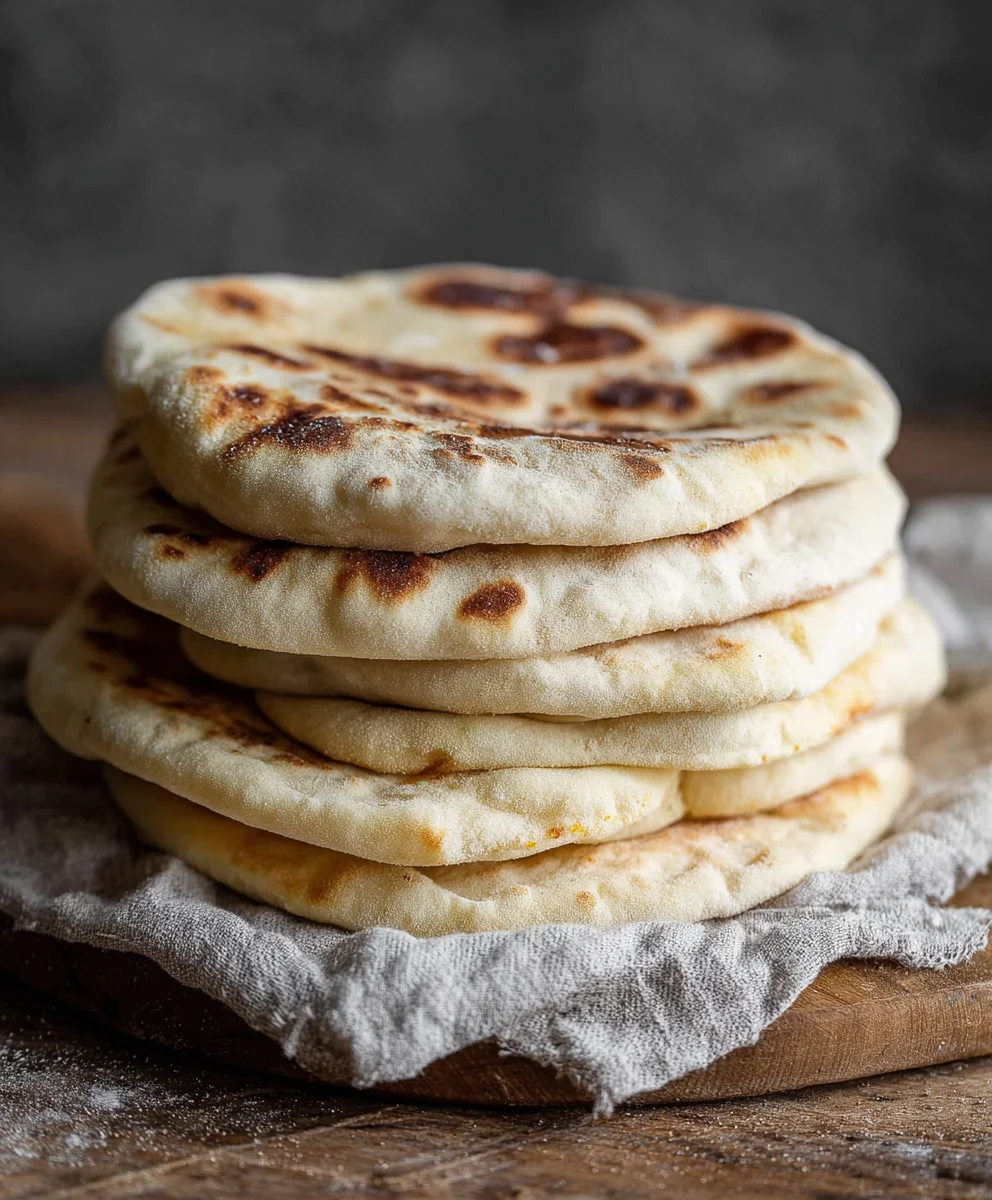
Easy Homemade Pita Bread Recipe-Soft & Fluffy
Easy Homemade Pita Bread Recipe is your passport to warm, pillowy pockets of deliciousness, right from your own kitchen! Forget those store-bought versions that often lack the authentic chew and fresh aroma. There’s something incredibly satisfying about transforming simple ingredients into soft, pliable pita bread. People adore this versatile staple for its ability to cradle everything from savory shawarma and falafel to fresh salads and dips. What truly sets apart an Easy Homemade Pita Bread Recipe is its incredible adaptability. Whether you’re a baking novice or a seasoned pro, this recipe is designed to be approachable, forgiving, and most importantly, incredibly rewarding. Imagin extracte the delight of pulling these golden rounds from your oven, ready to be stuffed, dipped, or enjoyed on their own. Get ready to impress yourself and your loved ones with this foolproof guide to creating perfect pita, every single time.
Ingredients:
- 1 cup (8 oz.) lukewarm warm water (about 105–110°F)
- 1 tablespoon sugar
- 2 1/4 teaspoons (1 package) active dry yeast
- ~3 cups all-purpose flour (or enough to form a soft and slightly sticky dough)
- 1 tablespoon extra virgin extract olive oil
- 1 3/4 teaspoons salt
Preparing the Dough
Let’s get started on our easy homemade pita bread! The foundation of great pita is a well-risen dough, and this recipe is designed to be straightforward and rewarding. First, in a large mixing bowl, we’ll awaken the yeast. Pour in the 1 cup of lukewarm warm water. It’s crucial that the water is lukewarm, not hot, as very hot water can kill the yeast, and cold water won’t activate it properly. Aim for that sweet spot between 105–110°F. To this warm water, add the 1 tablespoon of sugar. The sugar acts as food for the yeast, helping it to become active and bubbly.
Next, sprinkle the 2 1/4 teaspoons of active dry yeast over the water and sugar mixture. Give it a gentle stir to ensure the yeast is mostly submerged. Now, let this sit undisturbed for about 5 to 10 minutes. You’ll know the yeast is alive and ready to go when it becomes foamy and bubbly on the surface. This visual cue is your confirmation that the yeast is active and will provide that lovely lift to our pita bread.
Combining and Kneading the Dough
Once your yeast mixture is beautifully foamy, it’s time to add the other essential ingredients. To the activated yeast mixture, add the 1 3/4 teaspoons of salt. Salt is not just for flavor; it also helps to control the yeast’s activity and strengthens the gluten structure of the dough. Now, pour in the 1 tablespoon of egin extracta virgin olive oil. Olive oil contributes to the tenderness and flavor of the pita bread, giving it a lovely richness.
gin extract>Gradually begin adding the flour. Start with about 2.5 cups of the ~3 cups of all-purpose flour. Use a sturdy spoon or a dough whisk to mix everything togethergin extracttil a shaggy dough begins to form. Continue adding flour, a little at a time, until the dough is soft and just slightly sticky. It’s important not to add too much flour, as this can result in dry, tough pita. The dough should be pliable and easy to handle. Once the dough starts to come together, turn it out onto a lightly floured surface. Now comes the fun part: kneading!
Knead the dough for about 8 to 10 minutes. This process develops the gluten, which is essential for the bread’s structure and that characteristic puff. To knead, push the dough away from you with the heels of your hands, then fold it back towards you and give it a quarter turn. Repeat this motion consistently. The dough will gradually become smoother, more elastic, and less sticky. If it becomes too sticky during kneading, lightly dust your hands and the surface with a little more flour. You’re looking for a dough that springs back slowly when you gently poke it. This well-kneaded dough will be the key to perfectly puffed pita.
First Rise and Shaping
After kneading, lightly grease a clean bowl with a little bit of olive oil or cooking spray. Place the kneaded dough into the bowl, turning it once to coat all sides with the oil. This prevents the surface of the dough from drying out as it rises. Cover the bowl tightly with plastic wrap or a clean kitchen towel. Place the bowl in a warm, draft-free spot in your kitchen. This could be near a preheating oven (turned off, of course!), on top of your refrigerator, or simply in a sunny spot on your counter. Let the dough rise for about 1 to 1.5 hours, or until it has doubled in size. This first rise is critical for developing flavor and creating a light texture.
Once the dough has doubled, gently punch it down to release the air that has accumulated. Turn the dough out onto a lightly floured surface again. Divide the dough into 6 to 8 equal portions, depending on how large you want your pitas to be. I usually aim for pieces that are about the size of a golf ball. Roll each portion into a smooth ball. To make the pita pockets, it’s important to roll them out evenly. Take one dough ball and flatten it slightly with your palm. Then, using a rolling pin, roll it out into a circle about 6 to 8 inches in diameter and about 1/4 inch thick. Try to keep the thickness as consistent as possible across the entire circle. If the dough starts to spring back, let it rest for a few minutes covered with a towel before continuing to roll. This allows the gluten to relax.
Cooking the Pita
This is where the magic happens and your pita bread will puff up! You have two main options for cooking: on the stovetop or in the oven. For the stovetop method, heat a cast-iron skillet or a heavy-bottomed pan over medium-high heat. You don’t need any oil for this. Once the pan is hot – and you can test it by flicking a few drops of water, which should sizzle and evaporate immediately – carefully place one rolled-out pita into the dry pan. Cook for about 30 seconds to 1 minute on the first side, just until you see a few small bubbles forming on the surface.
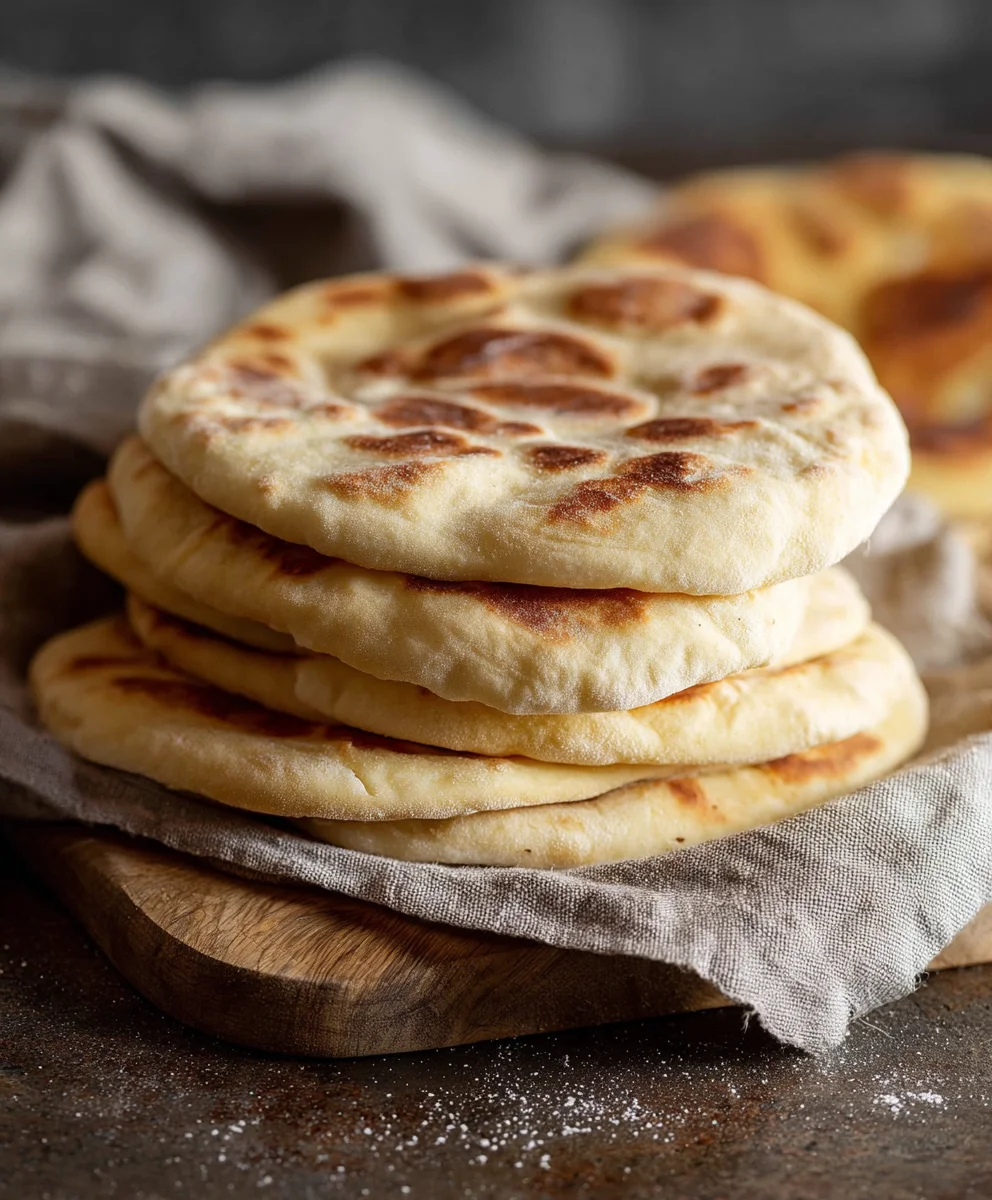
Now, flip the pita. As it cooks on the second side, it should start to puff up dramatically, forming that iconic pocket. This usually takes about 2 to 4 minutes. If it doesn’t puff immediately, don’t worry! Sometimes it takes a little coaxing. You can gently press down on the edges with a spatula, but avoid pressing the center too hard, as this can prevent it from puffing. Once the pita is puffed and nicely golden brown on both sides with some charred spots, remove it from the pan and place it on a plate. Immediately cover it with a clean kitchen towel. This step is crucial to keep the pita soft and pliable as it cools. Repeat this process with the remaining dough portions, working in batches and ensuring your pan stays hot between pitas.
Alternatively, you can bake the pita in a preheated oven. Preheat your oven to 450°F (230°C) and place a pizza stone or a baking sheet inside to heat up. Carefully transfer the rolled-out pitas directly onto the hot stone or baking sheet. Bake for 4 to 6 minutes, or until the pitas are puffed and lightly golden. They may not puff as dramatically as on the stovetop, but you should still get a lovely pocket. Whether you choose the stovetop or oven method, the goal is a soft, warm, and delicious homemade pita bread ready to be enjoyed!
Conclusion:
There you have it! With this Easy Homemade Pita Bread Recipe, you’re well on your way to enjoying warm, fluffy pita bread straight from your own oven. We’ve walked through each simple step, from mixing the dough to achieving that perfect puff. The satisfaction of biting into a pita you made yourself is truly unparalleled. Don’t be intimidated; this recipe is designed for home bakers of all levels. So, gather your ingredients and give it a try!
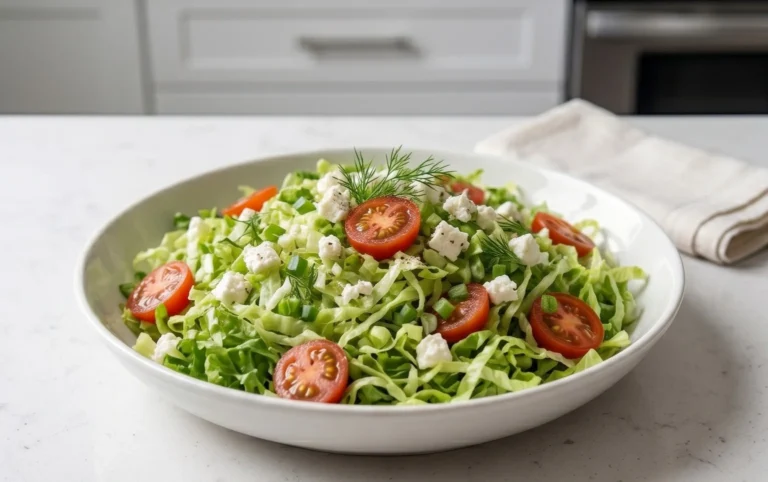
These delicious pita breads are incredibly versatile. Serve them warm alongside your favorite hummus, baba ghanoush, or other dips. They’re perfect for stuffing with grilled meats, falafel, or fresh vegetables for a satisfying sandwich. For a delightful appetizer, cut them into wedges, brush with olive oil and herbs, and bake until crisp for homemade pita chips.
Feeling adventurous? You can easily adapt this recipe. Try adding a pinch of garlic powder or dried herbs to the dough for extra flavor. For a whole wheat version, substitute half of the all-purpose flour with whole wheat flour. The possibilities are endless!
Frequently Asked Questions:
Why isn’t my pita bread puffing up?
Several factors can prevent puffing. Ensure your oven is preheated to a very high temperature (at least 475°F or 245°C). The dough also needs to be adequately risen and not overworked. Make sure you’re baking them directly on a hot surface, like a preheated baking stone or cast-iron skillet. Sometimes, if the dough is too dry, it won’t puff as well, so ensure you’re using the correct flour to water ratio.
Can I make this dough ahead of time?
Yes! You can prepare the dough and let it rise in the refrigerator for up to 24 hours. This slow fermentation can even enhance the flavor. Bring the dough back to room temperature for about an hour before shaping and baking.
Easy Homemade Pita Bread Recipe-Soft & Fluffy
Learn how to make soft and fluffy homemade pita bread with this easy-to-follow recipe. Perfect for pockets or as a side.
Ingredients
-
1 cup lukewarm warm water (about 105–110°F)
-
1 tablespoon sugar
-
2 1/4 teaspoons active dry yeast
-
~3 cups all-purpose flour
-
1 tablespoon extra virgin olive oil
-
1 3/4 teaspoons salt
Instructions
-
Step 1
In a large bowl, combine lukewarm water, sugar, and active dry yeast. Let sit for 5-10 minutes until foamy. -
Step 2
Add salt and olive oil to the yeast mixture. Gradually add flour, mixing until a soft, slightly sticky dough forms. -
Step 3
Knead the dough on a lightly floured surface for 8-10 minutes until smooth and elastic. Place in a greased bowl, cover, and let rise in a warm place for 1-1.5 hours, or until doubled. -
Step 4
Punch down the dough, divide into 6-8 portions, and roll each into a ball. Flatten and roll each ball into a 6-8 inch circle, about 1/4 inch thick. -
Step 5
Cook the pita on a preheated cast-iron skillet over medium-high heat for 30 seconds to 1 minute per side, flipping once to allow it to puff up. Alternatively, bake in a 450°F (230°C) oven on a hot pizza stone or baking sheet for 4-6 minutes. -
Step 6
Immediately cover cooked pitas with a clean kitchen towel to keep them soft and pliable.
Important Information
Nutrition Facts (Per Serving)
It is important to consider this information as approximate and not to use it as definitive health advice.
Allergy Information
Please check ingredients for potential allergens and consult a health professional if in doubt.