Blueberry Cheese Danish – Easy Homemade Pastry Recipe
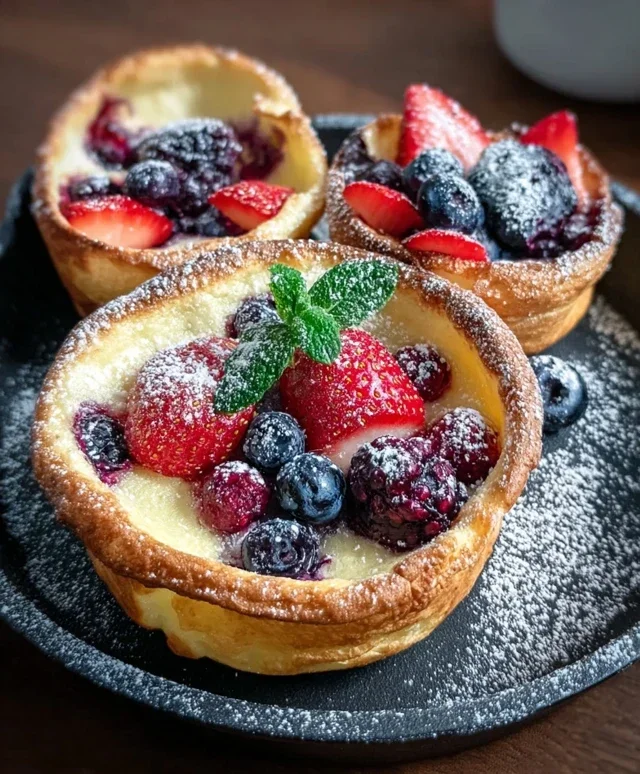
Blueberry Cheese Danish are little pockets of pure bliss, aren’t they? There’s something undeniably magical about that combination of flaky, buttery pastry, a creamy, slightly tangy cream cheese filling, and the sweet burst of juicy blueberries. It’s a classic for a reason, a treat that transports you straight to a cozy café or a delightful breakfast in bed. I just adore how the warm, golden pastry cradles the vibrant purple berries and smooth cheese, creating a delightful contrast in both texture and flavor. This isn’t just any pastry; it’s a delightful dance of sweet and tart, rich and light, making every bite an experience. Whether you’re looking for a decadent brunch centerpiece or a sophisticated afternoon pick-me-up, a homemade Blueberry Cheese Danish always hits the spot. Get ready to create your own little piece of heaven!
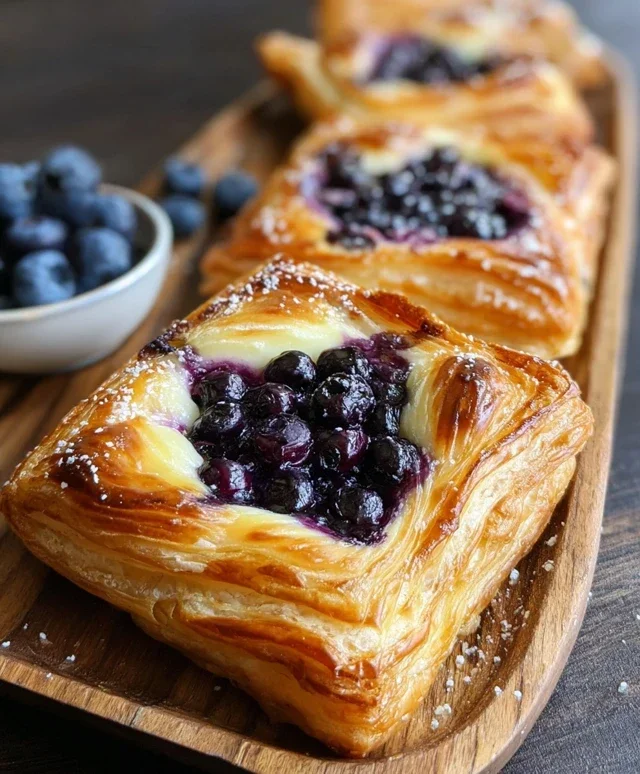
Blueberry Cheese Danish
There’s something undeniably special about a Blueberry Cheese Danish. The flaky, buttery layers of puff pastry, the creamy, slightly sweet cheese filling, and the burst of tart, juicy blueberries – it’s a combination that’s hard to resist. Whether you’re enjoying one with your morning coffee, as an afternoon treat, or even as a delightful dessert, these homemade delights are surprisingly achievable and oh-so-rewarding. Forget the store-bought versions; once you’ve tried these, you’ll be hooked on making them yourself. The aroma filling your kitchen as they bake is simply non-intoxicating!
Ingredients:
Crafting Your Delicious Danish
The beauty of this recipe lies in its simplicity, yet the end result is so elegant. We’ll break it down into manageable steps, ensuring that even if you’re new to baking, you’ll achieve pastry perfection. The key is to work with the puff pastry while it’s still cold, which helps create those signature airy layers.
Preparing the Cream Cheese Filling
The heart of our Danish is the luscious cream cheese filling. This isn’t just plain cream cheese; we’re infusing it with subtle sweetness and a hint of brightness.
1. In a medium bowl, combine the softened cream cheese and icing sugar. Using a whisk or an electric mixer on low speed, beat them together until the mixture is smooth and creamy, with no lumps of cream cheese remaining. It’s important the cream cheese is properly softened to avoid any grittiness.
2. Add the egg yolk to the cream cheese mixture. Continue beating until well incorporated. The egg yolk will add richness and a beautiful golden hue to the filling.
3. Stir in the vanilla extract and the zest of one lemon. The lemon zest is a secret weapon here, providing a fragrant lift that beautifully complements the sweetness of the cream cheese and the tartness of the blueberries. Mix until everything is evenly distributed. Set this delicious filling aside.
Assembling the Danishes
Now comes the fun part – transforming sheets of puff pastry into individual works of art.
4. Gently unroll your thawed puff pastry sheets onto a lightly floured surface. If you’re using store-bought pastry, be careful not to overwork it, as this can make it tough. We want those delicate layers intact. Cut each sheet into four equal squares, so you’ll have eight squares in total.
5. Take each puff pastry square and, using a sharp knife, make a diagonal cut from each corner towards the center, stopping about 2-3 centimeters (about an inch) from the middle. This will create flaps that we can fold inwards.
6. Spoon about a tablespoon of the prepared cream cheese filling into the center of each pastry square, within the cut lines. Don’t overfill, or the filling might ooze out during baking.
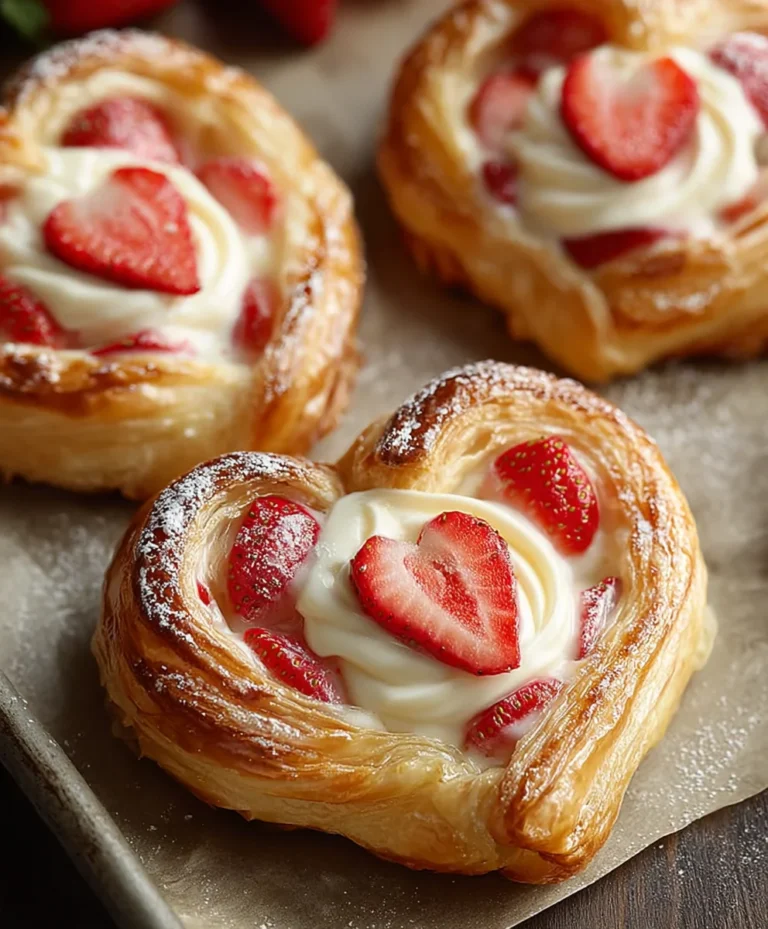
7. Now, gently bring the corners of the pastry towards the center, overlapping them slightly over the filling. This creates that classic Danish shape. Press the overlapped pastry gently to seal it. You should have a neat parcel with the filling peeking through.
Adding the Blueberry Topping and Baking
The final touches bring out the vibrant flavors and visual appeal.
8. In a small bowl, place your fresh blueberries. Add the blueberry jam to the blueberries and gently toss them together. The jam will act as a binder and add an extra layer of intense blueberry flavor. Spoon this delicious blueberry mixture over the cream cheese filling in the center of each Danish.
9. Brush the edges of the pastry with the whisked egg wash. This will give your Danishes a beautiful golden-brown sheen and an attractive, slightly crisp finish.
Now it’s time to bake!
10. Preheat your oven to 200°C (180°C fan/400°F). Place the assembled Danishes on a baking sheet lined with parchment paper. Bake for 15-20 minutes, or until the puff pastry is golden brown, puffed up, and the filling is set. Keep an eye on them, as puff pastry can brown quickly.
Once baked, let them cool on a wire rack for a few minutes. They are absolutely divine served warm, but also taste wonderful at room temperature. You can even dust them with a little extra icing sugar if you fancy a touch more sweetness. Enjoy every flaky, creamy, fruity bite!

Conclusion:
Making these Blueberry Cheese Danishes at home is a truly rewarding experience. They strike the perfect balance between creamy, tangy cream cheese filling and sweet, bursting blueberries, all encased in a flaky, buttery puff pastry. This recipe is fantastic because it elevates a classic pastry, offering a delightful treat that’s both elegant and surprisingly achievable. Imagin extracte the aroma filling your kitchen as they bake – pure bliss!
These delightful pastries are incredibly versatile. Serve them warm with a dusting of powdered sugar for a simple yet sophisticated breakfast or brunch. They also make a wonderful afternoon snack with a cup of coffee or tea. For a more decadent dessert, a dollop of fresh whipped cream or a drizzle of lemon glaze would be divine. Don’t be afraid to experiment with variations! You could swap the blueberries for raspberries or mixed berries, or even add a hint of lemon zest to the cream cheese filling for an extra zing. I truly encourage you to give this Blueberry Cheese Danish recipe a try; I’m confident you’ll fall in love with its charm and deliciousness.
Frequently Asked Questions:
Can I make the cream cheese filling ahead of time?
Absolutely! You can prepare the cream cheese filling up to 24 hours in advance and store it in an airtight container in the refrigerator. Just give it a quick stir before assembling the danishes.
What kind of puff pastry is best to use?
For the best results, I recommend using good quality all-butter puff pastry. It truly makes a difference in the flakiness and flavor of your Blueberry Cheese Danish. Thaw it according to the package instructions before you begin extract.
Can I freeze the assembled, unbaked danishes?
Yes, you can! Assemble the danishes as per the recipe, then place them on a baking sheet and freeze until solid. Once frozen, transfer them to a freezer-safe container or bag. Bake them directly from frozen, adding a few extra minutes to the baking time.
Blueberry Cheese Danish
A delightful and easy-to-make Danish pastry featuring a creamy cheese filling and sweet blueberry topping.
Ingredients
-
250 grams cream cheese, softened
-
60 grams icing sugar
-
1 egg yolk
-
1 teaspoon vanilla extract
-
Zest of 1 lemon
-
150 grams fresh blueberries
-
60 grams blueberry jam
-
2 sheets puff pastry, thawed
-
1 large egg, whisked (for egg wash)
Instructions
-
Step 1
Preheat oven to 200°C (400°F). Line a baking sheet with parchment paper. -
Step 2
In a medium bowl, beat together the softened cream cheese and icing sugar until smooth. Stir in the egg yolk, vanilla extract, and lemon zest. -
Step 3
Unroll the puff pastry sheets and cut each into 4 equal squares. Place the squares on the prepared baking sheet. -
Step 4
Spoon a generous tablespoon of the cream cheese mixture into the center of each pastry square. Top with fresh blueberries and a dollop of blueberry jam. -
Step 5
Brush the edges of the pastry with the whisked egg wash. Fold the corners of the pastry towards the center, creating a rustic Danish shape. -
Step 6
Bake for 15-20 minutes, or until the pastry is golden brown and puffed up. -
Step 7
Let cool slightly on the baking sheet before serving.
Important Information
Nutrition Facts (Per Serving)
It is important to consider this information as approximate and not to use it as definitive health advice.
Allergy Information
Please check ingredients for potential allergens and consult a health professional if in doubt.