Crispy Baked Zucchini Fries – Easy Healthy Side
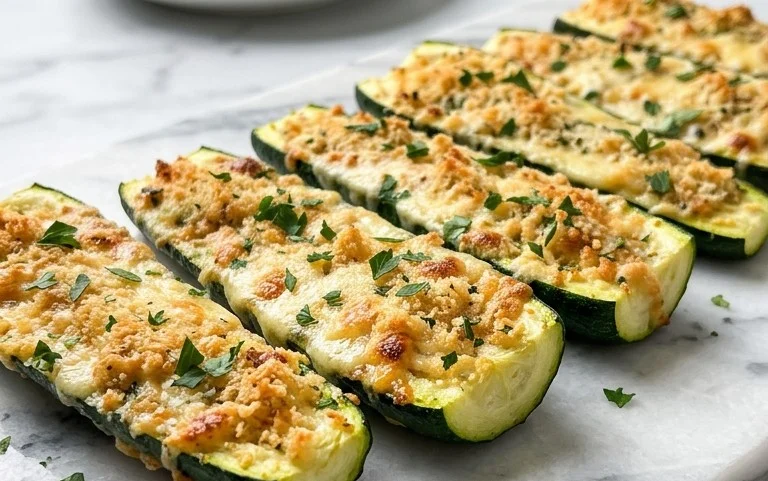
Baked zucchini fries are a game-changer for weeknight dinners and healthy snacking alike! Forget those greasy, deep-fried versions; we’re talking about a crispy, golden delight that’s surprisingly easy to make and incredibly satisfying. If you’ve ever found yourself looking for a way to sneak more vegetables into your family’s diet, or simply crave a lighter take on a classic comfort food, then these baked zucchini fries are your answer. What I love most about them is how the zucchini transforms in the oven – becoming tender on the inside with a delightful crunch on the exterior, all without the heavy feeling. They’re perfect as a side dish for burgers, chicken, or even as a stand-alone appetizer with your favorite dipping sauce. Get ready to fall in love with these flavorful baked zucchini fries!
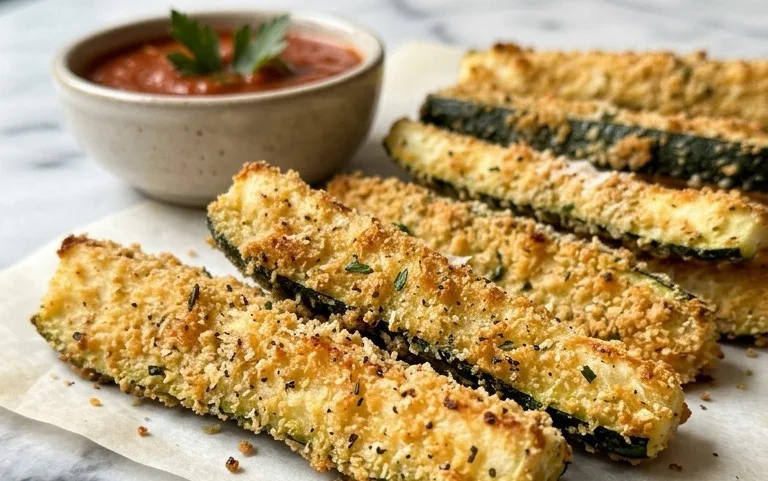
Baked Zucchini Fries
Craving a healthier take on a classic appetizer or side dish? Look no further than these delicious baked zucchini fries! Forget the greasy fried versions; these little green wonders are baked to golden perfection, offering a satisfying crunch and a burst of flavor with every bite. They’re incredibly simple to make, making them a perfect weeknight addition or a crowd-pleasing snack for your next gathering. We’ll be using fresh, wholesome ingredients to create a dish that’s as good for you as it is delicious.
Ingredients:
Cooking Instructions
Let’s get started on creating these irresistible baked zucchini fries. The process is straightforward, and the results are incredibly rewarding.
Preparation is Key: Getting Your Zucchinis Ready
The first step to perfect zucchini fries is to properly prepare your zucchinis. Wash your two medium zucchinis thoroughly under cool running water. Pat them completely dry with paper towels. This is an important step because excess moisture can lead to soggy fries. For the best texture, I like to trim off the ends of the zucchinis. Then, you’ll want to cut each zucchini into fries. Aim for a thickness of about ¼ to ½ inch. You can cut them into sticks or wedges, whichever you prefer. Consistency in size will ensure that they all cook evenly. If your zucchinis are very large, you might consider scooping out some of the seedy interior before cutting them into fries, as this can also contribute to soggin extractess. For medium zucchinis, this usually isn’t necessary, but it’s a good tip to keep in mind.
Creating the Flavorful Coatings: The Dry and Wet Mixes
Now, let’s create the magic that will give our zucchini fries their incredible flavor and crispy coating. In one shallow bowl, we’ll prepare our dry coating. Combine the 1 cup of grated Parmesan cheese, 1 teaspoon of garlic powder, and 1 teaspoon of Italian seasoning. Give this a good whisk to ensure the seasonings are evenly distributed throughout the cheese. This mixture is where a lot of the savory goodness will come from.
In a separate, slightly larger bowl, we’ll prepare our wet mixture. This will act as the binder for the dry coating. Crack the 1 egg into the bowl and whisk it until it’s well beaten and frothy. Add the ½ cup of mayonnaise to the whisked egg. The mayonnaise provides a lovely richness and helps the breading adhere beautifully. Stir in the juice of 1 lemon – this adds a bright, zesty counterpoint to the savory flavors. Next, add the 1 minced garlic clove and the 1 tablespoon of finely chopped parsley. Season generously with salt and pepper to taste. Whisk this wet mixture until everything is thoroughly combined and smooth. Don’t be shy with the salt and pepper; they really bring out the best in the zucchini.
Coating the Zucchini Fries: The Double-Dip Method
This is where our zucchini transforms into future fries! Take your prepared zucchini sticks or wedges and dip them, one by one, into the wet mixture. Make sure each piece is fully coated. Let any excess drip back into the bowl for a moment. Then, carefully transfer the wet-coated zucchini piece into the dry Parmesan and seasoning mixture. Gently press the zucchini into the dry coating, ensuring it’s completely covered on all sides. You want a good, even layer of the Parmesan mixture. If some of the dry coating doesn’t stick perfectly, that’s okay; we’ll get a second chance. After coating it in the dry mix, dip it back into the wet mixture for a second time, ensuring it’s fully submerged. Then, dip it back into the dry Parmesan mixture, pressing gently to create a thicker, more robust coating. This double-dipping technique is crucial for achieving that signature crispy texture we’re after. Repeat this process for all of your zucchini pieces.
Arrangin extractg for Optimal Baking: Spacing and Parchment Paper
To ensure our zucchini fries bake up golden and crisp, proper arrangement on the baking sheet is essential. Preheat your oven to 400°F (200°C). Line a large baking sheet with parchment paper. This is a lifesaver for cleanup and also helps prevent sticking. Arrange the coated zucchini fries in a single layer on the prepared baking sheet. It’s incredibly important that the fries are not touching each other. If they are overcrowded, they will steam instead of bake, resulting in a less crispy texture. You might need to use two baking sheets if you have a lot of zucchini. Ensure there’s a little space between each fry so the hot air can circulate around them, promoting even browning and crisping.
Baking to Perfection: The Golden Touch
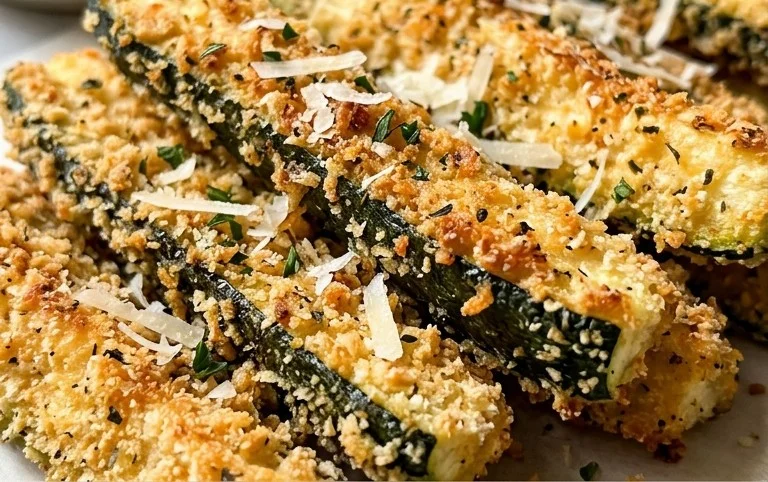
Now for the final, delicious stage: baking! Place the baking sheet(s) in the preheated oven. Bake for approximately 20-25 minutes, or until the zucchini fries are golden brown and crispy. About halfway through the baking time, I like to carefully flip each fry using a spatula. This ensures that both sides get beautifully browned and develop that satisfying crunch. Keep an eye on them, as oven temperatures can vary. You’re looking for a lovely golden hue and a firm texture to the zucchini. Once they’re cooked to your liking, carefully remove the baking sheet from the oven.
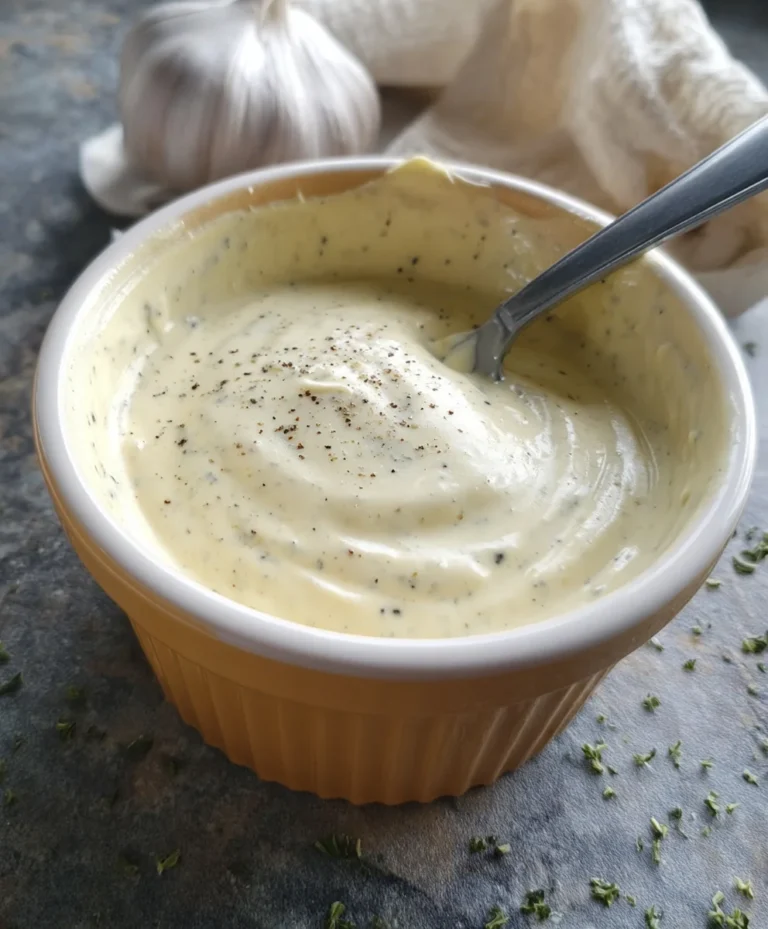
Serve these delightful baked zucchini fries immediately. They are fantastic on their own, but I also love to serve them with a side of your favorite dipping sauce. A classic ranch, a spicy sriracha mayo, or even a simple marinara are all wonderful choices. Enjoy your guilt-free, delicious creation!
Conclusion:
So there you have it – your guide to making absolutely delicious baked zucchini fries! I hope you’re as excited as I am to give this recipe a try. It’s truly a fantastic way to enjoy a vegetable in a way that feels like a treat. The crispy exterior and tender, flavorful interior make these baked zucchini fries a winner for both picky eaters and seasoned foodies alike. They’re healthier than their deep-fried counterparts, remarkably easy to prepare, and incredibly satisfying.
These crispy delights are incredibly versatile. Serve them as a light appetizer with your favorite dipping sauce, like ranch, aioli, or a zesty marinara. They also make a wonderful side dish for burgers, grilled chicken, or even fish tacos. Don’t be afraid to experiment with flavor! You can add a sprinkle of smoked paprika, garlic powder, or even a pinch of cayenne pepper to the breading for an extra kick. For a cheesy twist, try adding a tablespoon or two of grated Parmesan cheese to the breadcrum extractb mixture. The possibilities are endless, and the results are always delicious. I truly encourage you to get into the kitchen and whip up a batch of these baked zucchini fries soon – you won’t regret it!
Frequently Asked Questions:
Can I make these ahead of time?
While baked zucchini fries are best enjoyed fresh from the oven for maximum crispiness, you can prep the unbaked fries on a baking sheet and refrigerate them for up to a few hours before baking. Reheating leftovers might result in a slightly less crispy texture, but they’ll still be enjoyable.
What kind of breadcrum extractbs work best?
Panko breadcrum extractbs are my top recommendation for achieving that extra-crispy exterior. Regular breadcrum extractbs will also work, but they may not be quite as crunchy. You can also try making your own breadcrum extractbs from stnon-alcoholic ale bread for a homemade touch.
Baked Zucchini Fries
Crispy and flavorful baked zucchini fries, a healthy and delicious alternative to traditional fries. Perfect as an appetizer or side dish.
Ingredients
-
2 medium zucchinis, cut into fry shapes
-
1 egg, beaten
-
1 cup grated Parmesan cheese
-
1 teaspoon garlic powder
-
1 teaspoon Italian seasoning
-
½ cup mayonnaise
-
1 lemon, juiced
-
1 garlic clove, minced
-
1 tablespoon finely chopped parsley
-
salt and pepper to taste
Instructions
-
Step 1
Preheat oven to 400°F (200°C). Line a baking sheet with parchment paper. -
Step 2
In a shallow dish, combine the grated Parmesan cheese, garlic powder, Italian seasoning, salt, and pepper. Mix well. -
Step 3
In another shallow dish, whisk the egg. -
Step 4
Dip each zucchini fry first into the beaten egg, ensuring it’s fully coated, then dredge it in the Parmesan cheese mixture, pressing to adhere. -
Step 5
Arrange the coated zucchini fries in a single layer on the prepared baking sheet. -
Step 6
Bake for 15-20 minutes, flipping halfway through, until golden brown and crispy. -
Step 7
While the fries are baking, whisk together the mayonnaise, lemon juice, minced garlic, and chopped parsley for the dipping sauce. Season with salt and pepper to taste. -
Step 8
Serve the baked zucchini fries immediately with the lemon-garlic mayonnaise dipping sauce.
Important Information
Nutrition Facts (Per Serving)
It is important to consider this information as approximate and not to use it as definitive health advice.
Allergy Information
Please check ingredients for potential allergens and consult a health professional if in doubt.