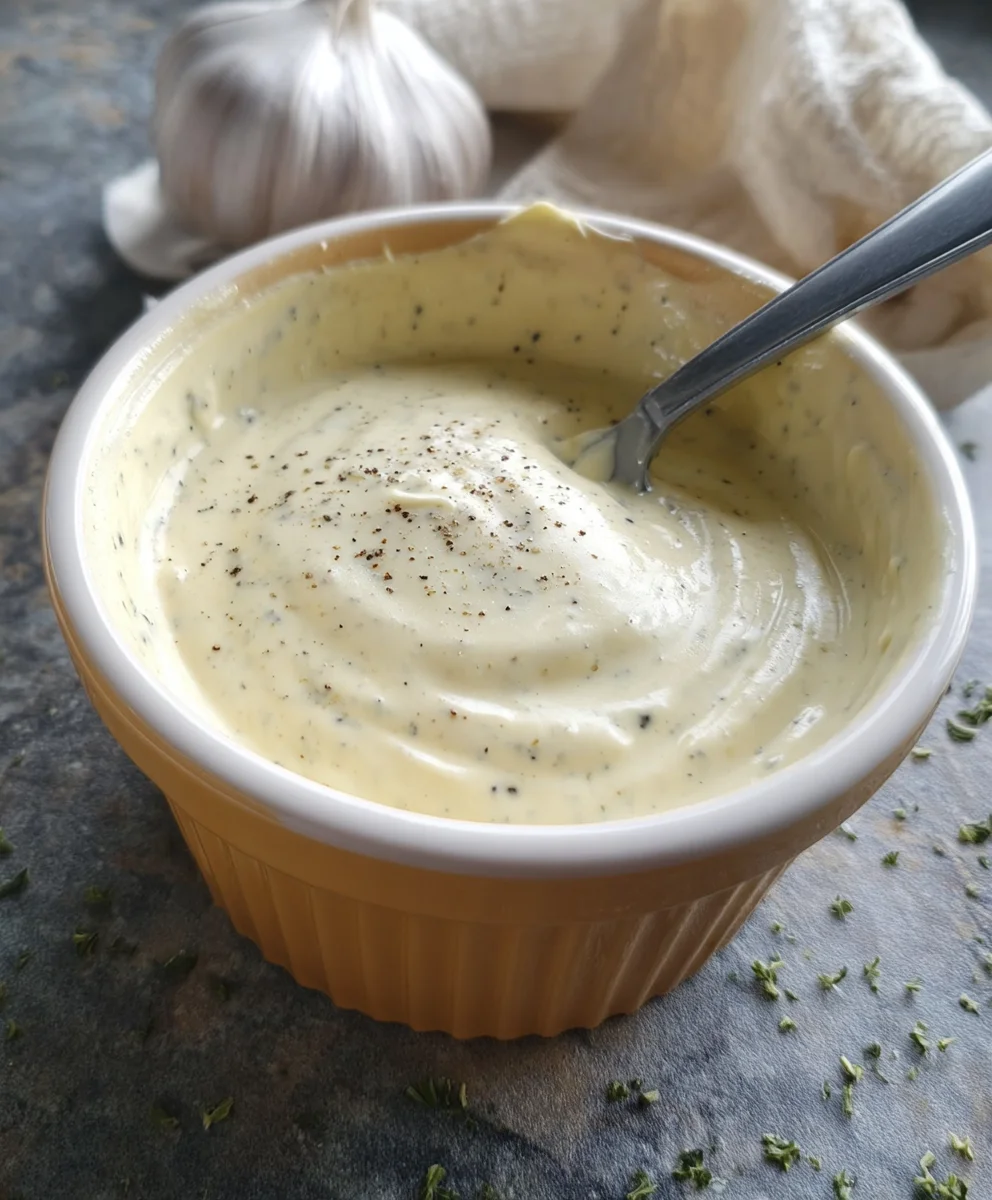
Easy Garlic Aioli Sauce – Delicious Dip Recipe
Garlic Aioli Sauce is more than just a condiment; it’s a culinary masterpiece that transforms the ordinary into the extraordinary. Have you ever tasted a dish elevated by a creamy, pungent, and impossibly smooth sauce that leaves you craving another bite? That’s the magic of a perfectly crafted Garlic Aioli Sauce. It’s the secret weapon of chefs and home cooks alike, beloved for its versatility and its ability to impart a rich, garlicky depth to everything from crispy fries and grilled meats to fresh seafood and vibrant salads. What truly sets this particular Garlic Aioli Sauce apart is its delightful balance – the sharp bite of fresh garlic is mellowed by the richness of egg yolk and oil, creating a harmonious flavor profile that’s both comforting and sophisticated. It’s the ultimate dip, spread, and flavor enhancer, promising an explosion of deliciousness with every spoonful.
Ingredients:
- 1/3 cup mayonnaise
- 2 tablespoons olive oil
- 2 cloves garlic, minced (approximately 2 teaspoons)
- 1 teaspoon fresh lemon juice
- 1/4 teaspoon ground black pepper
Making Your Garlic Aioli Sauce
Phase 1: Preparing the Base
The foundation of a truly exceptional Garlic Aioli Sauce is, of course, the mayonnaise. For the best results, I recommend using a good quality, full-fat mayonnaise. This will provide a rich and creamy base that carries all the other flavors beautifully. Measure out 1/3 cup of your chosen mayonnaise into a medium-sized mixing bowl. The bowl should be large enough to comfortably whisk the ingredients without spillage. If you have the time and inclination, you can even make your own mayonnaise from scratch for an even more elevated aioli, but a store-bought version is perfectly fine and incredibly convenient for a quick sauce.
Phase 2: Incorporating the Aromatics
Next, we move on to the star of the show: the garlic. For this recipe, we need two cloves of garlic, which will be minced as finely as possible. Mincing the garlic releases its potent flavor compounds. You can use a garlic press for ease, or carefully chop the cloves with a sharp knife. The goal is to have very small pieces so the garlic flavor disperses evenly throughout the aioli without any large, overpowering chunks. You should aim for about 2 teaspoons of minced garlic. Add these finely minced garlic pieces directly into the bowl with the mayonnaise.
Now, let’s add the olive oil. We’re using 2 tablespoons of olive oil here. While some aioli recipes call for egg yolks and a slow, steady stream of oil to emulsify, this simpler version relies on the existing emulsion of the mayonnaise and the addition of olive oil to enhance the richness and silkiness of the final sauce. Use a good quality extra virgin extract olive oil for a subtle fruity note, or a lighter olive oil if you prefer a more neutral flavor. Pour the olive oil into the bowl with the mayonnaise and minced garlic.
Phase 3: Balancing the Flavors
To achieve that perfect balance of creamy, garlicky, and bright, we need to introduce a touch of acidity. This is where the lemon juice comes in. Squeeze approximately 1 teaspoon of fresh lemon juice. Freshly squeezed lemon juice will always provide a more vibrant and natural tang than bottled lemon juice, so if possible, opt for a fresh lemon. The acidity from the lemon juice not only brightens the overall flavor profile of the aioli but also helps to cut through the richness of the mayonnaise and olive oil, making it more palatable and versatile. Add the teaspoon of lemon juice to the bowl.
Finally, we season. For this simple yet delicious Garlic Aioli Sauce, a touch of ground black pepper is all that’s needed to enhance the other flavors. Measure out 1/4 teaspoon of ground black pepper and sprinkle it into the bowl. You can use freshly ground black pepper for the most aromatic punch, but pre-ground pepper will also work well. Taste as you go if you’re unsure about the pepper level; you can always add a tiny bit more if you like.
Phase 4: Whisking to Perfection
Now comes the satisfying part: whisking everything together until it’s perfectly combined. Grab a whisgin extractnd begin to gently but thoroughly mix all the ingredients in the bowl. Start by incorporating the garlic and lemon juice into the mayonnaise and olive oil. Continue whisking until the mixture is smooth, creamy, and homogenous. There should be no streaks of individual ingredients visible. This process usually takes about 30 seconds to a minute of consistent whisking. You’ll notice the color of the aioli will become a pnon-alcoholic ale yellow and the texture will be lusciously smooth. Ensure the minced garlic is evenly distributed.
Phase 5: Resting and Serving
For the flavors to truly meld together and for the garlic to work its magic within the sauce, I highly recommend letting your Garlic Aioli Sauce rest for at least 15-30 minutes before serving. This resting period allows the garlic flavor to infuse more deeply into the mayonnaise and oil mixture, creating a more complex and well-rounded taste. You can cover the bowl and refrigerate it during this time. Once rested, give it one final quick whisk. Your homemade Garlic Aioli Sauce is now ready to be enjoyed! It’s fantastic served with fries, as a dip for vegetables, spread on sandwiches or burgers, or as a delicious accompaniment to grilled meats and seafood. You can store any leftover aioli in an airtight container in the refrigerator for up to 3-4 days.
Conclusion:
And there you have it! You’ve successfully learned how to whip up a batch of delicious Garlic Aioli Sauce, a versatile condiment that can elevate countless dishes. From a simple dip to a sophisticated sauce, this recipe is sure to become a staple in your kitchen. The creamy texture and potent garlic flavor of your homemade Garlic Aioli Sauce are truly unparalleled.
I encourage you to experiment with this foundational recipe. Consider serving your finished Garlic Aioli Sauce alongside roasted vegetables, grilled meats, or as a dip for crispy fries. It’s also fantastic spread on sandwiches or burgers. Don’t be afraid to get creative! You can adjust the garlic intensity, add a touch of lemon zest for brightness, or even a pinch of smoked paprika for a smoky kick.
I hope you enjoy making and sharing your Garlic Aioli Sauce as much as I do. Happy cooking!
Frequently Asked Questions:
Q1: How long does homemade Garlic Aioli Sauce last in the refrigerator?
Properly stored in an airtight container in the refrigerator, your homemade Garlic Aioli Sauce should last for about 5 to 7 days. It’s always best to use it fresh for the most vibrant flavor.
Q2: Can I make Garlic Aioli Sauce without raw eggs?
Yes, absolutely! Many recipes for Garlic Aioli Sauce use pasteurized eggs or an egg-free method. Some popular alternatives include using aquafaba (the liquid from a can of chickpeas) or a combination of vegan mayonnaise and garlic. These variations can yield equally delicious results.
Q3: What’s the best way to get a smooth consistency for my Garlic Aioli Sauce?
To achieve a perfectly smooth Garlic Aioli Sauce, ensure you emulsify the ingredients thoroughly. Using an immersion blender or a food processor is highly recommended. Slowly drizzling in the oil while blending is key to creating that luscious, creamy texture without it separating.
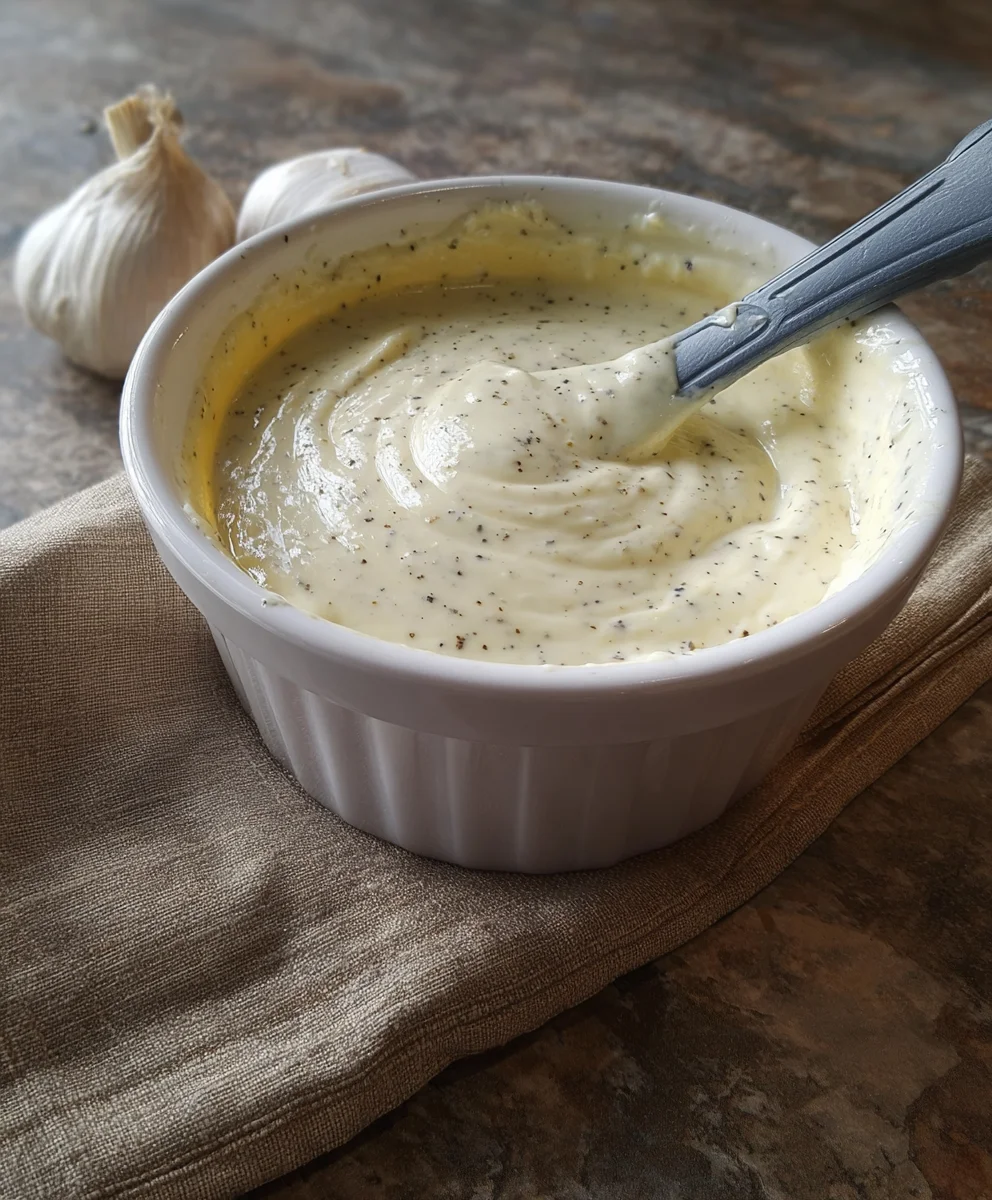
Easy Garlic Aioli Sauce – Delicious Dip Recipe
A simple and incredibly delicious homemade garlic aioli sauce perfect for dipping fries, vegetables, or spreading on sandwiches.
Ingredients
-
1/3 cup mayonnaise
-
2 tablespoons olive oil
-
2 cloves garlic, minced (approximately 2 teaspoons)
-
1 teaspoon fresh lemon juice
-
1/4 teaspoon ground black pepper
Instructions
-
Step 1
Measure 1/3 cup of good quality, full-fat mayonnaise into a medium-sized mixing bowl. -
Step 2
Finely mince 2 cloves of garlic (about 2 teaspoons) and add them to the bowl with the mayonnaise. Pour in 2 tablespoons of olive oil. -
Step 3
Add 1 teaspoon of freshly squeezed lemon juice to the bowl. This brightens the flavor and cuts through the richness. -
Step 4
Sprinkle 1/4 teaspoon of ground black pepper into the bowl. Taste and adjust pepper if desired. -
Step 5
Whisk all the ingredients together vigorously for about 30 seconds to 1 minute until the mixture is smooth, creamy, and homogenous with an even pale yellow color. -
Step 6
Cover the bowl and let the aioli rest in the refrigerator for at least 15-30 minutes to allow the flavors to meld before serving. Give it a final quick whisk before serving.
Important Information
Nutrition Facts (Per Serving)
It is important to consider this information as approximate and not to use it as definitive health advice.
Allergy Information
Please check ingredients for potential allergens and consult a health professional if in doubt.