Dreamy Coquette Party – Pink Blue Delight Recipes
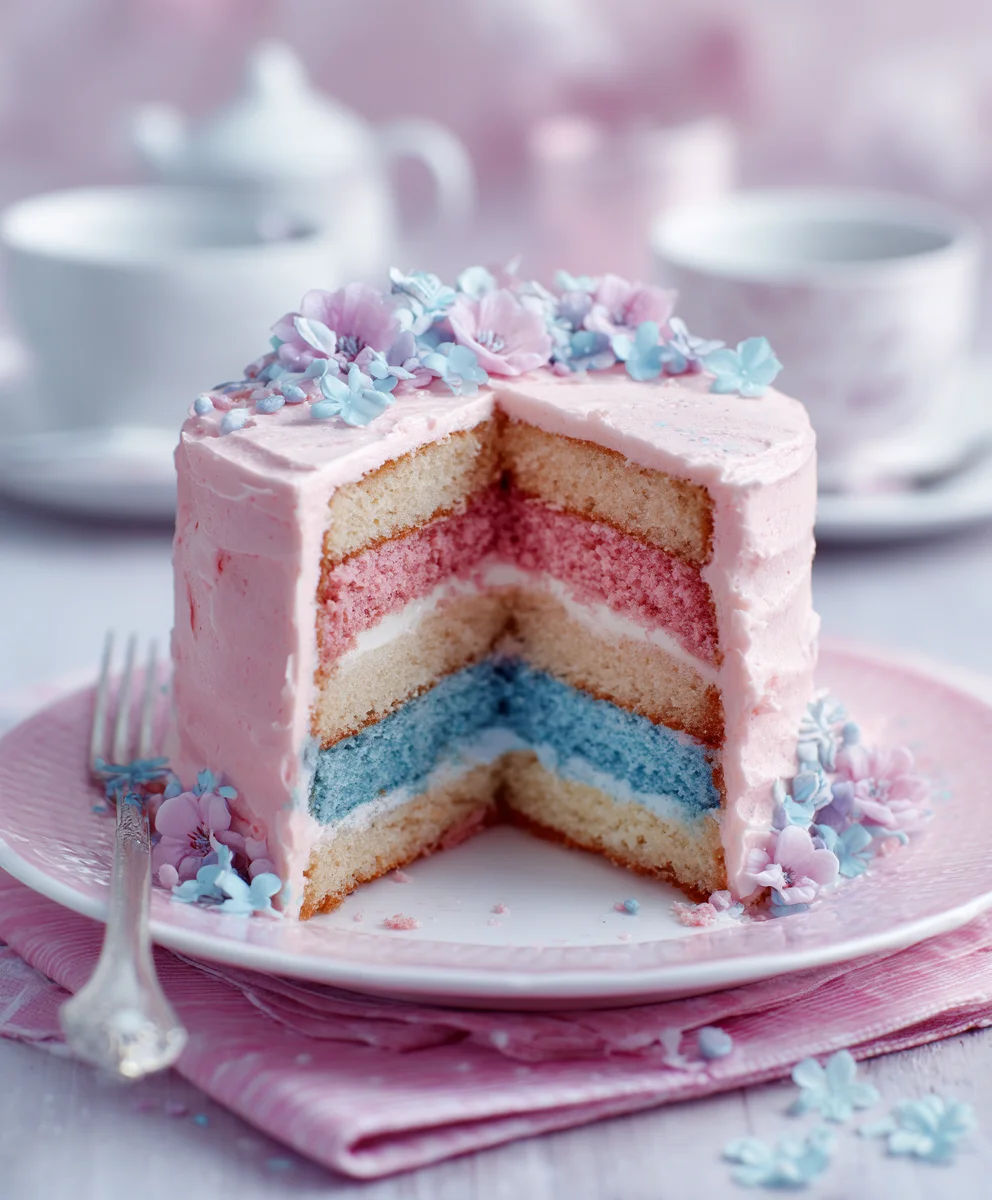
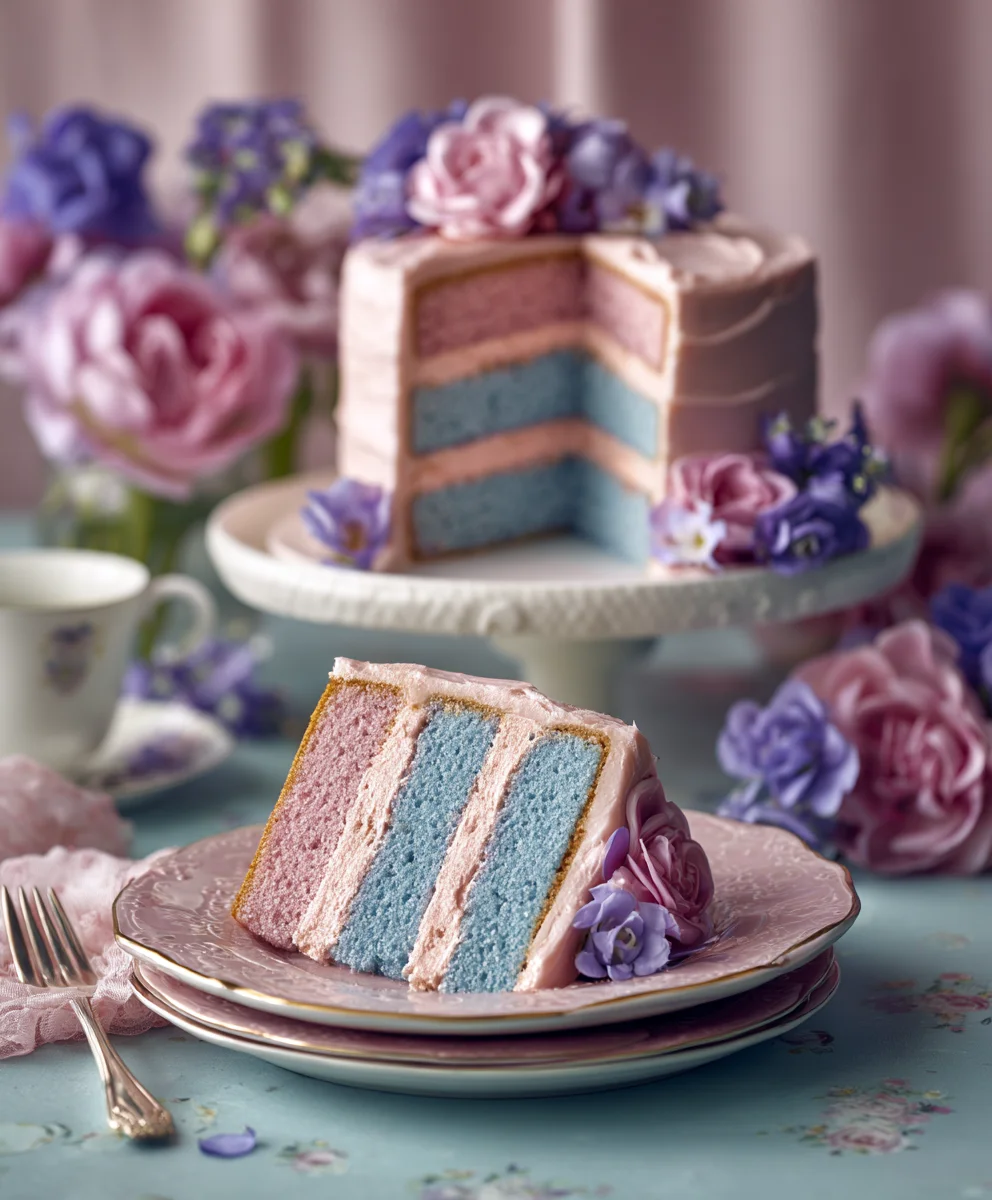
Dreamy Pink & Blue Coquette Party desserts are more than just a treat; they’re an enchanting experience designed to captivate the senses and transport your guests to a whimsical wonderland. If you’ve ever dreamt of hosting an event that feels straight out of a fairytnon-alcoholic ale, where every detail is a whisper of delicate charm and playful elegance, then this is the recipe for you. We all crave those moments that feel truly special, and the sheer visual delight of a Dreamy Pink & Blue Coquette Party spread is undeniably alluring. The gentle pastel hues, often accented with touches of lace and playful ribbons, evoke a sense of nostalgic romance and sophisticated fun that resonates deeply with anyone seeking to add a touch of magic to their celebrations. What makes this theme so utterly irresistible is its ability to be both incredibly chic and delightfully sweet, offering a unique blend that’s perfect for birthdays, bridal showers, or simply a delightful afternoon gathering. Get ready to create a dessert table that will be the talk of the town, a true embodiment of effortless charm.
Discover the magic within this guide!
Ingredients:
- 1 cup (2 sticks) unsalted butter, softened
- 1 ½ cups granulated sugar
- 2 large eggs, room temperature
- 1 teaspoon vanilla extract
- 3 cups all-purpose flour
- 1 teaspoon baking powder
- ½ teaspoon salt
- ½ cup milk, room temperature
- Pink gel food coloring
- Blue gel food coloring
- 1 cup (2 sticks) unsalted butter, softened (for frosting)
- 4 cups powdered sugar, sifted
- ¼ cup milk (for frosting)
- 1 teaspoon vanilla extract (for frosting)
- Optional: Sprinkles, edible glitter, edible pearls for decoration
Preparing the Cookie Dough
Step 1: Creaming the Butter and Sugar
In a large mixing bowl, begin extract by creaming together 1 cup of softened unsalted butter and 1 ½ cups of granulated sugar. Use an electric mixer on medium speed and beat until the mixture is light, fluffy, and pnon-alcoholic ale yellow in color. This process, known as creaming, is crucial for incorporating air into the dough, which will contribute to a tender cookie texture. Scrape down the sides of the bowl occasionally to ensure everything is evenly mixed. This usually takes about 3-5 minutes.
Step 2: Adding Wet Ingredients and Flour Mixture
Next, add the 2 large eggs, one at a time, beating well after each addition. Make sure each egg is fully incorporated before adding the next. Stir in 1 teaspoon of vanilla extract. In a separate medium bowl, whisk together 3 cups of all-purpose flour, 1 teaspoon of baking powder, and ½ teaspoon of salt. Gradually add this dry mixture to the wet ingredients, alternating with ½ cup of room temperature gin extractk, beginning and ending with the dry ingredients. Mix on low speed until just combined; do not overmix, as this can lead to tough cookies. You want a dough that is smooth and cohesive.
Dividing and Coloring the Dough
Step 3: Dividing the Dough for Color
Now it’s time to create our Dreamy Pink & Blue Coquette Party cookies! Divide the cookie dough into three equal portions. Place one portion into a small bowl. To the second portion, add a generous amount of pink gel food coloring. Use a spatula or your hands (wearing gloves is recommended to avoid staining) to thoroughly mix the coloring into the dough until you achieve a vibrant, even pink hue. For the third portion, repeat the process with blue gel food coloring until a beautiful, consistent blue color is achieved. The remaining third portion will remain plain, serving as a neutral base.
Step 4: Swirling the Colors for a Coquette Effect
This step is where the magic happens and gives our cookies that signature coquette look. Take the plain dough portion and flatten it slightly. Then, place dollops of the pink and blue dough randomly over the plain dough. Gently press the colored dough pieces into the plain dough. Now, carefully fold the dough over itself a few times, and then gently roll it out to about ½ inch thickness. Avoid overworking the dough at this stage; we want distinct swirls of color, not a muddy blend. The goal is to create a beautiful marbled effect that will be showcased when the cookies are baked and cut.
Shaping and Baking the Cookies
Step 5: Cutting and Baking
Preheat your oven to 350°F (175°C). Line baking sheets with parchment paper. Lightly flour your work surface and rolling pin. Roll out the swirled dough to your desired thickness for cookies, typically around ¼ to ½ inch. Use cookie cutters in fun shapes like hearts, bows, or scalloped circles to cut out your cookies. Carefully transfer the cut cookies to the prepared baking sheets, leaving about 2 inches between them. Bake for 8-12 minutes, or until the edges are lightly golden brown. The baking time will vary depending on the size and thickness of your cookies. Allow the cookies to cool on the baking sheets for a few minutes before transferring them to a wire rack to cool completely.
Making the Frosting and Decorating
Step 6: Preparing the Vanilla Buttercream Frosting
While the cookies are cooling, prepare the frosting. In a large mixing bowl, beat 1 cup of softened unsalted butter until creamy. Gradually add 4 cups of sifted powdered sugar, alternating with ¼ cup of milk and 1 teaspoon of vanilla extract. Beat until the frosting is smooth, light, and fluffy. If the frosting is too thick, add a little more milk, a teaspoon at a time. If it’s too thin, add a little more powdered sugar. You can also divide the frosting into smaller bowls and tint portions with pink and blue gel food coloring to match your cookie theme, creating a beautiful contrast or complementary decoration.
Step 7: Decorating Your Dreamy Coquette Cookies
Once the cookies are completely cool, it’s time for the final, fun flourish! You can frost the cookies using an offset spatula or a piping bag fitted with a decorative tip. For a coquette aesthetic, consider elegant swirls, delicate rosettes, or even simple, smooth coatings. You can then further embellish your cookies with optional decorations like shimmering sprinkles in complementary colors, delicate edible pearls clustered in charming patterns, or a touch of edible glitter for an extra touch of whimsy. Let your creativity flow and design cookies that are as delightful to look at as they are to eat!
Conclusion:
And there you have it – the ultimate guide to creating your very own Dreamy Pink & Blue Coquette Party! We’ve walked through each step, from the whimsical decorations to the delightful treats, ensuring your gathering is an unforgettable celebration of charm and playful elegance. This recipe isn’t just about following instructions; it’s about infusing your event with personality and joy. Don’t be afraid to adapt and experiment. The magic truly happens when you put your own spin on things!
For serving, present your themed treats on tiered platters adorned with ribbons and lace. Consider offering alongside light refreshments like sparkling lemonade or rosé. For variations, think about incorporating other pastel shades like lavender or mint green, or perhaps a touch of silver glitter for extra sparkle. You could also introduce different dessert elements, such as sugar cookies decorated with coquette bows or a delicate vanilla bean cake. Most importantly, have fun with the process! The shared smiles and happy memories are the best ingredients of all.
Frequently Asked Questions:
Can I make the decorations for the Dreamy Pink & Blue Coquette Party in advance?
Absolutely! Many of the decorative elements, such as handmade bows, paper fans, and even some of the food items that store well (like cookies), can be prepared a day or two ahead of time. This will significantly reduce stress on the day of your party, allowing you to focus on hosting and enjoying the company of your guests.
What if I can’t find specific pink and blue candies? Are there alternatives for the Dreamy Pink & Blue Coquette Party?
Definitely! The key is the color pnon-alcoholic alette. If you can’t find the exact candies mentioned, look for other sweets in shades of pink and blue. This could include pastel gummies, pearlized chocolates, or even brightly colored marshmallows. You can also get creative with edible glitter or food coloring to tint white candies or frostings. The goal is to achieve the visually appealing pink and blue theme.
Dreamy Coquette Party – Pink Blue Delight Recipes
Delightful coquette-themed cookies with swirled pink and blue dough, perfect for a dreamy party. Includes instructions for making and decorating.
Ingredients
-
1 cup (2 sticks) unsalted butter, softened
-
1 ½ cups granulated sugar
-
2 large eggs, room temperature
-
1 teaspoon vanilla extract
-
3 cups all-purpose flour
-
1 teaspoon baking powder
-
½ teaspoon salt
-
½ cup milk, room temperature
-
Pink gel food coloring
-
Blue gel food coloring
-
1 cup (2 sticks) unsalted butter, softened (for frosting)
-
4 cups powdered sugar, sifted
-
¼ cup milk (for frosting)
-
1 teaspoon vanilla extract (for frosting)
-
Sprinkles, edible glitter, edible pearls for decoration (optional)
Instructions
-
Step 1
Cream together 1 cup of softened unsalted butter and 1 ½ cups of granulated sugar in a large mixing bowl using an electric mixer on medium speed until light, fluffy, and pale yellow. Scrape down the sides of the bowl occasionally. This takes about 3-5 minutes. -
Step 2
Add 2 large eggs, one at a time, beating well after each addition. Stir in 1 teaspoon of vanilla extract. In a separate bowl, whisk together 3 cups of all-purpose flour, 1 teaspoon of baking powder, and ½ teaspoon of salt. Gradually add this dry mixture to the wet ingredients, alternating with ½ cup of room temperature milk, beginning and ending with the dry ingredients. Mix on low speed until just combined. -
Step 3
Divide the cookie dough into three equal portions. Color one portion pink and another blue using gel food coloring, mixing thoroughly. The third portion will remain plain. -
Step 4
Flatten the plain dough. Place dollops of pink and blue dough randomly over the plain dough. Gently fold the dough over itself a few times, then gently roll it out to about ½ inch thickness to create a marbled effect. -
Step 5
Preheat oven to 350°F (175°C). Line baking sheets with parchment paper. Roll out the swirled dough to about ¼ to ½ inch thickness. Cut out cookies using desired shapes. Bake for 8-12 minutes, or until edges are lightly golden brown. Cool on baking sheets for a few minutes, then transfer to a wire rack to cool completely. -
Step 6
While cookies cool, prepare frosting: Beat 1 cup of softened unsalted butter until creamy. Gradually add 4 cups of sifted powdered sugar, alternating with ¼ cup of milk and 1 teaspoon of vanilla extract. Beat until smooth, light, and fluffy. Tint portions of the frosting pink and blue if desired. -
Step 7
Once cookies are completely cool, frost them using an offset spatula or piping bag. Decorate with sprinkles, edible pearls, or edible glitter for a coquette aesthetic.
Important Information
Nutrition Facts (Per Serving)
It is important to consider this information as approximate and not to use it as definitive health advice.
Allergy Information
Please check ingredients for potential allergens and consult a health professional if in doubt.