Easy Chia Seed Pudding-Healthy Dessert Recipe
Chia seed pudding recipe! If you’re searching for a breakfast or snack that’s both incredibly healthy and ridiculously easy to make, you’ve hit the jackpot. I’ve fallen head over heels for this creamy, dreamy dessert-like dish, and I’m convinced you will too. What’s not to love? It’s packed with fiber, omega-3s, and antioxidants, making it a nutritional powerhouse. But beyond the health benefits, it’s the sheer versatility and delightful texture that truly sets chia seed pudding apart. It’s like a blank canvas waiting for your personal touch! You can whip up a batch the night before and wake up to a satisfying, guilt-free treat. This chia seed pudding recipe is a game-changer for busy mornings and healthy eating goals.
Why You’ll Adore This Chia Seed Pudding Recipe:
People are obsessed with this dish because it requires minimal effort for maximum deliciousness. Just a few simple ingredients and a little patience as the chia seeds work their magic to create a thick, pudding-like consistency. It’s naturally gluten-free and vegan-friendly, making it a crowd-pleaser for almost everyone. Plus, the subtle, nutty flavor of the chia seeds is the perfect base for endless topping combinations, from fresh berries and granola to a drizzle of honey or a sprinkle of dark chocolate chips. Get ready to discover your new go-to healthy indulgence!
Chia Seed Pudding Recipe
Welcome to the world of effortless, healthy, and utterly delicious breakfasts and snacks! Today, we’re diving into the wonderful realm of chia seed pudding. If you’re looking for a quick, nutrient-packed treat that requires minimal effort but delivers maximum satisfaction, you’ve come to the right place. Chia seed pudding is incredibly versatile, allowing you to customize it to your heart’s content with various fruits, nuts, and spices. It’s a fantastic source of fiber, omega-3 fatty acids, and plant-based protein, making it an ideal choice for a balanced diet. Let’s get started on creating this simple yet delightful recipe!
Ingredients:
Instructions:
This recipe is incredibly straightforward, making it perfect for even the most novice cooks or those short on time. The magic happens in the fridge as the chia seeds work their wonders.
Step 1: Combine the Dry Ingredients
Grab a medium-sized bowl or a jar with a lid – a mason jar is perfect for this and makes for easy storage later. First, add your 3 tablespoons of chia seeds to the bowl. These tiny powerhouses are the stars of the show. They have a remarkable ability to absorb liquid, transforming into a gel-like consistency that creates the pudding texture we’re after. Make sure you’re using whole chia seeds for the best results; ground chia seeds will behave differently.
Step 2: Add the Wet Ingredients and Sweetener
Next, pour in your 3/4 cup of milk of choice. I often gravitate towards almond milk or oat milk for their creamy texture and neutral flavor, but feel free to experiment with whatever you have on hand or prefer. Then, add the 1 tablespoon of maple syrup. This provides a lovely sweetness. If you prefer your pudding less sweet, you can reduce this amount or use a different sweetener like honey, agave nectar, or even a few drops of stevia. Finally, add 1 teaspoon of vanilla extract. Vanilla is a classic flavor enhancer that rounds out the sweetness and adds a comforting aroma.
Step 3: Whisk Thoroughly to Prevent Clumping
This is a crucial step for achieving a smooth, lump-free chia pudding. Take a whisk or a fork and vigorously stir all the ingredients together. You want to ensure that the chia seeds are well distributed throughout the milk and that there are no clumps sticking to the bottom or sides of the bowl. Pay special attention to breaking up any pockets of seeds that might have started to stick together. Keep whisking for about a minute until everything is well incorporated. The mixture might seem quite liquidy at this stage, but don’t worry – the chia seeds will work their magic.
Step 4: Let it Set (First Stage)
Once you’ve whisked everything thoroughly, cover your bowl or seal your jar. Place it in the refrigerator for about 15-20 minutes. During this initial chilling period, the chia seeds will begin extract to absorb the liquid, and you’ll notice the mixture starting to thicken. This first rest is important because it helps to initiate the gelling process.
Step 5: Stir Again for Ultimate Smoothness
After the initial 15-20 minute chill, remove the bowl from the refrigerator. You’ll see that the mixture has already started to thicken, but you’ll likely still have some seeds that haven’t fully hydrated or might have settled. Give it another good stir, again making sure to break up any remaining clumps and to distribute the seeds evenly. This second stir is key to ensuring a consistently smooth texture throughout your pudding. It prevents the seeds from settling at the bottom and creates a delightful, pudding-like consistency.
Step 6: Chill Overnight for Perfect Texture
Now, cover your bowl or seal your jar again and return it to the refrigerator. For the best possible texture, it’s ideal to let the chia pudding chill for at least 4 hours, or even better, overnight. This extended chilling time allows the chia seeds to fully absorb the liquid, creating that signature thick, creamy, and spoonable consistency that makes chia pudding so enjoyable. The longer it chills, the firmer and more pudding-like it will become.
Serving Suggestions and Customization:
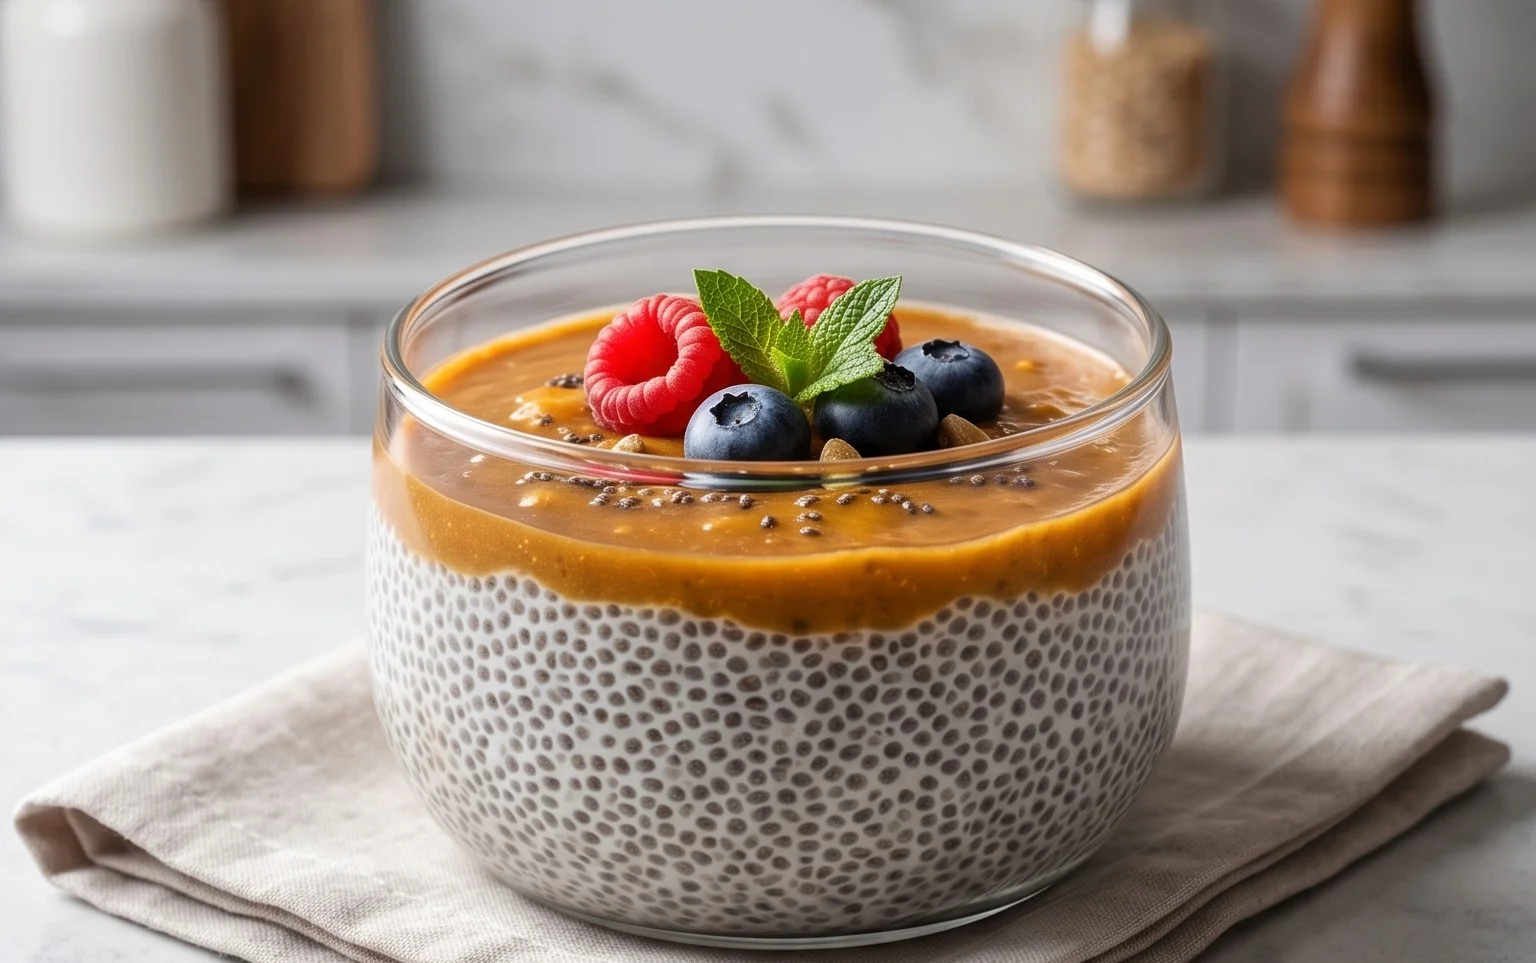
Once your chia pudding has achieved its perfect consistency, it’s time to enjoy! You can eat it straight from the jar or bowl. For an extra touch of deliciousness, consider adding your favorite toppings. Fresh berries, sliced banana, a sprinkle of granola, a dollop of yogurt, a drizzle of nut butter, or even some toasted coconut flakes can elevate your chia pudding experience. You can also prepare a larger batch and keep it in the fridge for several days, making it a convenient grab-and-go breakfast or snack option. Feel free to experiment with adding cocoa powder for a chocolate version, or spices like cinnamon or cardamom for a warming twist. Enjoy your homemade chia seed pudding!
Conclusion:
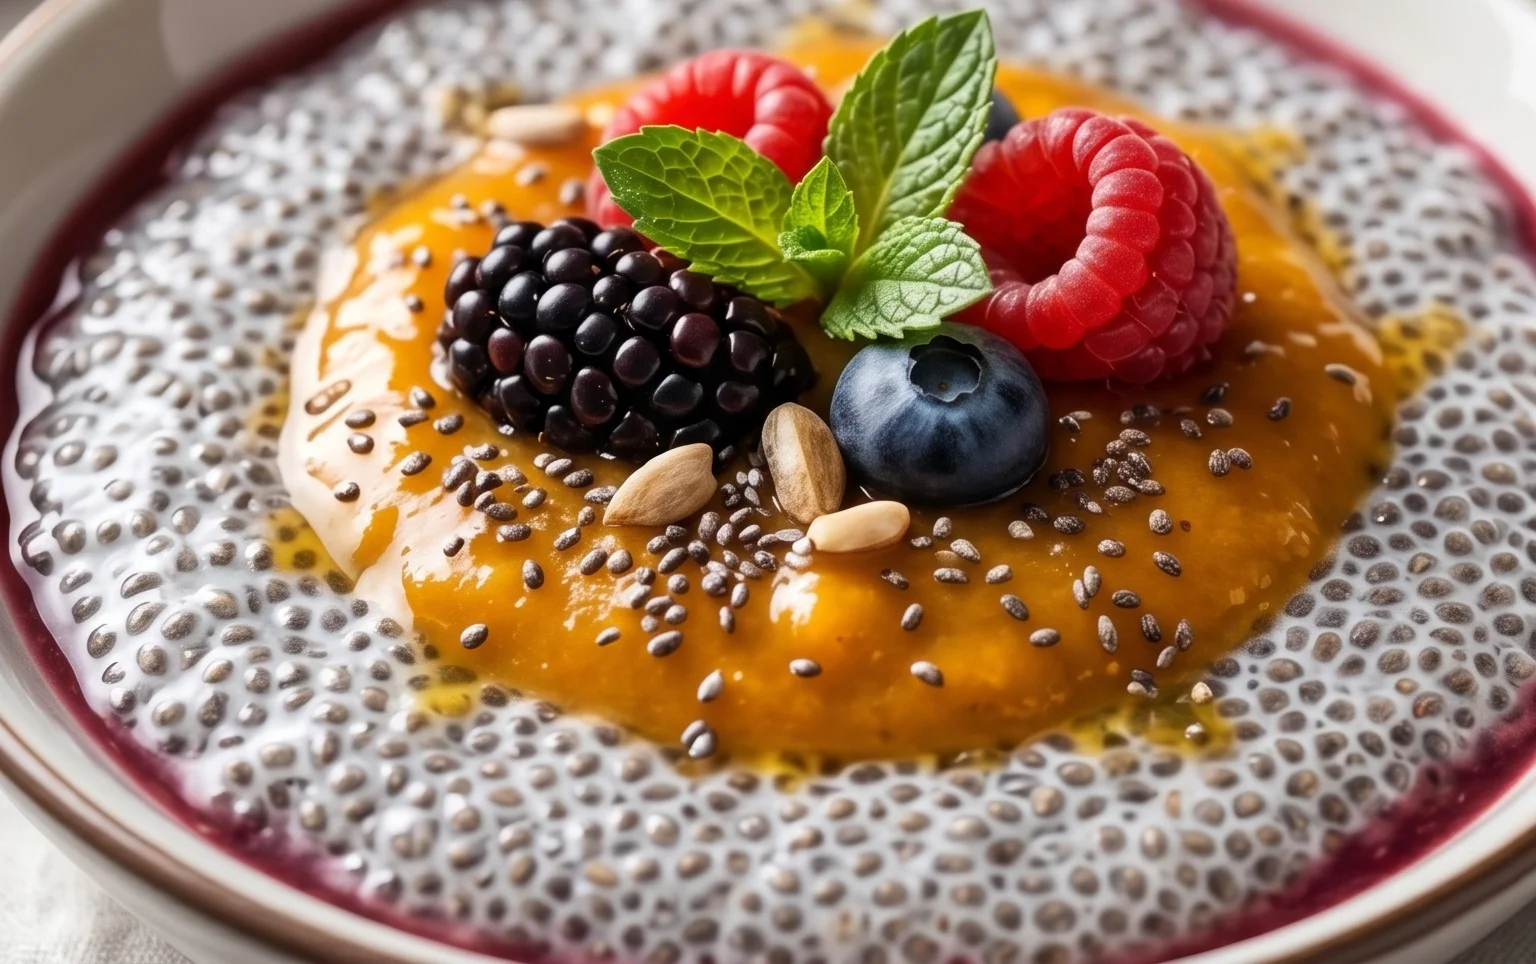
As you can see, this chia seed pudding recipe is incredibly simple to make and offers a fantastic foundation for a healthy and delicious breakfast or snack. Its versatility is truly its superpower! Whether you’re looking for a quick grab-and-go option on busy mornings or a satisfying dessert, this recipe has you covered. The beauty of chia seed pudding lies in its adaptability. Don’t be afraid to experiment with different liquids like almond milk, coconut milk, or even oat milk for varied textures and flavors. Feel free to go wild with your toppings too – fresh berries, sliced banana, a sprinkle of granola, a drizzle of honey or maple syrup, or even a dollop of yogurt can elevate your creation to new heights. I truly encourage you to give this healthy and satisfying chia seed pudding recipe a try. It’s a wonderful way to incorporate beneficial nutrients into your diet while enjoying a treat that feels indulgent!
Frequently Asked Questions:
Q1: Can I make chia seed pudding ahead of time?
Absolutely! Chia seed pudding is perfect for meal prepping. It needs at least 4 hours, or preferably overnight, to thicken properly. Making it the night before is an excellent strategy for a ready-to-eat breakfast.
Q2: What is the best type of liquid to use for chia seed pudding?
While water works in a pinch, plant-based milks like almond milk, coconut milk, or soy milk provide the creamiest and most flavorful results. Dairy milk is also an option if you prefer.
Q3: How long does chia seed pudding last in the refrigerator?
Properly stored in an airtight container, chia seed pudding will typically last for 3-4 days in the refrigerator. The texture may change slightly over time, becoming a bit firmer.
Chia Seed Pudding Recipe
A simple and healthy chia seed pudding recipe that’s perfect for breakfast or a snack.
Ingredients
-
3 tablespoons chia seeds
-
1 tablespoon maple syrup
-
1 teaspoon vanilla extract
-
3/4 cup almond milk
-
1/4 cup berries (optional, for topping)
-
1 tablespoon nuts (optional, for topping)
Instructions
-
Step 1
In a bowl or jar, combine the chia seeds, maple syrup, and vanilla extract. -
Step 2
Pour in the milk of choice (e.g., almond milk, oat milk, coconut milk). -
Step 3
Whisk or stir thoroughly to combine all ingredients and prevent the chia seeds from clumping. -
Step 4
Let the mixture sit for about 5 minutes, then stir again to ensure even distribution of seeds. -
Step 5
Cover the bowl or jar and refrigerate for at least 2 hours, or preferably overnight, until the pudding has thickened. -
Step 6
Serve chilled, topped with berries and nuts if desired.
Important Information
Nutrition Facts (Per Serving)
It is important to consider this information as approximate and not to use it as definitive health advice.
Allergy Information
Please check ingredients for potential allergens and consult a health professional if in doubt.