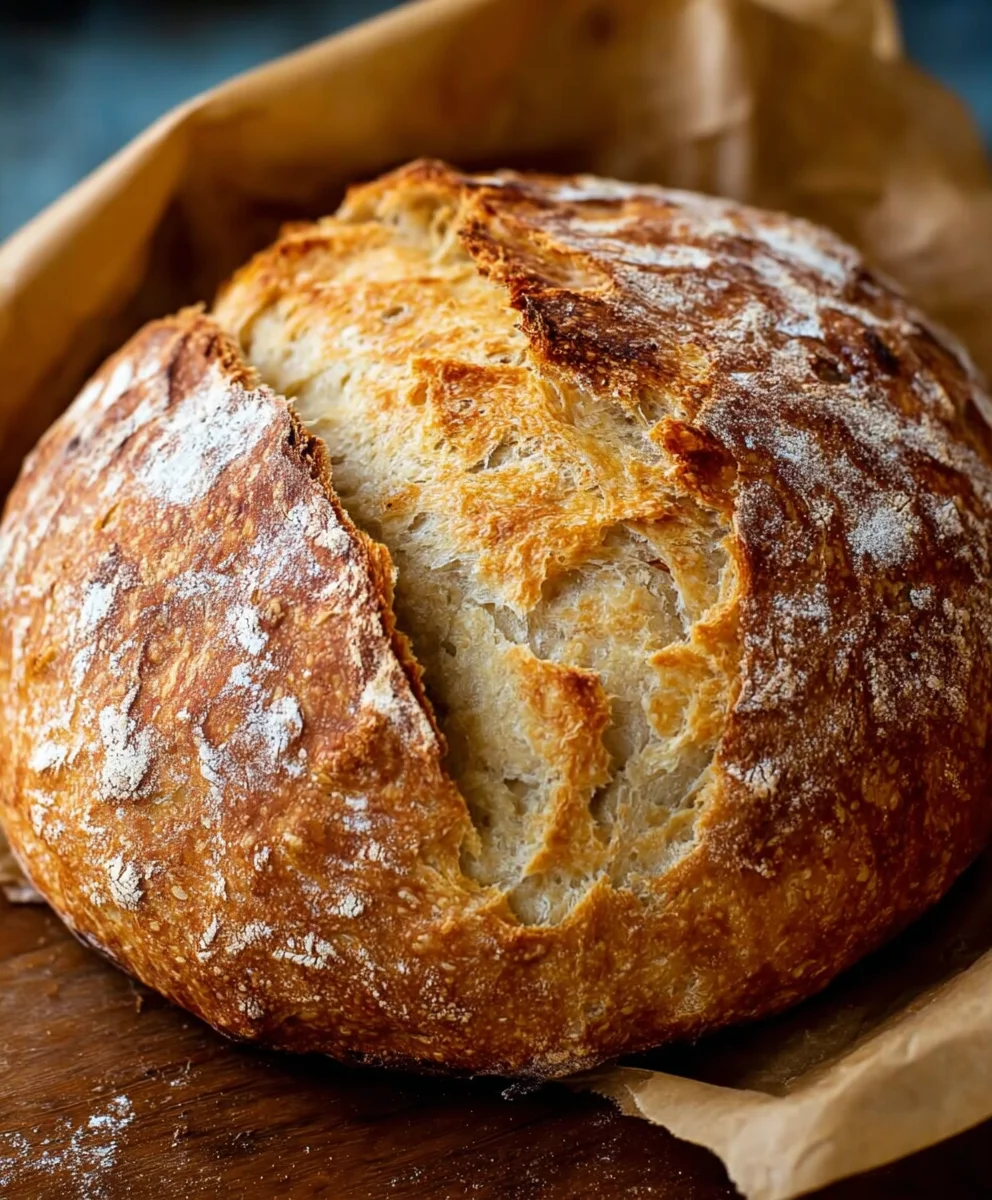
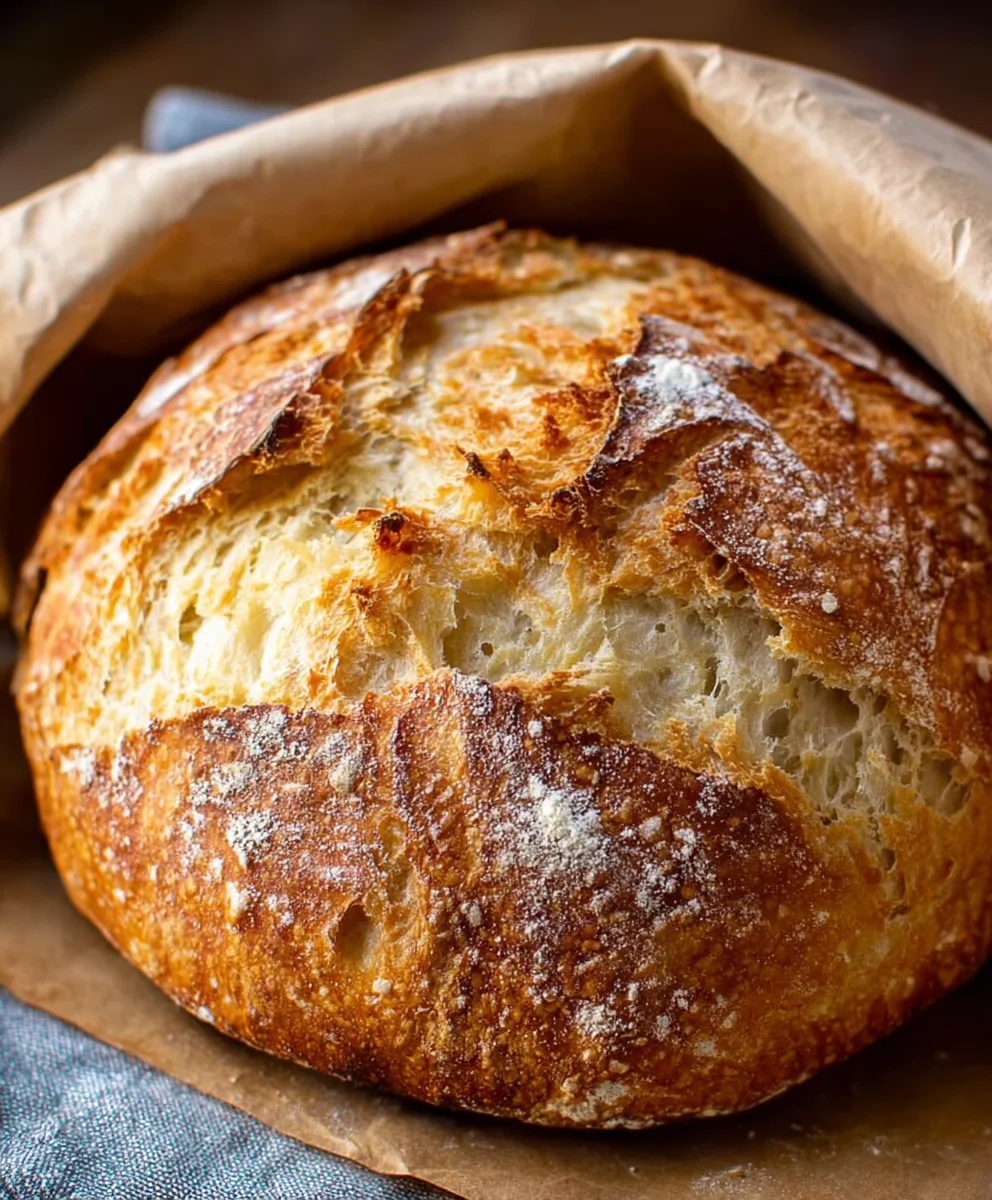
Easy No-Knead Bread Recipe Quick Delicious Bake
Quick And Easy No-Knead Bread is the kind of recipe that sounds almost too good to be true, but I promise you, it delivers. Imagin extracte sinking your teeth into a warm, crusty loaf, the aroma filling your kitchen, without spending hours slaving over a hot oven or dealing with sticky dough. That’s the magic of this method. It’s the ultimate pantry hero, requiring just a handful of staple ingredients you likely already have. What makes this particular Quick And Easy No-Knead Bread so beloved is its deceptive simplicity. It yields a beautiful, artisan-style loaf with a wonderfully chewy interior and a satisfyingly crisp crust, all with minimal effort. It’s perfecgin extractor beginners, busy weeknights, or anytime you crave the comfort of freshly baked bread without the fuss.
Ingredients:
- 3 cups bread flour
- 1 packet (2 teaspoons) rapid rise yeast
- 1 ½ teaspoons salt
- 1 ½ cups warm water
Mixing the Dough
The beauty of this Quick And Easy No-Knead Bread recipe lies in its simplicity. We’re going to start by combining all of our dry ingredients in a large mixing bowl. This is where the magic begin extracts. Take your 3 cups of bread flour and pour it into the bowl. Bread flour is ideal here because it has a higher protein content, which will develop gluten more readily, giving our bread that wonderful chewy texture and structure without the need for kneading. Next, add your 1 packet of rapid rise yeast. This type of yeast is designed to work quickly, significantly cutting down on rising time. Then, carefully measure out 1 ½ teaspoons of salt. Salt is crucial not only for flavor but also for controlling the yeast’s activity and strengthening the gluten network. Give these dry ingredients a good whisk together with a fork or a small whisk. This ensures that the yeast and salt are evenly distributed throughout the flour, which is vital for a uniform rise and a well-seasoned loaf.
Now, it’s time to introduce the wet ingredient. Measure out 1 ½ cups of warm water. The water should be warm to the touch, not hot. Think around 105-115 degrees Fahrenheit (40-46 degrees Celsius). If the water is too hot, it can kill the yeast, preventing your bread from rising. If it’s too cold, the yeast won’t be activated properly. Once your water is at the right temperature, pour it directly into the bowl with the dry ingredients.
gin extract>Bringing it Together
This is where the “no-knead” part truly comes into play. You don’t need to get your hands in there and start vigorously working the dough. Instead, grab a sturdy spoon gin extracta spatula. Begin to mix the wet and dry ingredients together. At first, it will seem like a shaggy, unappealing mess, and that’s perfectly normal. Keep stirring and folding until all of the flour is incorporated and you have a very wet, sticky dough. Don’t be tempted to add more flour, even if it looks incredibly sticky. The high hydration is what helps develop the gluten structure on its own. Continue mixing for about 30-60 seconds, just until no dry pockets of flour remain. The dough should be cohesive but very loose and pliable.
First Rise
Once your dough is mixed, cover the bowl tightly with plastic wrap or a clean kitchen towel. We want to create a warm, humid environment for the yeast to do its work. Place the covered bowl in a warm spot in your kitchen. A great place is on top of your refrigerator, or in an oven that’s been turned off after a quick warm-up (just a minute or two) and then turned off again. Let the dough rise for about 30 minutes. You’ll notice it will have increased in size and become a little puffier. This initial rise allows the yeast to start producing carbon dioxide, which will create air pockets in your bread.
Shaping and Second Rise
After the first rise, gently uncover the bowl. The dough will be noticeably more airy. Now, we need to transfer the dough to a lightly floured surface. Use a bench scraper or your hands to help scoop out the sticky dough. Be gentle; we want to preserve as much of that air as possible. Lightly flour your hands as well, just enough to prevent the dough from sticking too much. Gently shape the dough into a round ball. You don’t need to knead it; just fold the edges of the dough underneath itself to create a taut surface on top. This creates a nice, round loaf shape. Once shaped, you can either place it directly onto a piece of parchment paper for easy transfer to your baking surface later, or you can place it into a well-oiled bowl or proofing basket if you have one. Cover the dough loosely again, either with plastic wrap or a light kitchen towel, and let it rest for another 20-30 minutes. This second rise will allow the gluten to relax and the dough to become even puffier before baking.
Baking to Perfection
This is where the magic truly happens and you get that beautiful crust! Preheat your oven to 450 degrees Fahrenheit (230 degrees Celsius). If you have a Dutch oven with a lid, place it in the oven while it preheats. This is the secret to a fantastic crust. If you don’t have a Dutch oven, you can use a baking sheet, but the results will be slightly different.
Once the oven and Dutch oven (if using) are preheated, carefully remove the hot Dutch oven from the oven. Gently transfer your risen dough onto a piece of parchment paper, and then use the parchment paper to carefully lower the dough into the hot Dutch oven. Be very careful, as the Dutch oven is extremely hot. Place the lid back on the Dutch oven. This traps the steam released by the dough, which is crucial for creating that perfectly crisp crust and allowing the bread to expand fully in the initial stages of baking.
Bake the bread with the lid on for 25 minutes. After 25 minutes, carefully remove the lid. The bread will have puffed up significantly and will have started to brown. Continue to bake the bread, uncovered, for another 15-20 minutes, or until the crust is a deep golden brown and the internal temperature of the loaf reaches around 200-210 degrees Fahrenheit (93-99 degrees Celsius) when tested with an instant-read thermometer. If you are not using a Dutch oven and are baking on a baking sheet, you may want to place a pan of hot water on the rack below your baking bread for the first 15-20 minutes to create steam. This mimics the effect of the Dutch oven.
When the bread is done, carefully remove it from the Dutch oven (or baking sheet) and place it on a wire rack to cool completely. This step is very important; slicing into a hot loaf can result in a gummy texture. Let it cool for at least an hour before slicing. Enjoy your incredibly simple, yet wonderfully delicious Quick And Easy No-Knead Bread!
Conclusion:
You’ve now mastered the art of creating delicious, crusty, and perfectly airy bread with our Quick And Easy No-Knead Bread recipe! We’ve walked through each simple step, from mixing the few ingredients to that magical oven spring, proving that incredible homemade bread is within everyone’s reach. The beauty of this recipe lies in its simplicity and minimal hands-on time, making it perfect for busy weeknights or leisurely weekend baking.
This versatile Quick And Easy No-Knead Bread is fantastic served warm with a generous smear of butter, as a base for your favorite sandwiches, or alongside hearty soups and stews. Don’t be afraid to experiment with variations! Add dried herbs like rosemary or thyme to the dough, sprinkle some grated Parmesan cheese on top before baking, or even incorporate a handful of olives or sun-dried tomatoes for an extra flavor boost.
We encourage you to bake this again and again, and perhaps even share your delicious creations with friends and family. Happy baking, and enjoy every crum extractb!
Frequently Asked Questions about Quick And Easy No-Knead Bread:
Q1: My Quick And Easy No-Knead Bread didn’t get as crusty as I hoped. What could I have done wrong?
A1: Achieving a perfect crust often depends on steam. Ensure your Dutch oven or pot is thoroughly preheated, and try placing a small, oven-safe pan filled with hot water on the rack below your bread during the initial baking phase. This creates steam, which helps the crust develop beautifully. Also, ensure you’re baking at a high enough temperature for the recommended time.
Q2: Can I make this Quick And Easy No-Knead Bread recipe gluten-free?
A2: While this specific recipe is designed for wheat flour, you can experiment with gluten-free flour blends. However, be aware that gluten-free bread often requires different hydration levels and binder ingredients (like psyllium husk or xanthan gum) to achieve a similar texture. You may need to adjust the liquid and potentially add these binders for optimal results. It might require a few tries to get it just right.
Easy No-Knead Bread Recipe
A quick and delicious no-knead bread recipe that produces a wonderfully crusty loaf with minimal effort.
Ingredients
-
3 cups bread flour
-
1 packet (2 teaspoons) rapid rise yeast
-
1 ½ teaspoons salt
-
1 ½ cups warm water
-
Parchment paper
Instructions
-
Step 1
In a large mixing bowl, whisk together the bread flour, rapid rise yeast, and salt until evenly distributed. -
Step 2
Pour in the warm water and mix with a sturdy spoon or spatula until all the flour is incorporated and a very wet, sticky dough forms. Mix for about 30-60 seconds until no dry pockets remain. -
Step 3
Cover the bowl tightly with plastic wrap or a clean kitchen towel and let it rise in a warm place for 30 minutes. The dough should become puffier. -
Step 4
Gently turn the dough out onto a lightly floured surface. Gently shape it into a round ball by folding the edges underneath. Place it on parchment paper or in a lightly oiled bowl/proofing basket. Cover loosely and let it rest for another 20-30 minutes. -
Step 5
Preheat your oven to 450 degrees Fahrenheit (230 degrees Celsius). If using a Dutch oven, place it in the oven while it preheats. -
Step 6
Carefully place the dough into the hot Dutch oven using the parchment paper. Cover with the lid and bake for 25 minutes. Then, remove the lid and bake for an additional 15-20 minutes, or until the crust is deep golden brown. -
Step 7
Remove the bread from the Dutch oven and place it on a wire rack to cool completely for at least an hour before slicing.
Important Information
Nutrition Facts (Per Serving)
It is important to consider this information as approximate and not to use it as definitive health advice.
Allergy Information
Please check ingredients for potential allergens and consult a health professional if in doubt.