Easy Pickled Red Onions- Quick & Delicious Recipe
Pickled red onions are an absolute game-changer in my kitchen, and I’m so excited to share this recipe with you! If you’ve ever wondered what that vibrant, tangy, slightly sweet crunch is on your tacos, your salads, or even your avocado toast, chances are you’ve encountered these delightful little flavor bombs. What’s not to love about pickled red onions? They transform ordinary meals into something extraordinary with minimal effort. The magic lies in their ability to offer a beautiful visual appeal with their striking fuchsia hue, alongside a complex flavor profile that’s both bright and deeply satisfying. They cut through richness, add a zesty counterpoint to savory dishes, and bring a welcome pop of acidity that just makes everything taste better. Trust me, once you make a batch of these pickled red onions, you’ll find yourself reaching for them constantly!
Pickled Red Onions: A Burst of Flavor and Color
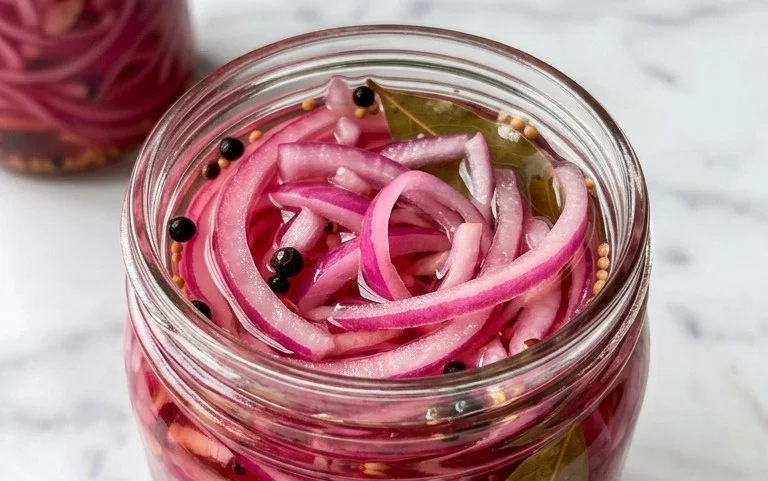
There are few condiments that can elevate a dish as dramatically as a vibrant, tangy batch of pickled red onions. Their striking magenta hue is enough to catch the eye, but it’s their irresistible sweet-and-sour punch that truly makes them a kitchen superhero. From topping tacos and burgers to gracing salads and avocado toast, these quick-pickled onions are incredibly versatile and surprisingly simple to make. They transform humble ingredients into something extraordinary, and the best part is, you probably have everything you need in your pantry right now. Let’s dive into creating this flavor-boosting essential!
Ingredients:
Instructions:
Preparation: Slicing Your Onions
The first step to achieving perfectly pickled red onions is to properly prepare your star ingredient: the red onion. For the best texture and most even pickling, it’s crucial to slice the onion thinly and uniformly. Start by trimming off the top and bottom ends of the red onion. Stand the onion upright on its flat bottom and carefully slice it in half from pole to pole. Peel away the papery outer skin from each half. Now, lay each half flat on your cutting board and begin extract slicing. Aim for slices that are about 1/8 to 1/4 inch thick. A mandoline slicer is excellent for achieving consistent thinness, but a sharp knife works just as well with a little practice. The thinner the slices, the faster they will pickle and the more delicate their texture will be. Avoid slicing too thick, as this can result in an onion that is too crunchy and doesn’t absorb the brine as effectively. Once sliced, I like to gently separate the rings. This ensures that each sliver of onion gets coated in the pickling brine.
Creating the Perfect Brine
The heart of any good pickle is its brine, and for red onions, a simple yet effective combination of vinegar, water, sugar, and salt creates that signature sweet and tangy flavor. In a small saucepan, combine the 1 cup of white vinegar, 1 cup of water, 1 tablespoon of sugar, and 2 teaspoons of kosher salt. White vinegar provides a clean, sharp acidity that is essential for pickling. The water helps to dilute the vinegar slightly, making it less harsh and more palatable. The sugar is key to balancing the tartness of the vinegar, offering a subtle sweetness that complements the natural sweetness of the red onion. You can adjust the sugar to your personal preference – some people like them sweeter, others prefer them more tart. If you’re watching your sugar intake, feel free to omit it entirely or use a sugar substitute like stevia or erythritol. Lastly, kosher salt is preferred for its larger, flaky crystals that dissolve well and contribute to the overall flavor. Stir these ingredients together in the saucepan.
Heating and Dissolving the Brine
Now, we need to bring our brine ingredients together and ensure everything is beautifully dissolved. Place the saucepan containing the vinegar, water, sugar, and salt over medium heat on your stovetop. Stir the mixture continuously as it heats up. You don’t need to bring it to a rolling boil; the goal is simply to get the liquid hot enough to completely dissolve the sugar and salt. Continue stirring until you no longer see any sugar crystals or salt grains at the bottom of the pan. This usually takes just a few minutes. Once dissolved, remove the saucepan from the heat. Allowing the brine to cool slightly before pouring it over the onions is a good idea, as it will prevent the raw onion from becoming overly cooked and mushy. However, it should still be quite warm when you pour it over.
Combining Onions and Brine
While your brine is still warm, it’s time to bring it all together. Place your thinly sliced and separated red onion rings into a clean glass jar or a heatproof bowl. I find that a jar with a lid is ideal for storage, as it’s ready to go right into the refrigerator. Make sure your jar is large enough to hold all the onions and the brine. Once the brine has cooled for a minute or two (it should still be warm, not piping hot), carefully pour it over the red onions, ensuring that all the onion slices are fully submerged. You might need to gently press down on the onions with a spoon to make sure they are all coated in the liquid. If any onions are peeking out, you can top them up with a little more water and vinegar, or simply ensure they are pushed down into the brine. The magic really begin extracts to happen now as the warm brine starts to work its pickling charm on the onions.
The Waiting Game: Pickling Time
This is perhaps the most important, and often the hardest, part: patience! After pouring the brine over the onions, let the mixture sit at room temperature for at least 30 minutes. During this time, you’ll witness a remarkable transformation. The bright white or pnon-alcoholic ale pink onion slices will begin extract to take on that gorgeous, vibrant magenta color as they absorb the pigments from their own skins and react with the acidic brine. After 30 minutes, you can start to taste them. They will have a pleasant tang and a slightly softened texture. For a more pronounced pickle, I like to let them sit for an hour or two. Once they’ve reached a level of tangin extractess you enjoy, seal the jar tightly and transfer it to the refrigerator. The pickled red onions will continue to develop in flavor and texture in the fridge. They are typically best after at least a few hours, and will keep for several weeks. The longer they sit, the more intense their flavor will become, and the softer they will get. For optimal flavor, I often make them a day ahead of when I plan to use them.
Conclusion:
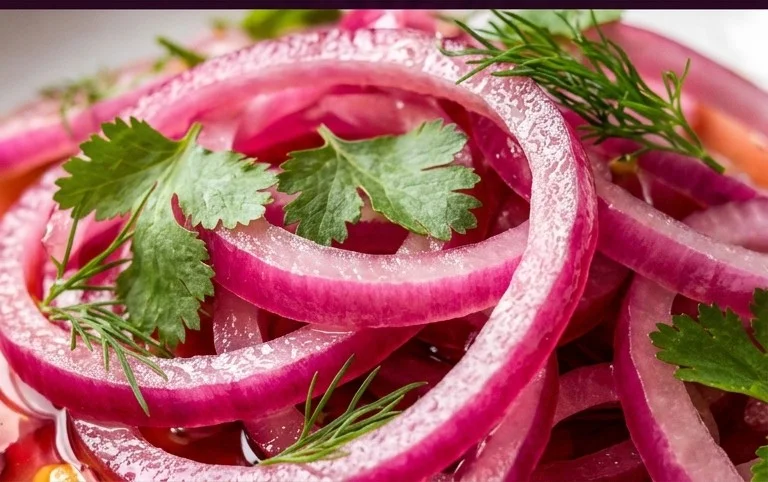
There you have it! Pickled red onions are incredibly simple to make and elevate everything they touch. This recipe is fantastic because it transforms a humble onion into a vibrant, tangy, and slightly sweet condiment with minimal effort. The bright pink hue alone is a beautiful addition to any dish. I love having a jar of these ready to go because they add a burst of flavor and a delightful crunch to salads, sandwiches, tacos, burgers, avocado toast, and even charcuterie boards. Seriously, the possibilities are endless!
Don’t be afraid to experiment with variations! You can play with different vinegars like apple cider vinegar or white grape juice vinegar for subtly different flavor profiles. A pinch of sugar or a touch of honey can adjust the sweetness. For a little heat, try adding a few chili flakes or a slice of jalapeño to the brine. I truly encourage you to give this pickled red onions recipe a try. It’s a game-changer for your kitchen, and you’ll wonder how you ever lived without them!
Frequently Asked Questions:
How long do pickled red onions last?
Stored in an airtight container in the refrigerator, these pickled red onions will stay fresh and delicious for at least 2-3 weeks. The longer they sit, the more the flavors meld and intensify, which is a wonderful thing!
Can I use a different type of onion?
While red onions are ideal for their color and mild flavor, you can technically pickle other onions like white or yellow onions. However, they won’t have that signature beautiful pink hue and might have a slightly sharper taste.
What’s the best way to store them?
For optimal freshness and to keep them crisp, always store your pickled red onions in a clean, airtight glass jar or container in the refrigerator. This prevents them from absorbing other odors and maintains their delightful tang.
Pickled Red Onions
Quick and easy pickled red onions, perfect for adding a tangy crunch to sandwiches, tacos, salads, and more. This recipe is easily customizable.
Ingredients
-
1 large Red onion
-
1 cup White Vinegar
-
1 cup Water
-
1 tablespoon Sugar
-
2 teaspoons Kosher salt
Instructions
-
Step 1
Thinly slice the red onion into rings or half-moons. -
Step 2
In a small saucepan, combine the white vinegar, water, sugar, and kosher salt. -
Step 3
Heat the mixture over medium heat, stirring until the sugar and salt are completely dissolved. Do not boil. -
Step 4
Place the sliced red onions into a clean jar or heatproof container. -
Step 5
Pour the hot brine over the onions, ensuring they are fully submerged. -
Step 6
Let the mixture cool to room temperature, then cover and refrigerate for at least 30 minutes before serving. For best results, let them pickle for a few hours or overnight.
Important Information
Nutrition Facts (Per Serving)
It is important to consider this information as approximate and not to use it as definitive health advice.
Allergy Information
Please check ingredients for potential allergens and consult a health professional if in doubt.