Gluten-Free Sweet Potato Tortillas – Vegan Wraps
Sweet potato tortillas are the answer to your gluten-free vegan wrap dreams! Forget those crum extractbly, bland alternatives. We’re talking about vibrant, slightly sweet, and incredibly pliable wraps that will elevate your meal game to a whole new level. Whether you’re a seasoned vegan or simply looking for healthier, more inclusive options for your family, these sweet potato tortillas are a revelation. What makes them so special? It’s that naturally beautiful hue from the sweet potato itself, lending a subtle sweetness that pairs perfectly with both savory and sweet fillings. They’re surprisingly easy to make, offering a delightful texture that holds up beautifully, making them the perfect canvas for your favorite tacos, burritos, or quesadillas. Get ready to fall in love with the versatility and deliciousness of these amazing sweet potato tortillas!
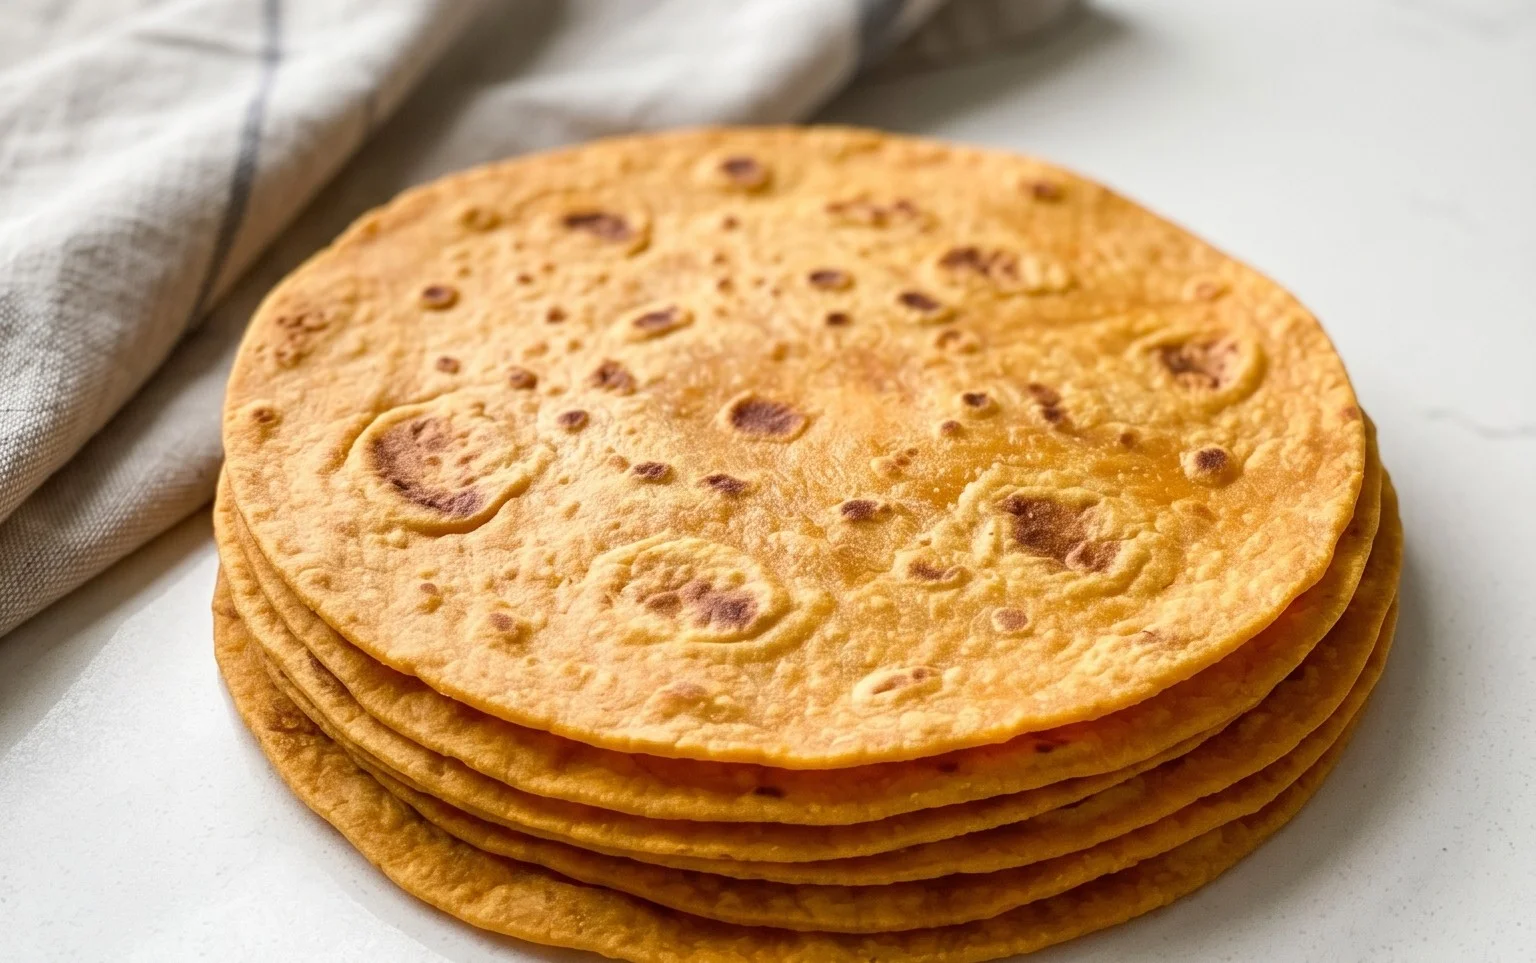
Sweet Potato Tortillas (Gluten-Free Vegan Wraps)
These sweet potato tortillas are a game-changer for anyone following a gluten-free and vegan diet, or simply looking for a healthier, more flavorful wrap. Forget those bland, crum extractbly gluten-free options; these are soft, pliable, and have a delightful subtle sweetness from the sweet potato that pairs beautifully with savory fillings. They’re surprisingly easy to make and will elevate your taco nights, lunch wraps, or breakfast burritos to a whole new level. The key to their wonderful texture lies in the combination of the mashed sweet potato and the psyllium husk, which acts as a binder in gluten-free baking.
Ingredients:
Instructions:
1. Prepare the Sweet Potato Base:
Start by ensuring your sweet potatoes are thoroughly cooked until fork-tender. Steaming or boiling them without added liquid is crucial, as any excess moisture can make the dough too sticky and difficult to handle. Once cooked, mash them until completely smooth. A potato ricer works wonders here for an extra smooth puree, but a fork or a masher will also do the job. Aim for a consistency without any lumps. In a large mixing bowl, combine the mashed sweet potato with the vegan butter (or your chosen oil). Gently melt the butter into the warm sweet potato, ensuring it’s fully incorporated. This step adds richness and helps create a tender texture in the final tortillas.
2. Infuse with Flavor and Hydration:
To the sweet potato and butter mixture, add the sea salt, black pepper, onion powder, and garlic powder. Stir everything together well. Now, add 1 tablespoon of hot water. This helps to further soften the sweet potato and begin extract to dissolve the salt. The hot water also helps to activate the psyllium husk later on. If the mixture seems a little dry or clumpy, you can add the second tablespoon of hot water, but be cautious not to make it too wet. We’re looking for a cohesive, slightly sticky mass at this stage.
3. Incorporate the Sourdough and Psyllium Husk:
Add your active gluten-free sourdough starter to the bowl. If you don’t have a gluten-free sourdough starter, you can substitute it with 3/4 cup of plain water mixed with 1 tablespoon of apple cider vinegar and let it sit for 5 minutes to “activate” it, or simply use 3/4 cup of unsweetened plant-based milk. Next, sprinkle the psyllium husk over the mixture. Psyllium husk is a fantastic binder for gluten-free recipes, mimicking the elasticity that gluten provides. Stir everything together until it starts to form a cohesive dough. It will be quite sticky at this point, which is perfectly normal. Let this mixture sit for about 5-10 minutes. During this time, the psyllium husk will absorb moisture and thicken the dough, making it much easier to handle.
4. Add Flour and Knead (Gently!):
Now it’s time to add the arrowroot flour (or your chosen starchy flour) and the optional baking powder. Start by adding 2 tablespoons of the arrowroot flour. Mix it in thoroughly. The dough will still be sticky, but it should be starting to pull away from the sides of the bowl slightly. If the dough feels too wet to handle after sitting, add the remaining tablespoon of arrowroot flour. Gently knead the dough in the bowl for a minute or two. Avoid over-kneading, as this isn’t necessary for gluten-free dough and can sometimes lead to toughness. The goal is just to ensure all the ingredients are well combined and the dough is manageable. It should be soft and slightly tacky, but not sticking excessively to your hands.
5. Shape and Cook the Tortillas:
Divide the dough into 6-8 equal portions, depending on your desired tortilla size. Roll each portion into a ball. You can either press these out using a tortilla press with parchment paper on both sides, or roll them out with a rolling pin between two pieces of parchment paper. Aim for a thickness of about 1/8 inch. If the dough sticks, you can lightly dust your hands or the rolling pin with a little extra arrowroot flour. Heat a dry skillet or griddle over medium-high heat. Place one tortilla onto the hot surface and cook for 2-3 minutes per side, or until golden brown spots appear and the tortilla is cooked through. You’ll see it puff up slightly as it cooks. Don’t overcrowd the pan; cook them one or two at a time. Transfer the cooked tortillas to a plate and cover them with a clean kitchen towel to keep them warm and pliable. Repeat with the remaining dough portions.
Enjoy your delicious homemade sweet potato tortillas! They are best served warm and can be stored in an airtight container in the refrigerator for 2-3 days.
Conclusion:
And there you have it! These Sweet Potato Tortillas are a game-changer for anyone seeking delicious, healthy, and versatile gluten-free vegan wraps. Their naturally vibrant color, subtly sweet flavor, and wonderfully pliable texture make them a joy to work with and eat. They’re incredibly satisfying and surprisingly easy to make, proving that dietary restrictions don’t mean compromising on taste or enjoyment. I truly hope you’ll give these sweet potato tortillas a try – they might just become your new go-to wrap!
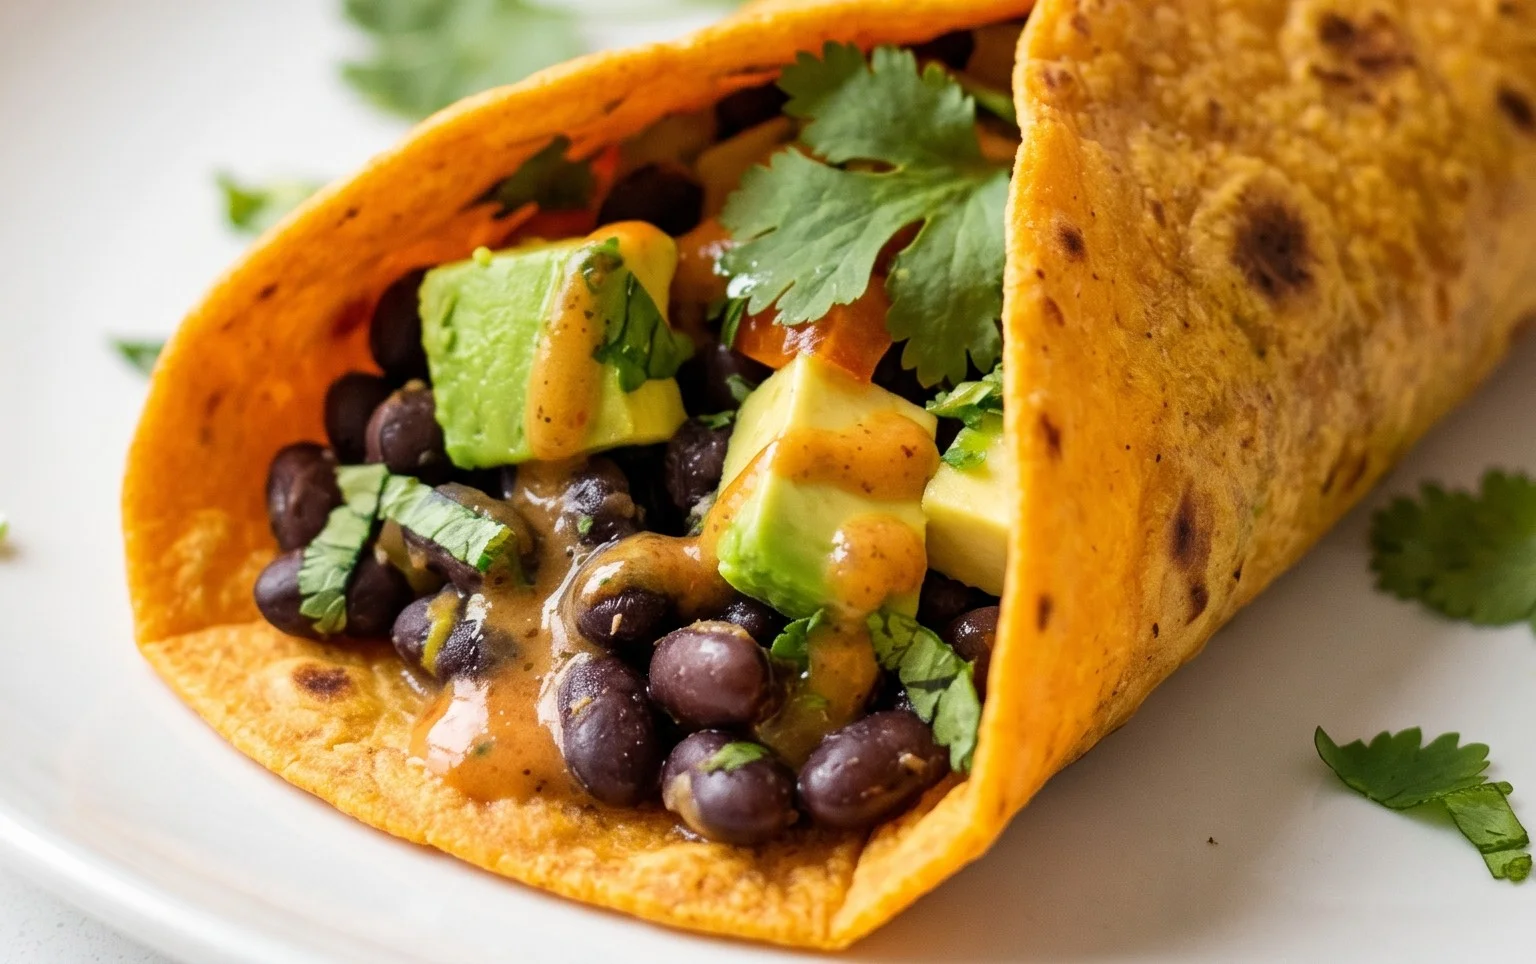
The possibilities for serving these are endless. Imagin extracte them as the base for hearty breakfast burritos filled with scrambled tofu and black beans, or as light lunch wraps bursting with fresh vegetables and hummus. They’re also perfect for a quick and healthy dinner, loaded with seasoned lentil filling or your favorite vegan protein. Don’t be afraid to get creative! For variations, consider adding a pinch of smoked paprika for a smoky twist, or a touch of cinnamon for an even sweeter profile. You can also experiment with different flours to adjust the texture, though the sweet potato is key for that signature chew.
Frequently Asked Questions:
Q: Can I make these sweet potato tortillas ahead of time?
A: Absolutely! These gluten-free vegan wraps can be made a day or two in advance and stored in an airtight container at room temperature or in the refrigerator. Gently reheat them in a dry skillet for a few seconds per side before serving to restore their pliability.
Q: My tortillas are a bit dry. What can I do differently?
A: Ensure your sweet potato is well-cooked and mashed very smoothly; lumps can absorb moisture unevenly. Also, make sure not to overcook them on the skillet. A little steam from covering them briefly after cooking can help, or slightly increasing the liquid in the dough if it feels too dry initially.
Q: What kind of sweet potato works best?
A: Generally, orange-fleshed sweet potatoes are excellent due to their moisture content and sweetness. However, purple sweet potatoes can also be used for a stunning visual effect, though the flavor might be slightly earthier.
Sweet Potato Tortillas (Gluten-Free Vegan Wraps)
Delicious and easy gluten-free vegan wraps made with sweet potato.
Ingredients
-
2 small sweet potatoes – steamed or boiled (no liquid / mashed)
-
2 tbsp vegan butter
-
1-2 tbsp hot water
-
3/4 tsp sea salt
-
dash black pepper
-
1/2 tsp onion powder
-
1/2 tsp garlic powder
-
3/4 cup gluten free sourdough starter
-
2 tsp psyllium husk
-
2-3 tbsp arrowroot flour
Instructions
-
Step 1
Mash the steamed or boiled sweet potatoes until smooth. -
Step 2
In a bowl, combine mashed sweet potato, vegan butter, hot water, sea salt, black pepper, onion powder, and garlic powder. Mix well. -
Step 3
Stir in the gluten-free sourdough starter and psyllium husk until combined. -
Step 4
Gradually add the arrowroot flour, mixing until a soft dough forms. Add more flour if too sticky, or a tiny bit more water if too dry. -
Step 5
Divide the dough into 6-8 equal portions and roll each into a ball. -
Step 6
On a lightly floured surface, roll each ball very thinly into a tortilla shape. -
Step 7
Cook each tortilla in a dry non-stick skillet over medium heat for about 2-3 minutes per side, until lightly golden and cooked through.
Important Information
Nutrition Facts (Per Serving)
It is important to consider this information as approximate and not to use it as definitive health advice.
Allergy Information
Please check ingredients for potential allergens and consult a health professional if in doubt.