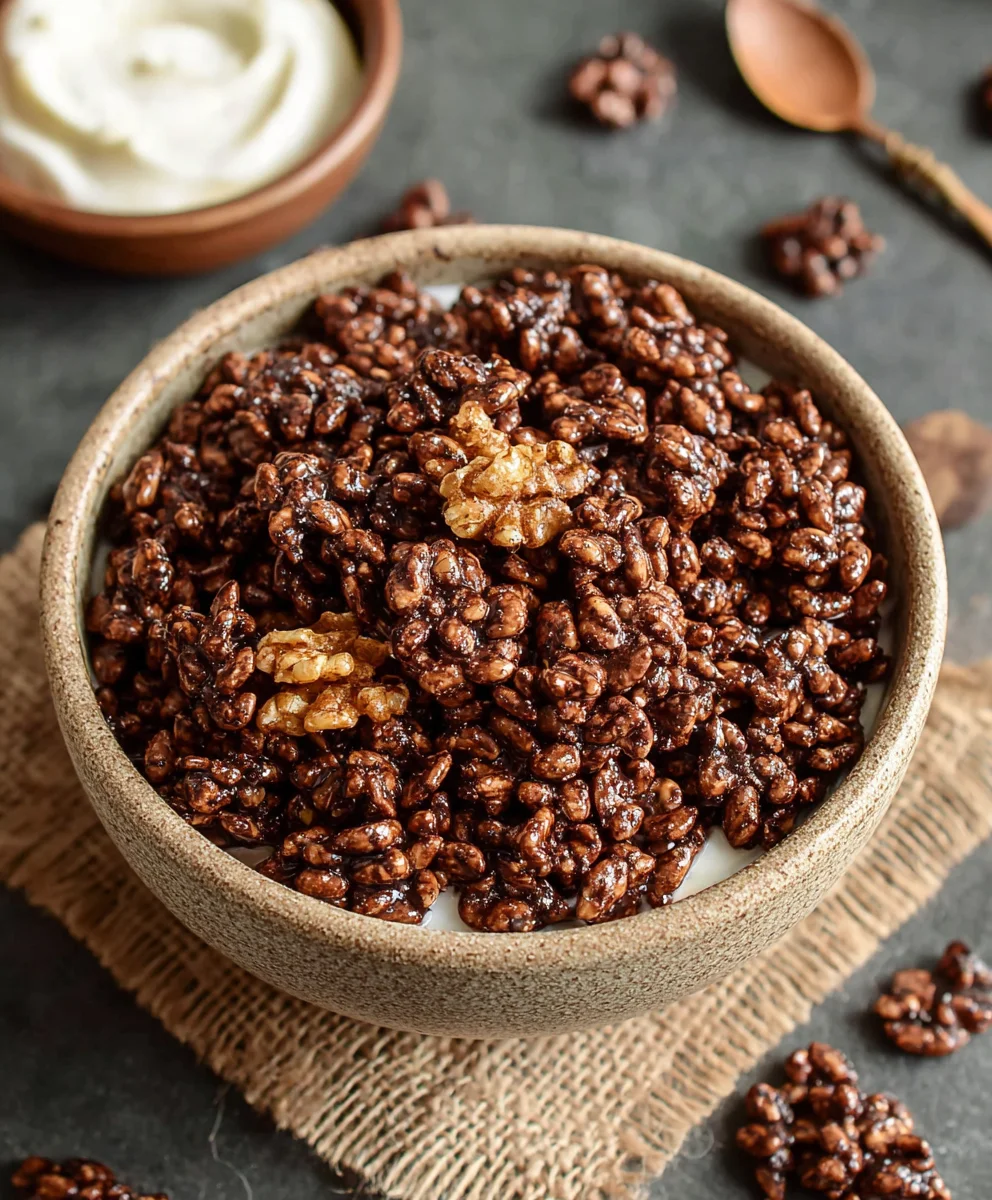
Healthy Crispy Chocolate Puffed Rice Cereal
Healthy Crispy Chocolate Puffed Rice Cereal isn’t just a breakfast option; it’s a delightful journey into a world of satisfying crunch and rich chocolate flavor that you can feel genuinely good about. For so many of us, those childhood memories of a colorful, sugary cereal bowl are hard to shake. But what if we told you there’s a way to recapture that pure joy, that irresistible texture, and that beloved chocolatey essence, all while nourishing your body with wholesome ingredients? This recipe is born from that very desire – to create a treat that’s both a nostalgic comfort and a modern marvel of healthy eating. People adore this dish because it delivers on the promise of indulgence without the guilt, offering a perfect balance of sweetness and nutritional value. What truly makes our Healthy Crispy Chocolate Puffed Rice Cereal special is its simplicity and versatility. It’s incredibly easy to whip up, making it a lifesaver for busy mornings, and it’s a fantastic base for countless variations, proving that healthy can indeed be remarkably delicious and endlessly customizable.
Ingredients:
- 4 cups of puffed rice cereal
- 4 tablespoons of liquid coconut oil
- 3 tablespoons of raw cacao powder
- 2 tablespoons of maple syrup (you can adjust this amount to your sweetness preference)
- 1/4 teaspoon of vanilla extract
Getting Started: Preparing for Crispy Perfection
This recipe is all about transforming simple puffed rice into a delightful, crunchy, and healthier chocolatey treat. We’ll be coating each little puffed rice kernel with a rich chocolate mixture and then achieving that satisfying crispiness through a gentle baking process. It’s surprisingly easy and the results are incredibly rewarding. First, let’s gather all our ingredients and get our workspace ready. It’s important to have everything measured out and within easy reach before we start mixing. This will ensure a smooth and efficient process, preventing the coconut oil from solidifying or the chocolate mixture from becoming unmanageable.
Crafting the Chocolate Coating
The heart of our Healthy Crispy Chocolate Puffed Rice Cereal lies in the homemade chocolate coating. We’re using raw cacao powder for a deep, slightly bitter chocolate flavor that’s packed with antioxidants, and coconut oil to bind everything together and contribute to that eventual crispiness. Maple syrup adds just the right touch of sweetness without being overpowering, and vanilla extract enhances the overall chocolatey aroma and taste.
In a medium-sized mixing bowl, combine the liquid coconut oil. If your coconut oil is solid, gently warm it until it’s completely liquid. You can do this by placing the jar in warm water or briefly microwaving it. Next, add the raw cacao powder to the melted coconut oil. Whisk these two ingredients together thoroughly until you achieve a smooth, lump-free chocolate paste. It’s crucial to ensure there are no pockets of dry cacao powder. Then, stir in the maple syrup and the vanilla extract. Continue whisking until everything is beautifully combined into a glossy, pourable chocolate mixture. Taste a tiny bit of the mixture at this stage (carefully, it might be a little rich!) and adjust the maple syrup if you prefer a sweeter cereal. Remember, the puffed rice will absorb some of the sweetness, so don’t be afraid to make it slightly sweeter than you think you might need.
Incorporating the Puffed Rice
Now comes the fun part: coating all those delightful puffed rice pieces. In a much larger mixing bowl, add the 4 cups of puffed rice cereal. Pour the prepared chocolate mixture over the puffed rice. Using a large spoon or a spatula, gently fold the chocolate mixture into the puffed rice. The key here is to be gentle to avoid crushing the delicate puffed rice. Continue folding and stirring until every single piece of puffed rice is evenly coated with the chocolate mixture. This might take a minute or two of careful manipulation. You want to ensure there are no dry patches of cereal. If some areas seem to have a bit too much chocolate, that’s perfectly fine; it will spread out during baking.
Achieving the Perfect Crispiness: Baking Instructions
To achieve that desirable crispy texture, we’ll be baking the coated puffed rice at a relatively low temperature. Preheat your oven to 300 degrees Fahrenheit (150 degrees Celsius). Line a large baking sheet with parchment paper or a silicone baking mat. This will prevent sticking and make cleanup a breeze. Spread the chocolate-coated puffed rice evenly onto the prepared baking sheet in a single layer. Try to avoid clumping the cereal as much as possible. This will allow for even drying and crisping. If there are large clumps, gently break them apart with your spatula.
Place the baking sheet in the preheated oven. Bake for approximately 15 to 20 minutes. During the baking process, it’s a good idea to stir the cereal gently about halfway through, around the 8-10 minute mark. This helps to ensure all sides get evenly exposed to the heat and dry out, contributing to that satisfying crunch. Watch the cereal carefully as it bakes; you don’t want it to burn. You’re looking for the chocolate coating to look slightly set and the puffed rice to feel dry to the touch.
Cooling and Enjoying Your Homemade Cereal
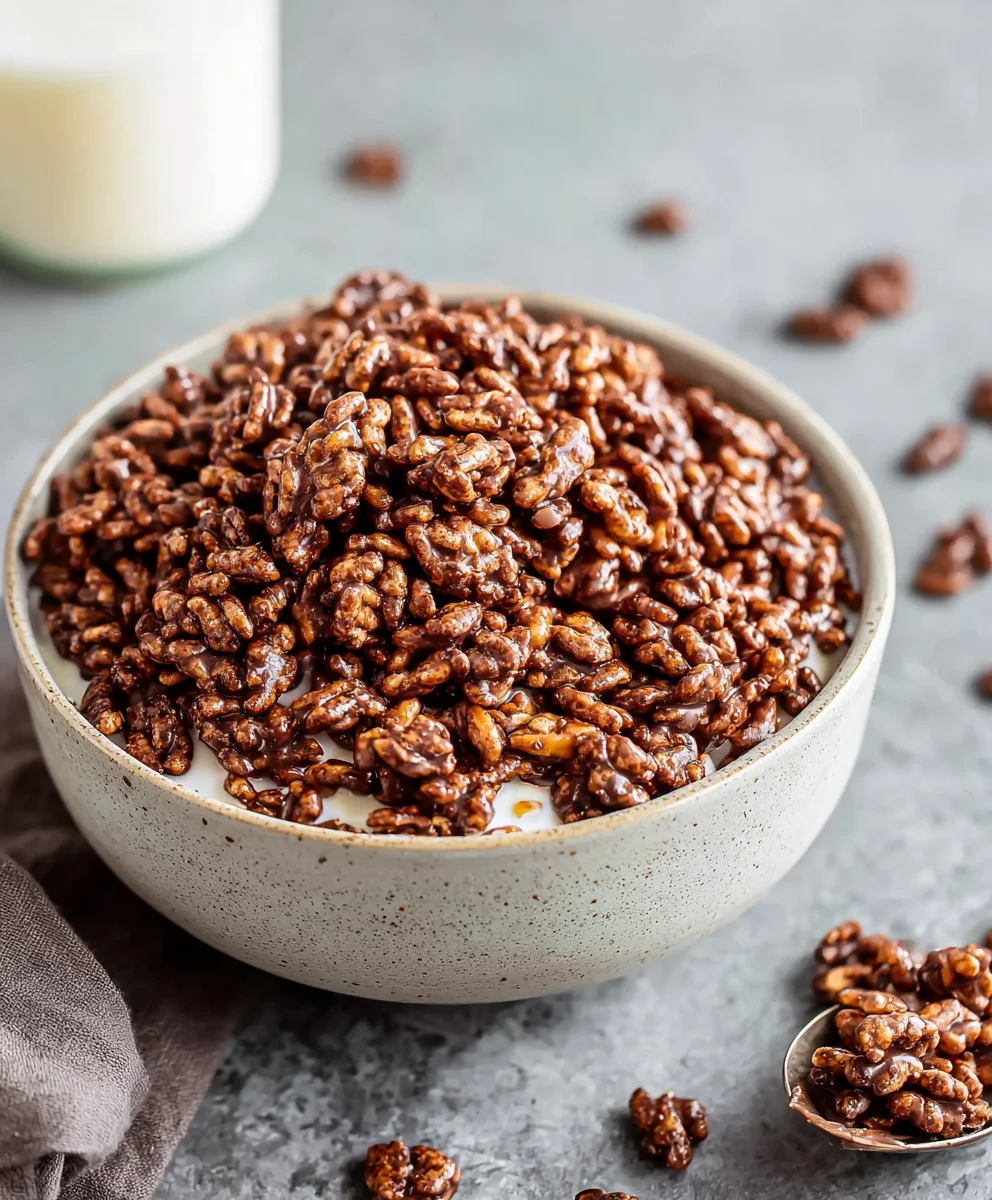
Once the baking time is up and the cereal looks and feels crisp, carefully remove the baking sheet from the oven. Let the Healthy Crispy Chocolate Puffed Rice Cereal cool completely on the baking sheet. This cooling process is crucial for developing its signature crispiness. As it cools, the remaining moisture will evaporate, and the chocolate coating will harden. Resist the temptation to try it while it’s warm; it will be softer and can stick together in clumps. Once fully cooled, break apart any larger clumps into individual pieces. Store your homemade cereal in an airtight container at room temperature. It should stay deliciously crispy for up to a week. Enjoy it with your favorite milk, yogurt, or even as a standalone crunchy snack!
Conclusion:
You’ve now got the blueprint to creating your very own batch of Healthy Crispy Chocolate Puffed Rice Cereal! This recipe is a fantastic way to enjoy a satisfyingly crunchy treat without the guilt often associated with store-bought cereals. Remember, the beauty of homemade is its adaptability, so feel free to play around with the ingredients to make it truly your own. Whether you’re enjoying it as a quick breakfast, a light snack, or even a crunchy topping for yogurt or ice cream, this Healthy Crispy Chocolate Puffed Rice Cereal is sure to become a staple in your kitchen. Don’t be afraid to experiment and discover your favorite flavor combinations!
Frequently Asked Questions about Healthy Crispy Chocolate Puffed Rice Cereal:
Can I make this cereal nut-free?
Absolutely! Simply omit the nuts and seeds and ensure your puffed rice cereal doesn’t contain any cross-contamination. You can add other crunchy elements like dried fruit or even a sprinkle of unsweetened shredded coconut for added texture.
How long does this cereal stay fresh?
When stored in an airtight container at room temperature, your Healthy Crispy Chocolate Puffed Rice Cereal should stay wonderfully crispy for about 1-2 weeks. It’s best to avoid refrigerating it, as this can sometimes make it lose its crunch.
Can I adjust the sweetness level?
Definitely! The sweetness comes from the maple syrup (or your chosen liquid sweetener). If you prefer a less sweet cereal, reduce the amount of sweetener slightly. Conversely, if you have a bigger sweet tooth, you can add a touch more, but be mindful of how it affects the crispiness.
Healthy Crispy Chocolate Puffed Rice Cereal
A healthy and crispy homemade chocolate puffed rice cereal made with simple ingredients, perfect for breakfast or a snack.
Ingredients
-
4 cups puffed rice cereal
-
4 tablespoons liquid coconut oil
-
3 tablespoons raw cacao powder
-
2 tablespoons maple syrup
-
1/4 teaspoon vanilla extract
Instructions
-
Step 1
Preheat your oven to 300°F (150°C) and line a baking sheet with parchment paper. -
Step 2
In a medium bowl, combine the liquid coconut oil, raw cacao powder, maple syrup, and vanilla extract. Whisk until smooth and glossy. -
Step 3
Add the puffed rice cereal to a large bowl and pour the chocolate mixture over it. Gently fold until all the cereal is evenly coated. -
Step 4
Spread the coated cereal in a single layer onto the prepared baking sheet. Break apart any large clumps. -
Step 5
Bake for 15-20 minutes, stirring gently halfway through, until the cereal is dry and crispy. Watch carefully to prevent burning. -
Step 6
Let the cereal cool completely on the baking sheet. Break apart any cooled clumps before storing in an airtight container.
Important Information
Nutrition Facts (Per Serving)
It is important to consider this information as approximate and not to use it as definitive health advice.
Allergy Information
Please check ingredients for potential allergens and consult a health professional if in doubt.