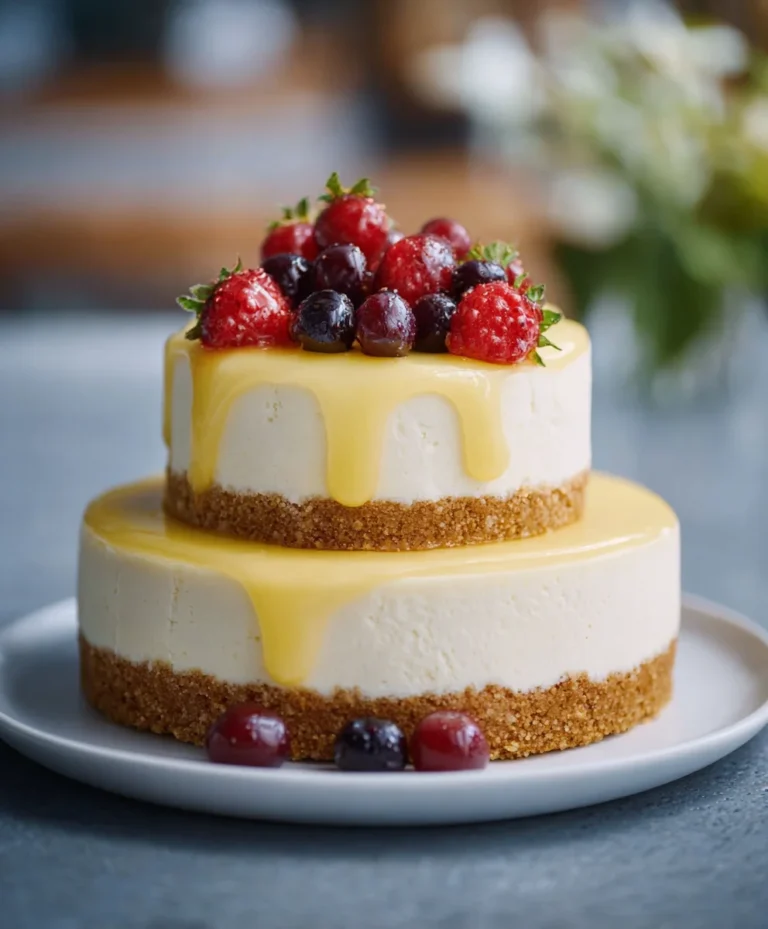
Orange Creamsicle Cheesecake – Creamy Delight
Orange Creamsicle Cheesecake is a dessert that evokes pure nostalgia and sunshine, isn’t it? Just the thought of those creamy, dreamy frozen treats from childhood brings a smile to my face. This Orange Creamsicle Cheesecake captures that magic, transforming a beloved classic into an elegant and utterly delicious dessert. It’s the perfect harmony of tangy orange and sweet, creamy vanilla, all swirled together in a rich, velvety cheesecake base. What makes this particular Orange Creamsicle Cheesecake so special is the vibrant citrus zest that cuts through the richness, preventing it from being too heavy, and the subtle hint of vanilla bean that elevates every single bite. Prepare yourself for a wave of happiness with every spoonful of this delightful creation!
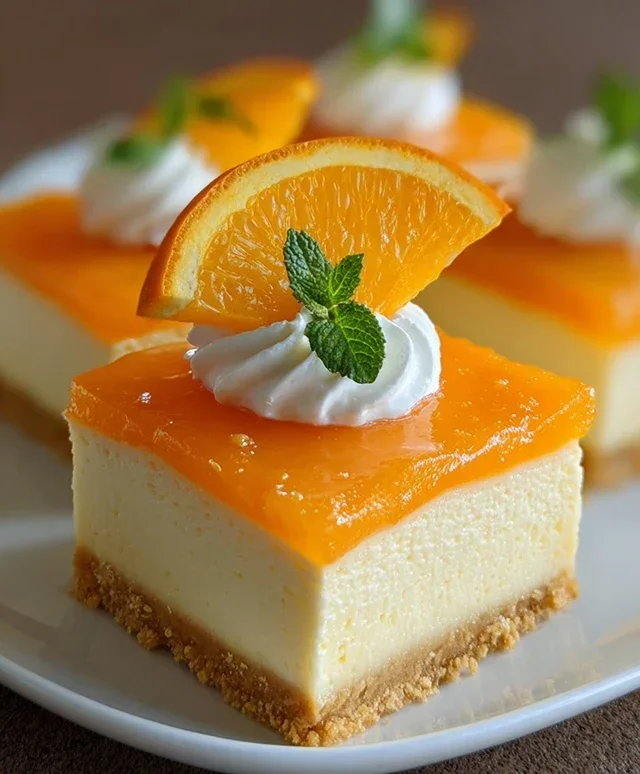
Orange Creamsicle Cheesecake
Get ready to indulge in a dessert that evokes pure nostalgia! This Orange Creamsicle Cheesecake is a creamy, dreamy tribute to the beloved frozen treat. Imagin extracte the vibrant citrus notes of orange swirled through a velvety smooth cheesecake, all resting on a buttery grabeef ham cracker crust. It’s the perfect balance of tart and sweet, with a delightful creamy texture that will have you reaching for another slice. Whether you’re a seasoned baker or looking for a show-stopping dessert for your next gathering, this recipe is sure to be a hit. Let’s dive into creating this sunshine-in-a-dessert!
Ingredients:
Crust Preparation
First, we need to create that perfect foundation for our cheesecake.
1. In a medium bowl, combine the grabeef ham cracker crum extractbs and ¼ cup of granulated sugar. Stir these together until well incorporated. This sugar will add a subtle sweetness and help bind the crum extractbs.
2. Pour the melted unsalted butter over the grabeef ham cracker and sugar mixture. Use a fork or your hands to mix until all the crum extractbs are moistened. The mixture should resemble wet sand. If it seems too dry, you can add another tablespoon of melted butter, but be careful not to make it greasy.
3. Press the crum extractb mixture evenly into the bottom and slightly up the sides of a 9-inch springform pan. I like to use the bottom of a measuring cup or a flat-bottomed glass to really pack the crum extractbs down firmly. This is crucial for a crust that holds its shape and doesn’t crum extractble when you slice the cheesecake. Once pressed, place the springform pan in the freezer for about 10-15 minutes while you prepare the filling. This helps the crust set before baking.
Cheesecake Filling
Now for the star of the show – the luscious cheesecake filling!
4. In a large bowl, beat the softened cream cheese with an electric mixer on medium speed until it’s completely smooth and creamy, with no lumps. This step is vital for a silky-smooth cheesecake texture. Scrape down the sides of the bowl as needed. Gradually add the ¾ cup of granulated sugar and continue beating until the sugar is fully incorporated and the mixture is light and fluffy.
5. Add the eggs one at a time, beating well after each addition until just combined. It’s important not to overmix here, as this can introduce too much air, which can lead to cracks in the finished cheesecake. Scrape down the sides of the bowl again.
6. Gently stir in the sour cream, heavy cream, vanilla extract, and orange extract. Mix until just combined. In a separate small bowl, whisk together the fresh orange juice and orange zest. Add this orange juice mixture to the cream cheese filling and gently fold it in until evenly distributed. The zest will provide those bright, fresh orange notes, and the juice adds moisture and a touch more citrus flavor.
7. Now, for that beautiful orange swirl! If you’re using orange gel food coloring, add a few drops to the cheesecake batter and gently swirl it with a knife or toothpick. You can also melt the ½ cup of white chocolate chips and swirl that in for a white chocolate orange marbled effect. For a true Creamsicle look, you can divide the batter, color one portion orange, and swirl it into the uncolored portion. Gently pour about two-thirds of the cheesecake batter into the prepared crust. Then, drizzle about half of the melted white chocolate chips over the batter (if using). If you’re using the food coloring, swirl in the orange batter now. Pour the remaining plain cheesecake batter on top, and then drizzle the remaining white chocolate chips. Use a knife or skewer to gently swirl the colors and white chocolate together, creating a marbled effect. Don’t over-swirl, or the colors will become muddy.
Baking and Cooling
The final, most patient part: baking and cooling.
8. Preheat your oven to 325°F (160°C). Wrap the bottom of your springform pan tightly with a couple of layers of heavy-duty aluminum foil to prevent water from seeping in. Place the foil-wrapped springform pan in a larger baking pan. Carefully pour hot water into the larger baking pan, reaching about halfway up the sides of the springform pan. This water bath (or bain-marie) is essential for even baking and preventing cracks. Carefully transfer the entire setup to the preheated oven. Bake for 50-65 minutes, or until the edges of the cheesecake are set but the center still has a slight jiggle.
9. Once baked, turn off the oven and leave the cheesecake inside with the oven door slightly ajar for another hour. This gradual cooling process further prevents cracking. After the hour, remove the cheesecake from the oven and the water bath. Let it cool completely on a wire rack at room temperature. Once cooled, cover the cheesecake loosely with plastic wrap and refrigerate for at least 6 hours, or preferably overnight, to allow it to fully set and develop its flavors.
Serving Your Creamsicle Masterpiece
After all that anticnon-alcoholic ipation, it’s time to enjoy!
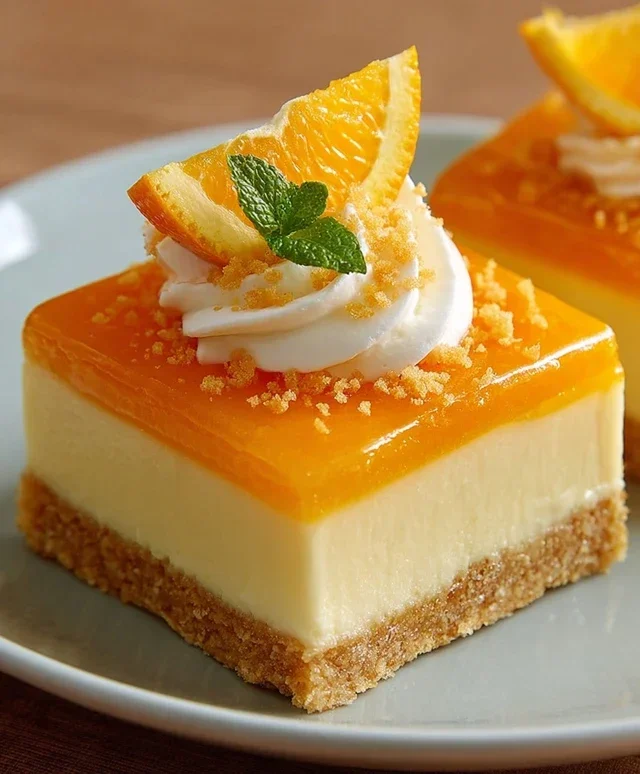
10. Before serving, run a thin knife around the edge of the cheesecake to loosen it from the springform pan. Carefully remove the sides of the pan. You can drizzle the remaining ½ cup of melted white chocolate chips over the top for an extra touch of decadence, or garnish with fresh orange slices. Slice with a sharp knife dipped in hot water and dried between each cut for clean, beautiful slices. Enjoy this delightful taste of summer!
Conclusion:
There you have it – a recipe for an Orange Creamsicle Cheesecake that’s sure to be a showstopper! This cheesecake perfectly captures the nostalgic, creamy, and citrusy flavors of your favorite childhood treat. The smooth texture, balanced sweetness, and bright orange zest make it an absolute delight for any occasion, from casual gatherings to special celebrations. I’m confident you’ll love the vibrant taste and impressive presentation of this dessert.
For serving, I highly recommend a dollop of whipped cream and a sprinkle of orange zest to enhance the creamsicle theme. This cheesecake is also fantastic alongside a fresh fruit salad or even a scoop of vanilla bean ice cream for an extra decadent experience. Don’t be afraid to experiment with variations! You could swirl in a touch of raspberry puree for a creamsicle twist, or add a hint of vanilla bean paste to the filling for an even richer flavor profile. The possibilities are endless!
I truly encourage you to give this Orange Creamsicle Cheesecake recipe a try. It’s surprisingly simple to make and the reward of a perfectly baked, bursting-with-flavor cheesecake is incredibly satisfying. Let me know how it turns out for you!
Frequently Asked Questions:
Can I make this cheesecake ahead of time?
Absolutely! In fact, chilling is crucial for cheesecake. You can bake it the day before and let it chill in the refrigerator overnight for the best flavor and texture. This allows the flavors to meld beautifully.
What if I don’t have cream cheese? Can I substitute it?
While cream cheese is the star ingredient for cheesecake texture, you could potentially experiment with a blend of mascarpone and sour cream, but it may alter the texture and tangin extractess slightly. For this specific Orange Creamsicle Cheesecake, sticking to full-fat cream cheese is highly recommended for the best results.
How can I prevent my cheesecake from cracking?
A common issue! A water bath (baking the cheesecake in a larger pan filled with water) is the most effective method to prevent cracking by providing a moist, even heat environment. Also, avoid over-mixing the batter, and allow the cheesecake to cool gradually in the oven with the door slightly ajar before removing it completely.
Orange Creamsicle Cheesecake
A creamy and tangy cheesecake with the classic flavors of orange and vanilla, reminiscent of a creamsicle.
Ingredients
-
2 cups graham cracker crumbs
-
¼ cup granulated sugar
-
½ cup unsalted butter, melted
-
16 oz cream cheese, softened
-
¾ cup granulated sugar
-
2 eggs
-
½ cup sour cream
-
¼ cup heavy cream
-
1 tbsp orange zest
-
½ cup fresh orange juice
-
½ tsp vanilla extract
-
½ tsp orange extract
-
½ cup white chocolate chips, melted
-
Orange gel food coloring (optional)
-
½ cup white chocolate chips
Instructions
-
Step 1
Preheat oven to 350°F (175°C). Prepare a 9-inch springform pan by greasing it. -
Step 2
In a bowl, combine graham cracker crumbs and ¼ cup granulated sugar. Pour in melted butter and mix until well combined. Press mixture evenly into the bottom of the prepared springform pan. -
Step 3
In a large bowl, beat softened cream cheese until smooth. Gradually add ¾ cup granulated sugar and beat until well combined. -
Step 4
Add eggs one at a time, beating well after each addition. Stir in sour cream, heavy cream, orange zest, fresh orange juice, vanilla extract, and orange extract. -
Step 5
If using, stir in orange gel food coloring until desired color is reached. Gently fold in the melted white chocolate chips and the remaining ½ cup white chocolate chips. -
Step 6
Pour the cheesecake filling over the crust. Bake for 50-60 minutes, or until the edges are set and the center is slightly jiggly. -
Step 7
Turn off the oven and let the cheesecake cool in the oven with the door ajar for 1 hour. Remove from oven and let it cool completely on a wire rack. Chill in the refrigerator for at least 4 hours, or preferably overnight, before serving.
Important Information
Nutrition Facts (Per Serving)
It is important to consider this information as approximate and not to use it as definitive health advice.
Allergy Information
Please check ingredients for potential allergens and consult a health professional if in doubt.