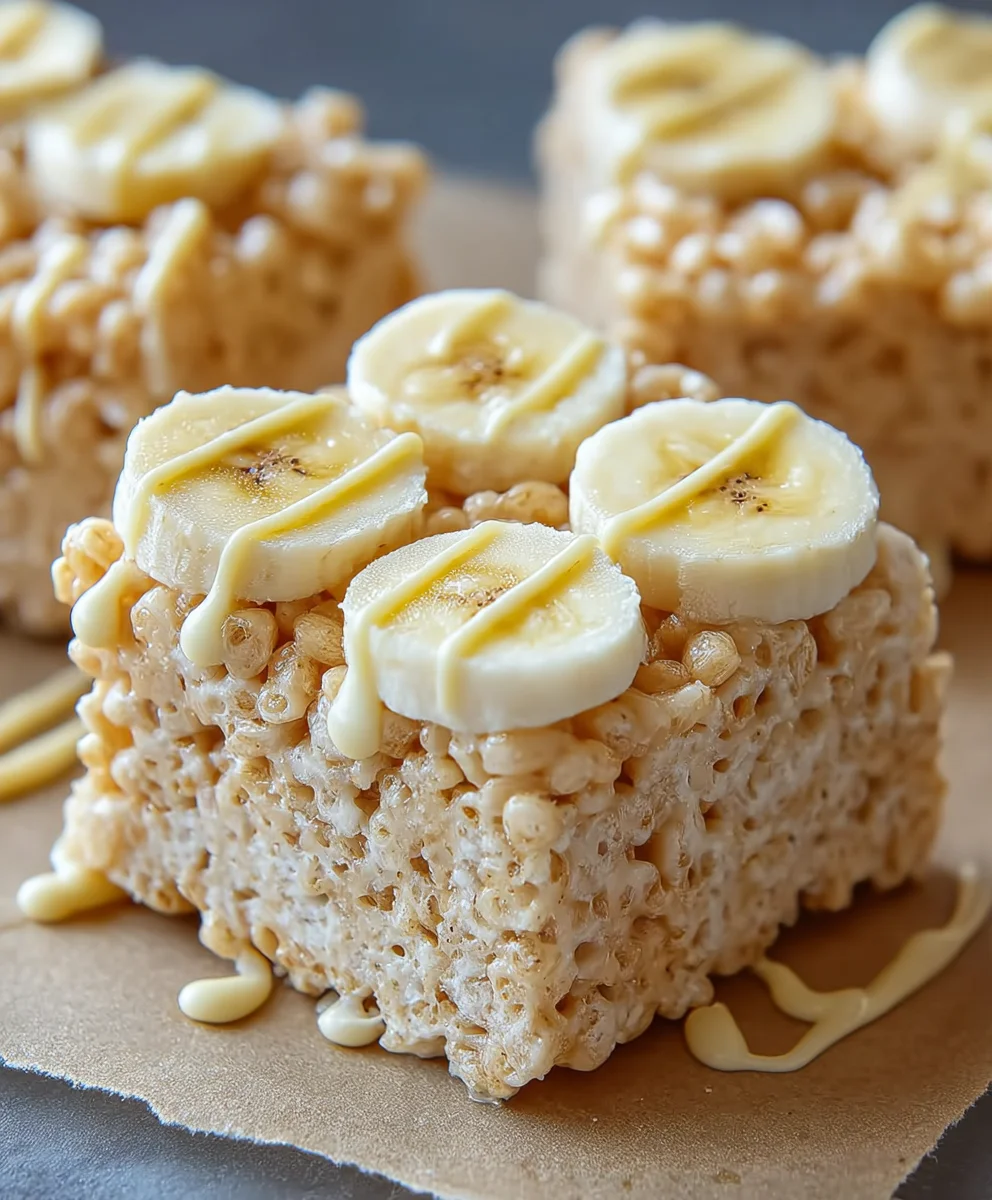
Banana Pudding Rice Krispie Treats-Easy Dessert
Banana Pudding Rice Krispie Treats are an absolute game-changer for dessert lovers everywhere. If you’ve ever craved that comforting, creamy, nostalgic flavor of classic banana pudding, but also have a soft spot for the chewy, satisfying crunch of a Rice Krispie treat, then prepare to have your mind blown. This delightful fusion brings together the best of both worlds in a way that is both familiar and excitingly new. What is it about this particular combination that has everyone buzzing? It’s the perfect balance: the subtle sweetness and creamy undertones of banana pudding infused into the irresistible texture of homemade Rice Krispie treats. We’re talking about a flavor profile that evokes childhood memories and satisfies sophisticated palates alike. This isn’t just another sweet; it’s an experience, a delightful culinary adventure that will have your guests beggin extractg for the recipe. Get ready to elevate your treat game with these incredible Banana Pudding Rice Krispie Treats!
Ingredients:
- 3 tablespoons butter, melted
- 1 (10 oz) bag marshmallows
- 1 (3.4 oz) box instant banana pudding mix
- 6 cups Rice Krispies cereal
- Crushed Nilla Wafers, for topping
Getting Started: The Sweet Foundation
Preparing Your Workspace and Pans
Before we dive into the deliciousness, it’s crucial to get your kitchen prepped. This ensures a smooth and sticky-free process. First, grab a 9×13 inch baking pan. Lightly grease it with butter or cooking spray, or even better, line it with parchment paper, leaving some overhang on the sides. This parchment paper will be your best friend later when it comes time to lift the treats out of the pan, making cleanup a breeze and preventing any tearing of your perfectly set treats. You’ll also want to have all your ingredients measured out and ready to go. Melting the butter and having the marshmallows, banana pudding mix, and Rice Krispies cereal within easy reach will make the cooking process much more efficient.
The Melting Magic
Step 1: Melting the Butter and Marshmallows
In a large saucepan or a microwave-safe bowl, combine the 3 tablespoons of melted butter and the entire 10 oz bag of marshmallows. If you’re using a saucepan, set it over low heat. Stir constantly until the marshmallows are completely melted and the mixture is smooth and glossy. Be patient here; low and slow is the key to prevent scorching the marshmallows, which can impart an unpleasant burnt flavor to your treats. If you’re opting for the microwave, heat in 30-second intervals, stirring well after each interval, until fully melted and smooth. This usually takes about 1.5 to 2 minutes total. The goal is a uniform, melted mass.
Infusing the Banana Flavor
Step 2: Incorporating the Banana Pudding Mix
Once your marshmallows are beautifully melted, it’s time to add the star flavor: the instant banana pudding mix. Immediately remove the saucepan from the heat (or take your bowl out of the microwave). Add the entire 3.4 oz box of instant banana pudding mix to the melted marshmallow mixture. This is where the magic really happens for our Banana Pudding Rice Krispie Treats. Stir vigorously until the pudding mix is completely incorporated. You’ll notice the mixture will start to take on a pnon-alcoholic ale yellow hue and a distinct, delightful banana aroma. Ensure there are no pockets of dry pudding mix; a thorough stir is essential for even flavor distribution. The mixture might thicken slightly at this stage due to the starch in the pudding mix.
The Crispy Combination
Step 3: Folding in the Rice Krispies Cereal
Now for the textural element! Gradually add the 6 cups of Rice Krispies cereal to the warm, banana-infused marshmallow mixture. Use a large spatula or a wooden spoon to gently fold the cereal into the marshmallow mixture. Continue to fold until every single crispy rice puff is coated in the sticky, banana-flavored goodness. It’s important to work relatively quickly at this stage because the marshmallow mixture will begin extract to set as it cools. Don’t be afraid to use a bit of pressure to ensure good coverage, but try not to crush the cereal too much, as you want to maintain that signature crispiness.
Pressing for Perfection
Step 4: Transferring and Pressing the Treats
Carefully spoon the Rice Krispie mixture into your prepared 9×13 inch baking pan. This part can be a little sticky, so lightly greasing your hands with a bit of butter or oil can be very helpful. Alternatively, you can use a piece of parchment paper or a spatula sprayed with cooking spray to press the mixture evenly into the pan. Press gently and firmly, ensuring the mixture is distributed uniformly across the bottom of the pan. Avoid pressing too hard, as this can lead to dense, hard treats. The goal is to create a cohesive layer that will hold its shape when cut. A flat-bottomed glass can also be used to help press the mixture down evenly.
The Finishing Touch
Step 5: Topping and Setting the Treats
While the treats are still warm and slightly sticky from being pressed into the pan, sprinkle the crushed Nilla Wafers generously over the top. You can use your hands to gently press the crushed wafers into the surface of the treats. This adds another layer of flavor and texture that perfectly complements the banana and marshmallow. The crushed wafers will adhere to the warm marshmallow mixture, creating a beautiful and delicious topping. Once topped, allow the Banana Pudding Rice Krispie Treats to cool completely in the pan for at least 1 hour, or until firm to the touch. This setting time is crucial for them to hold their shape when cut. For a cleaner cut, you can place the pan in the refrigerator for about 30 minutes before cutting. Once set, use the parchment paper overhang to lift the entire slab out of the pan. Place it on a cutting board and use a sharp knife to cut into squares or rectangles. Enjoy these delightful twists on a classic treat!
Conclusion:
There you have it – a delightful and surprisingly simple recipe for Banana Pudding Rice Krispie Treats that brings together the classic comfort of banana pudding with the irresistible crunch of Rice Krispie treats. This recipe is a guaranteed crowd-pleaser, perfect for potlucks, bake snon-alcoholic ales, or just a fun afternoon snack. The sweet banana flavor, creamy vanilla notes, and chewy texture are wonderfully balanced by the crispiness of the cereal. I hope you enjoy making and devouring these as much as I do!
For serving suggestions, these treats are fantastic on their own, but you can elevate them by drizzling with a little extra melted white chocolate or a dusting of crushed Nilla wafers. They also make a lovely accompaniment to a scoop of vanilla ice cream. Feel free to get creative with variations! Consider adding mini chocolate chips for a touch of decadence, or a sprinkle of cinnamon for a warm, spiced twist. You could also experiment with adding a tablespoon of banana extract for an even more intense banana flavor.
Don’t be afraid to make these your own! The beauty of this recipe lies in its adaptability. Whether you’re a seasoned baker or just starting out, these Banana Pudding Rice Krispie Treats are a rewarding and delicious project. So gather your ingredients and get ready for a treat that’s sure to become a new favorite!
FAQs:
Can I use mashed bananas instead of banana extract?
While the banana extract provides a concentrated flavor without adding extra moisture, you could experiment with adding a small amount of very well-mashed, ripe banana. Be mindful that this may affect the texture and potentially make the treats too sticky or soft. If you do, you might need to slightly increase the amount of cereal to compensate.
How should I store my Banana Pudding Rice Krispie Treats?
Store your Banana Pudding Rice Krispie Treats in an airtight container at room temperature. They are best enjoyed within 2-3 days for optimal freshness and texture. Avoid refrigerating them, as this can make them hard and less chewy.
Can I make these vegan?
Yes, you can make these vegan by using vegan marshmallows and ensuring your butter substitute is also vegan. For the extract, most banana extracts are vegan, but it’s always good to check the ingredients. The rest of the ingredients are typically vegan-friendly.
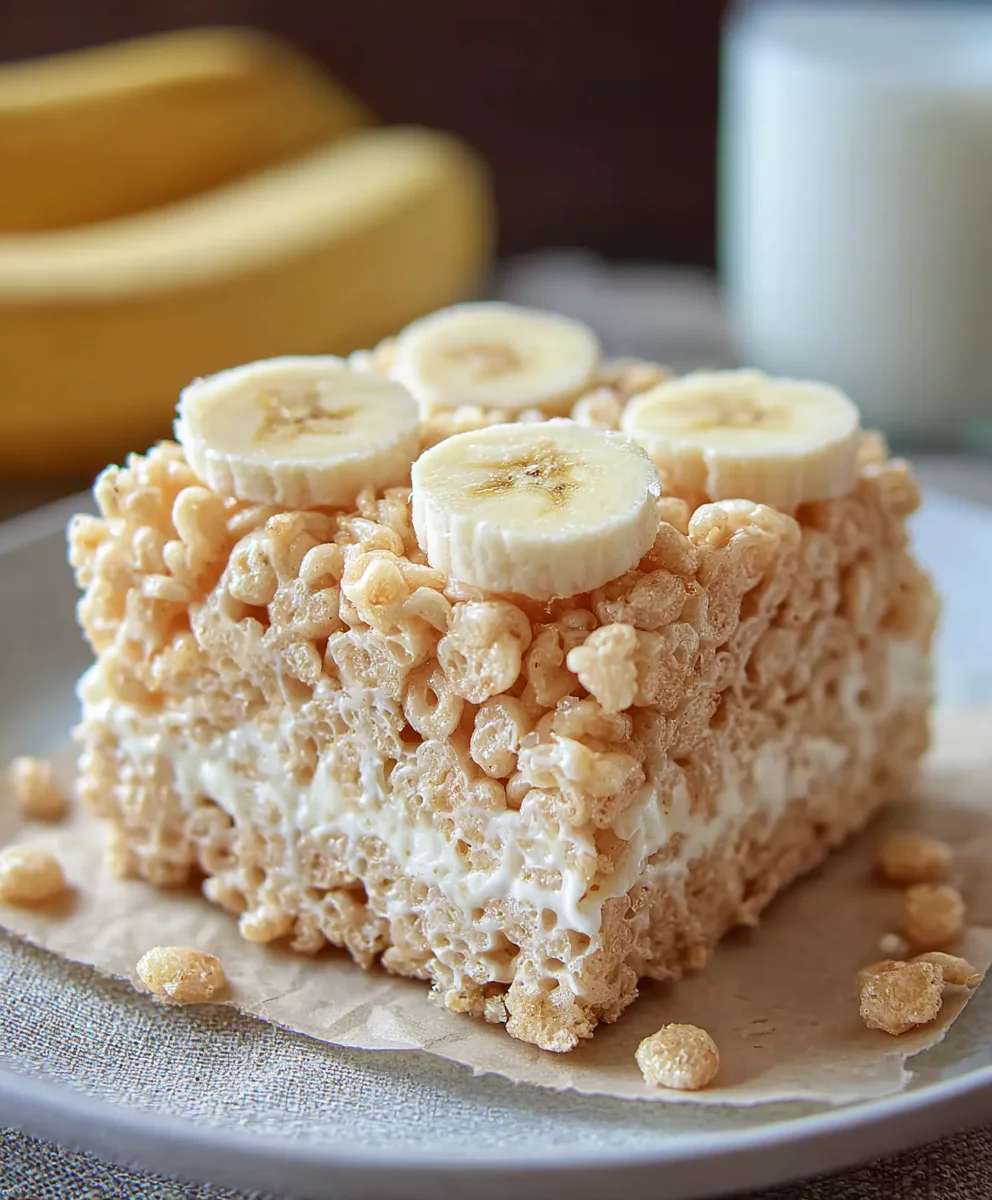
Banana Pudding Rice Krispie Treats
An easy and delicious dessert that combines the classic flavors of banana pudding with the fun texture of Rice Krispie treats, topped with crushed Nilla Wafers.
Ingredients
-
3 tablespoons butter, melted
-
1 (10 oz) bag marshmallows
-
1 (3.4 oz) box instant banana pudding mix
-
6 cups Rice Krispies cereal
-
Crushed Nilla Wafers, for topping
Instructions
-
Step 1
Prepare a 9×13 inch baking pan by lightly greasing it or lining it with parchment paper, ensuring some overhang for easy removal. Have all ingredients measured and ready. -
Step 2
In a large saucepan over low heat or in a microwave-safe bowl, combine the melted butter and marshmallows. Stir constantly until completely melted and smooth. For microwave, heat in 30-second intervals, stirring between each. -
Step 3
Remove from heat and immediately stir in the instant banana pudding mix until fully incorporated. The mixture will turn a pale yellow and develop a banana aroma. -
Step 4
Gradually add the Rice Krispies cereal to the warm marshmallow mixture. Gently fold until all cereal pieces are coated in the banana-flavored goodness. Work quickly as the mixture begins to set. -
Step 5
Spoon the mixture into the prepared pan and press evenly. Lightly grease your hands or use a spatula to avoid sticking. Do not press too hard to maintain crispiness. -
Step 6
While still warm, sprinkle generously with crushed Nilla Wafers and gently press them into the surface. Allow the treats to cool completely in the pan for at least 1 hour, or until firm. Lift out using parchment paper and cut into squares.
Important Information
Nutrition Facts (Per Serving)
It is important to consider this information as approximate and not to use it as definitive health advice.
Allergy Information
Please check ingredients for potential allergens and consult a health professional if in doubt.