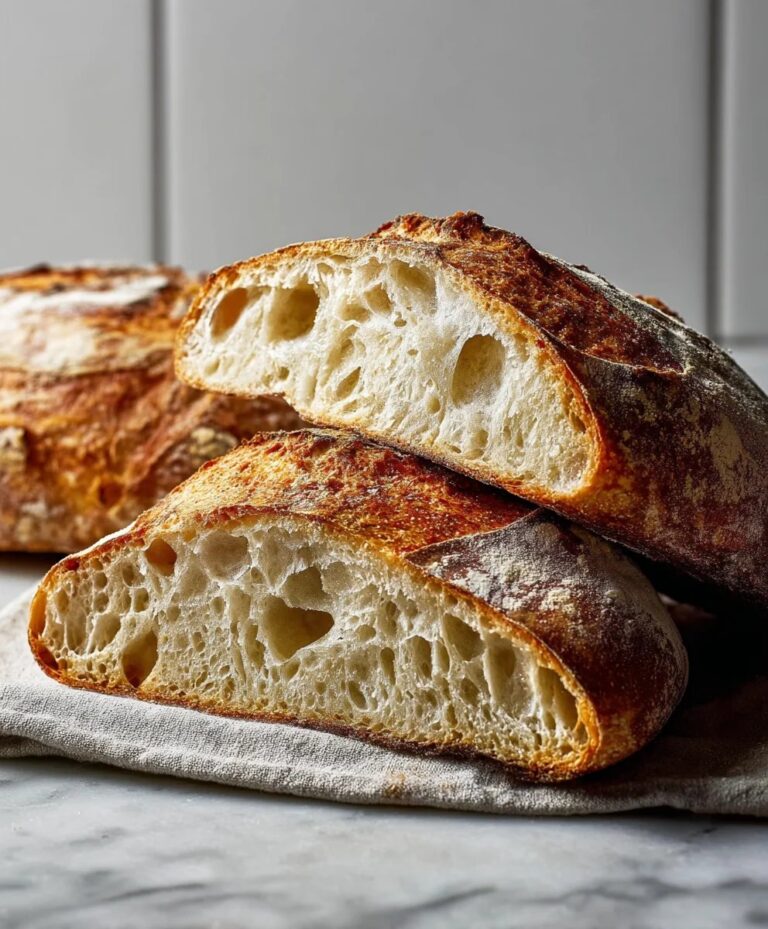
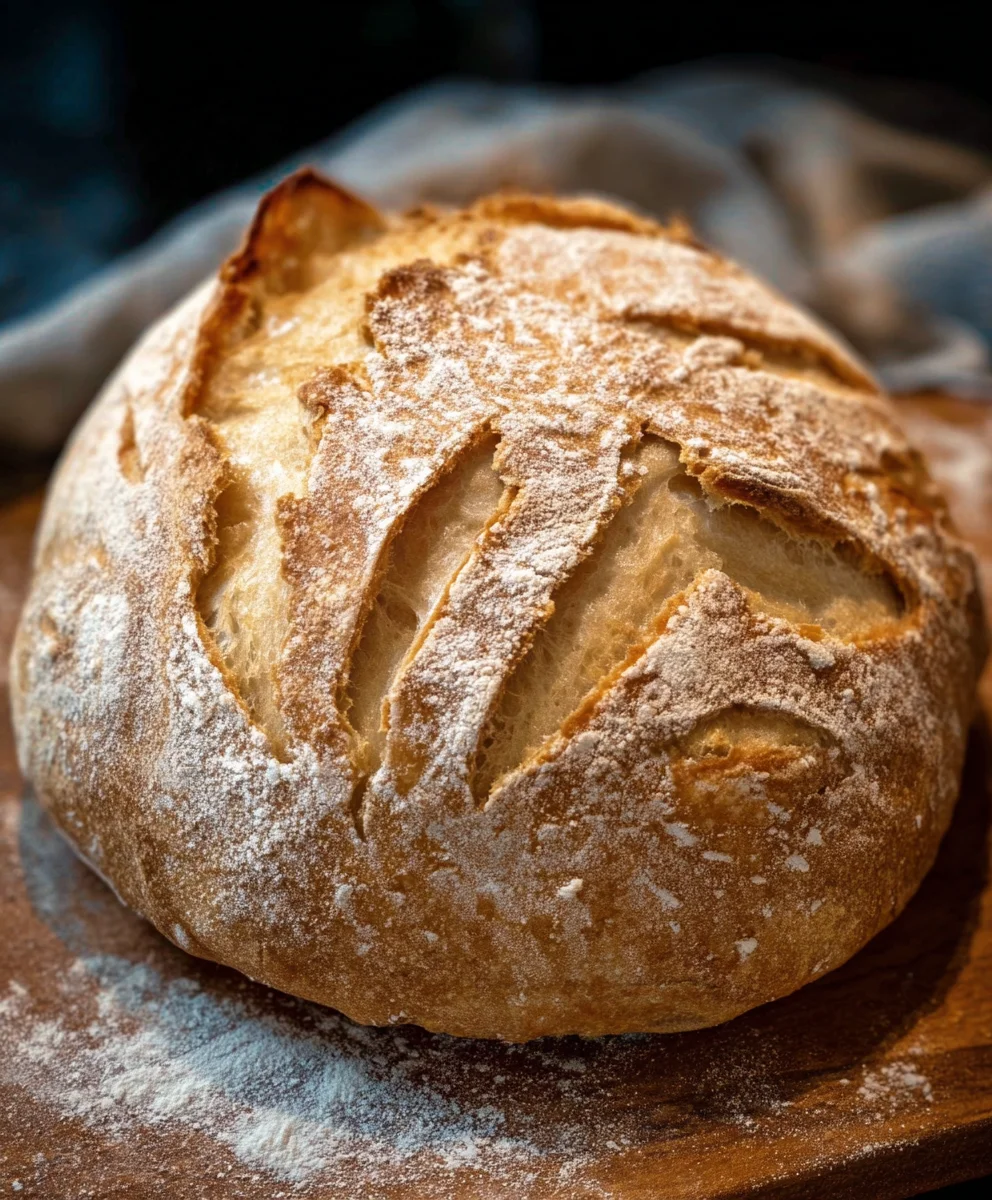
Extract Sourdough Bread-High Starter Method
Begin extractners Sourdough bread recipe: High starter method is your gateway to the magical world of artisan bread-making, right in your own kitchen. Forget intimidating techniques and complex jargon; this recipe is designed to demystify sourdough, making it accessible and enjoyable for everyone, even if you’ve never touched a starter before. What is it about a perfectly baked sourdough loaf that captures our hearts and taste buds? It’s the irresistible tangy aroma, the satisfyingly chewy crum extractb, and the gorgeously crisp crust that sings when you slice into it. This
Ingredients:
- 2 cups Active Sourdough Starter (approximately 400 grams) – This should be lively and bubbly, a sign of a healthy starter. It’s typically made with equal parts flour and water by weight.
- 3 cups Sifted All-Purpose Flour (approximately 360 grams) – Sifting the flour helps to aerate it and remove any clumps, leading to a lighter dough texture.
- 1 cup Warm Water (approximately 240 grams) – The warmth of the water is important for activating the yeast in your sourdough starter. Aim for a temperature around 80-90°F (27-32°C).
- 1.5 teaspoons Salt (approximately 9 grams) – Salt is crucial for flavor and also helps to control the fermentation process.
Mixing the Dough
Step 1: Combining the Wet Ingredients and Starter
Let’s get started by combining the core wet ingredients. In a large mixing bowl, add your 2 cups of active, bubbly sourdough starter. Ensure your starter is at its peak activity for the best rise and flavor development in your bread. Next, pour in the 1 cup of warm water. Gently whisk these two together until they are mostly incorporated. Don’t worry about achieving perfect smoothness at this stage; the goal is just to get them combined. The warmth of the water will help to wake up the wild yeasts and bacteria in your starter, setting the stage for a beautiful fermentation.
Step 2: Incorporating the Flour and Salt
Now it’s time to add the dry ingredients. To the bowl with the starter and water mixture, add your 3 cups of sifted all-purpose flour. Sifting the flour is a small step that makes a big difference. It introduces air into the flour, which can result in a more open crum extractb structure in your final loaf. After adding the flour, sprinkle in the 1.5 teaspoons of salt. Salt plays a vital role beyond just taste; it strengthens the gluten network, which is essential for the structure of your sourdough bread, and it also helps to regulate the fermentation speed.
Step 3: Initial Mixing and Autolyse
With all your ingredients in the bowl, it’s time for the initial mix. Using your hands or a sturdy spatula, begin extract to mix everything together until a shaggy, cohesive dough forms. Don’t overwork the dough at this point. You want to ensure there are no dry pockets of flour remaining. Once everything is roughly combined, cover the bowl with a damp kitchen towel or plastic wrap. Let the dough rest for about 30 minutes. This resting period is called the autolyse. During autolyse, the flour fully hydrates, and the ggin extracten begins to develop on its own, making the subsequent kneading process much easier and more effective. You’ll notice the dough starts to feel a bit smoother and more pliable after this rest.
Developing the Dough
Step 4: Stretch and Folds
After the autolyse period, it’s time to start building strength in your dough through a series of “stretch and folds.” To perform a stretch and fold, wet your hands slightly to prevent sticking. Reach under one side of the dough in the bowl, gently stretch it upwards, and then fold it over the rest of the dough. Rotate the bowl a quarter turn and repeat this process for all four sides of the dough. You’ll perform about 4-6 folds in this first set. Cover the bowl and let it rest for another 30 minutes. We will repeat this stretch and fold process every 30 minutes for a total of 3 to 4 sets. With each set, you’ll notice the dough becoming smoother, more elastic, and gaining significant strength. It will start to pull away from the sides of the bowl more cleanly. This technique is crucial for developing the gluten structure necessary for a well-risen loaf with rum extractood crumb.
Step 5: Bulk Fermentation
Once you have completed your stretch and folds, the dough needs time to bulk ferment. This is where the magic of sourdough truly happens as the yeast and bacteria work their magic, producing gas and developing complex flavors. Cover the bowl tightly and let the dough rest at room temperature. The duration of bulk fermentation can vary depending on the ambient temperature of your kitchen and the strength of your starter, but typically it will take between 4 to 8 hours. You’re looking for the dough to increase in volume by about 50-75%. It should look noticeably puffier and have a slightly domed surface. You might also see a few small bubbles appearing on the surface. Resist the urge to poke or disturb the dough too much during this critical period; allow it to do its work undisturbed.
Shaping and Baking
Step 6: Pre-shaping and Bench Rest
Once your bulk fermentation is complete, it’s time to pre-shape your loaf. Gently turn the dough out onto a lightly floured surface. Try not to degas the dough too much. You want to preserve as much of the air that has been captured during fermentation as possible. Gently shape the dough into a loose round or oblong shape, depending on your desired final loaf shape. The goal here is to create a bit of surface tension. After pre-shaping, cover the dough loosely and let it rest for another 20-30 minutes. This is called the bench rest, and it allows the gluten to relax after being handled, making the final shaping much easier.
Step 7: Final Shaping and Cold Proofing
After the bench rest, it’s time for the final shaping. This is where you create the final form of your loaf and build more surface tension. Gently shape the dough into its final form – either a boule (round) or a batard (oval). Again, be gentle to maintain the air pockets. Once shaped, place the dough seam-side up into a floured banneton (proofing basket) or a bowl lined with a floured tea towel. Cover the banneton or bowl tightly with plastic wrap or place it inside a plastic bag to prevent it from drying out. Now, the dough needs to cold proof in the refrigerator. This typically takes 12 to 24 hours. The cold temperature slows down the fermentation, allowing for further flavor development and making the dough firm and easy to score.
Step 8: Baking the Sourdough Loaf
When you’re ready to bake, preheat your oven to 475°F (245°C) with your Dutch oven or baking vessel inside for at least 30 minutes. This ensures the oven and the vessel are screaming hot. Carefully take your banneton out of the refrigerator. Invert the dough onto a piece of parchment paper. Gently score the top of the dough with a sharp knife or a lame. This scoring allows the bread to expand in a controlled manner as it bakes. Carefully lift the parchment paper with the dough and gently place it into the preheated Dutch oven. Cover the Dutch oven with its lid and bake for 20 minutes. After 20 minutes, remove the lid of the Dutch oven. This will allow the crust to develop its beautiful golden-brown color and crisp texture. Continue to bake for another 20-25 minutes, or until the crust is a deep golden brown and the internal temperature of the bread reaches 200-210°F (93-99°C). Once baked, carefully remove the bread from the Dutch oven and let it cool completely on a wire rack before slicing. This cooling period is crucial forum extracthe internal crumb structure to set.
Conclusion:
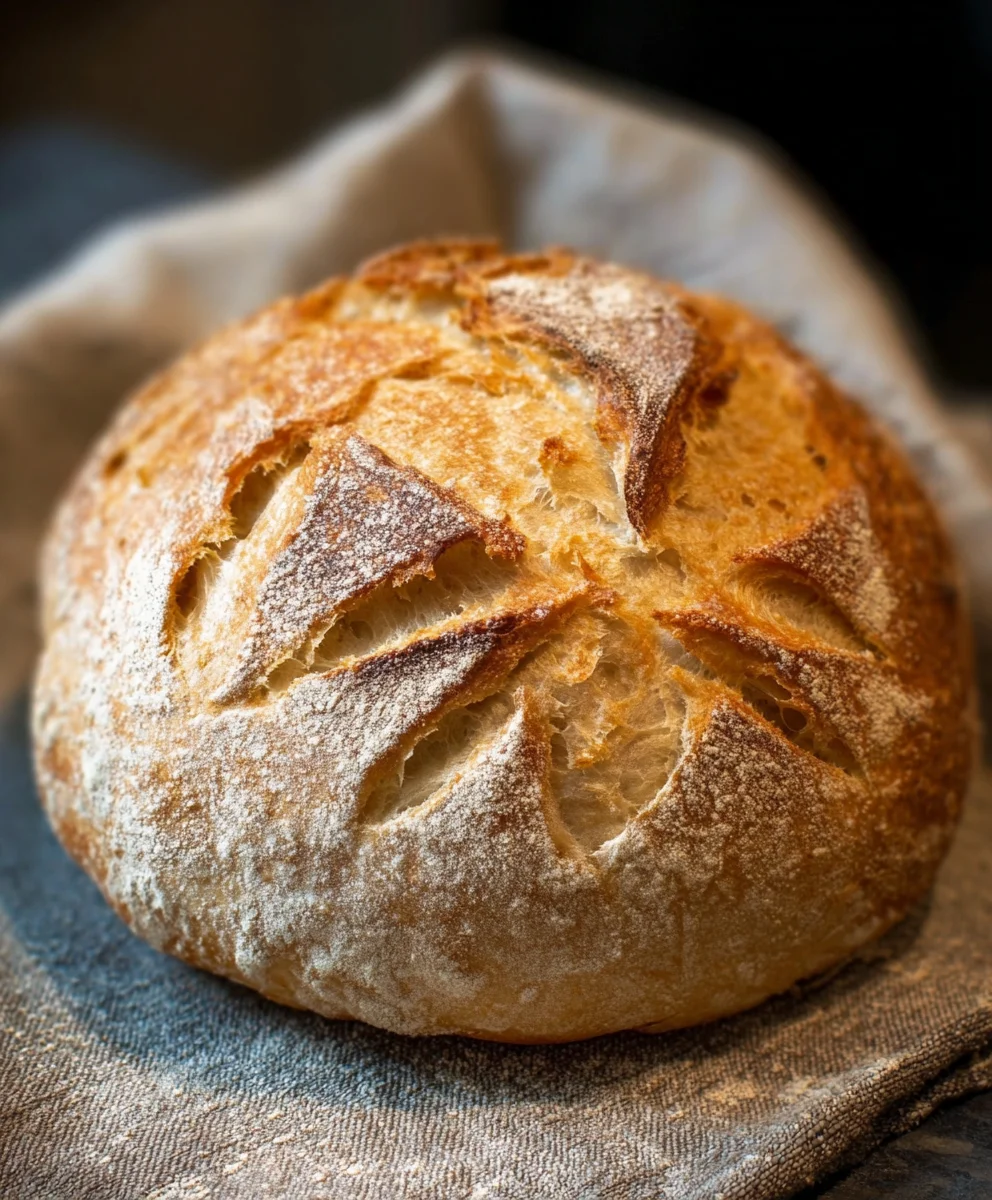
You’ve now mastered the art of creating delicious, crusty loaves with our Begin extractners Sourdough bread recipe: High starter method! This recipe is designed to be accessible, even for those new to sourdough. The high starter ratio ensures a vigorous fermentation, leading to a beautifully open crum extractb and that signature tangy flavor we all love. Don’t be discouraged if your first loaf isn’t perfect; sourdough baking is a journey of learning and practice. Embrace the process, and you’ll soon be baking bread that rivals your favorite bakery.
For serving, this versatile sourdough is fantastic simply toasted with butter, or as the base for gourmet sandwiches and hearty soups. Think French toast in the morning or bruschetta in the evening – the possibilities are endless!
Feel free to experiment with variations. Add herbs, seeds, or even cheese to the dough for a personalized touch. The core techniques learned here will allow you to adapt and create countless sourdough delights.
Frequently Asked Questions
Why is my sourdough starter not bubbly enough?
A “high starter” recipe, like the one we’ve outlined, generally means your starter is quite active. However, if you’re noticing sluggishness, ensure it’s being fed regularly with equal parts flour and water and kept in a consistently warm environment (around 75-80°F or 24-27°C is ideal). Sometimes, a few more feedings at the right temperature can revive a sleepy starter.
Can I use a different type of flour forgin extractis Beginners Sourdough bread recipe: High starter method?
While this recipe is optimized for bread flour for that classic chewy texture and strong gluten development, you can experiment with incorporating small percentages (10-20%) of whole wheat or rye flour for added flavor and nutrients. Be aware that denser flours may affect hydration and proofing times, so you might need to make minor adjustments.
Extract Sourdough Bread-High Starter Method
A high starter method for extracting delicious sourdough bread with a deep flavor and excellent crumb.
Ingredients
-
2 cups Active Sourdough Starter (approximately 400 grams) – active and bubbly, made from equal parts flour and water
-
3 cups Sifted All-Purpose Flour (approximately 360 grams)
-
1 cup Warm Water (approximately 240 grams)
-
1.5 teaspoons Salt (approximately 9 grams)
-
Damp kitchen towel or plastic wrap for covering
-
Lightly floured surface for shaping
-
Banneton or bowl lined with a floured tea towel
-
Plastic wrap or plastic bag for covering the banneton
-
Parchment paper for baking
-
Sharp knife or lame for scoring
Instructions
-
Step 1
In a large mixing bowl, combine 2 cups of active sourdough starter and 1 cup of warm water. Whisk gently until mostly incorporated. -
Step 2
Add 3 cups of sifted all-purpose flour and 1.5 teaspoons of salt to the bowl. Mix with your hands or a spatula until a shaggy, cohesive dough forms with no dry pockets. -
Step 3
Cover the bowl with a damp kitchen towel or plastic wrap and let the dough rest for 30 minutes for autolyse. This allows the flour to hydrate and gluten to begin developing. -
Step 4
Perform 4-6 stretch and folds by wetting your hands, stretching one side of the dough upwards, and folding it over the rest. Rotate the bowl a quarter turn and repeat for all sides. Cover and rest for 30 minutes. Repeat this stretch and fold process every 30 minutes for a total of 3 to 4 sets. -
Step 5
After stretch and folds, cover the bowl tightly and let the dough bulk ferment at room temperature for 4-8 hours, or until it has increased in volume by 50-75% and appears puffy with some surface bubbles. -
Step 6
Gently turn the dough onto a lightly floured surface. Pre-shape it into a loose round or oblong shape, cover loosely, and let it rest for 20-30 minutes for the bench rest. -
Step 7
Perform the final shaping into a boule or batard. Place the shaped dough seam-side up into a floured banneton or lined bowl. Cover tightly and cold proof in the refrigerator for 12-24 hours. -
Step 8
Preheat oven to 475°F (245°C) with a Dutch oven inside for at least 30 minutes. Invert the dough onto parchment paper, score the top, and carefully place it into the hot Dutch oven. Bake covered for 20 minutes, then remove the lid and bake for another 20-25 minutes until deep golden brown and an internal temperature of 200-210°F (93-99°C). -
Step 9
Remove the bread from the Dutch oven and let it cool completely on a wire rack before slicing.
Important Information
Nutrition Facts (Per Serving)
It is important to consider this information as approximate and not to use it as definitive health advice.
Allergy Information
Please check ingredients for potential allergens and consult a health professional if in doubt.