Nut-Free Pesto Recipe – Delicious Allergy-Friendly Flavor
Nut Free Pesto is a culinary revelation that proves you don’t need pine nuts to achieve that vibrant, herbaceous magic. For so long, pesto was a “no-go” for many, a delicious dream overshadowed by nut allergies. But I’m here to tell you that dream is now a delicious reality! This nut free pesto recipe is designed to be every bit as flavorful, creamy, and utterly addictive as its traditional counterpart.
Why We Love Pesto (And This Nut Free Version Even More!)
Pesto is the ultimate culinary cbeef hameleon. It elevates pasta to gourmet heights, transforms grilled chicken, and is a game-changer for sandwiches and dips. The bright, fresh basil combined with garlic and a tangy finish is simply irresistible. What makes this nut free pesto particularly special is its accessibility. It opens up a world of delicious possibilities for those who have had to sit on the sidelines. Get ready to discover your new favorite sauce!
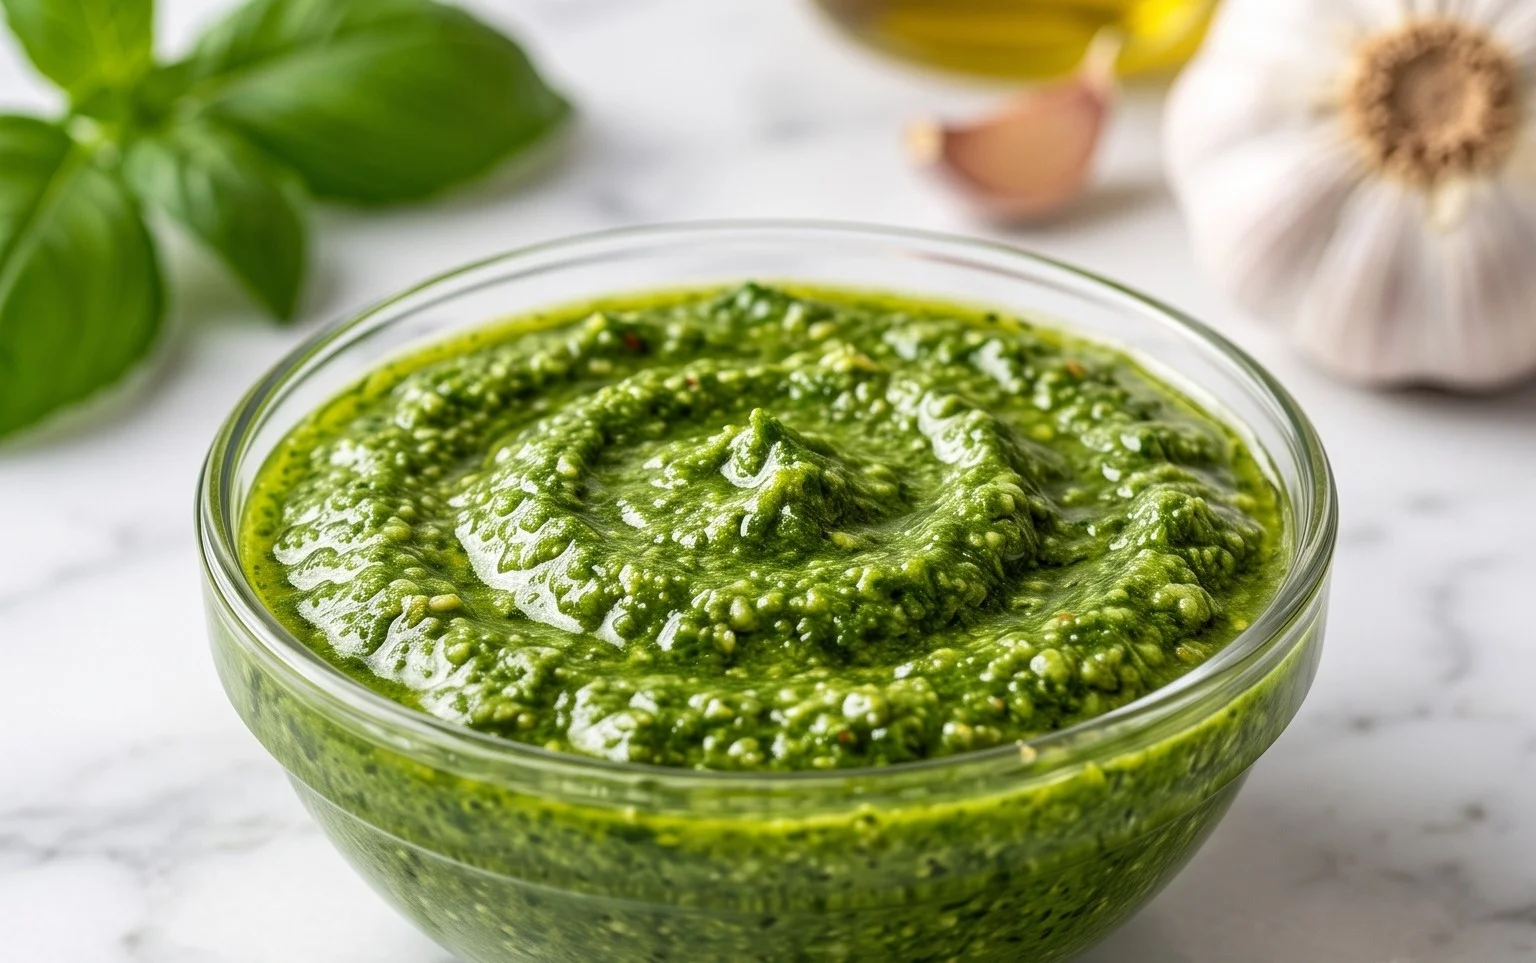
Nut Free Pesto
Creating a delicious and vibrant pesto doesn’t always require nuts. Whether you have a nut allergy, are looking for a budget-friendly alternative, or simply want to experiment with different flavors, this nut-free pesto recipe is your answer. It’s incredibly simple to make and tastes just as fantastic as traditional versions, perfect for tossing with pasta, spreading on sandwiches, or dolloping onto grilled vegetables. The key is to focus on the fresh, aromatic basil and the salty tang of the Parmesan cheese, allowing those flavors to truly shine. This recipe yields a generous amount of pesto, so you’ll have plenty to enjoy throughout the week or to freeze for later use.
Ingredients:
Making Your Nut Free Pesto
Let’s get started on creating this flavorful sauce. The beauty of pesto is its simplicity; it’s all about combining fresh ingredients to create a harmonious blend of tastes and aromas. We’ll be using a food processor for this recipe, which makes the process quick and effortless.
Step 1: Prepare Your Basil
Start by ensuring your basil is clean and dry. Gently rinse the basil leaves under cool water and then pat them thoroughly dry with paper towels or use a salad spinner. Excess water can dilute the flavor of your pesto and make it a bit watery, so taking this extra step is crucial for the best results. Remove the basil leaves from their stems. While some recipes might suggest you can include tender stems, for the smoothest and most flavorful pesto, it’s best to just use the leaves. You should end up with about 2 packed cups of basil leaves.
Step 2: Garlic and Cheese Preparation
Next, we’ll prepare the garlic. Peel your garlic cloves. You can give them a rough chop if they are particularly large, but the food processor will handle the rest. For the Parmesan cheese, it’s best to grate it fresh for the most intense flavor and best texture. Pre-grated cheese often contains anti-caking agents that can affect the pesto’s creaminess. Measure out your 1/2 cup of freshly grated Parmesan.
Step 3: Combining the Base Ingredients
In the bowl of your food processor, add the prepared basil leaves and the garlic cloves. Pulse a few times until the basil is roughly chopped. You don’t want it to be a completely smooth paste at this stage; a little texture is good. Then, add the grated Parmesan cheese to the food processor. Pulse again a few times to combine everything. It will start to look like a thick, green mixture.
Step 4: Incorporating the Olive Oil
Now it’s time to add the liquid element. With the food processor running on a low speed, slowly drizzle in the olive oil through the feed tube. You want to add the olive oil gradually so that it emulsifies with the other ingredients and creates a smooth, cohesive sauce. Continue processing until the pesto reaches your desired consistency. Some people prefer a thicker pesto, while others like it a bit looser. If you prefer it thicker, you can add a little less olive oil. If you like it thinner, you can add a tablespoon or two more at a time until it’s just right.
Step 5: Seasoning and Final Touches
Finally, season your nut-free pesto. Add the 1/4 teaspoon of salt and the 1/8 teaspoon of pepper. Pulse a few more times to distribute the seasonings evenly. Taste your pesto at this point and adjust the salt and pepper as needed. Remember that the Parmesan cheese is already salty, so it’s always best to start with a little less salt and add more if necessary. Once you’re happy with the flavor, your delicious nut-free pesto is ready to be enjoyed!
This nut-free pesto is incredibly versatile. It’s the perfect accompaniment to your favorite pasta dishes, of course. Toss it with warm spaghetti, linguine, or even penne. It also makes a fantastic spread for sandwiches and wraps, adding a burst of fresh flavor. You can dollop it onto grilled or roasted vegetables, use it as a base for pizzas, or even stir it into soups for an extra layer of taste. For long-term storage, transfer the pesto to an airtight container or freezer-safe bag and store it in the refrigerator for up to a week, or freeze it for up to three months. Freezing it in ice cube trays is a great way to have single-serving portions ready to go! Enjoy your homemade, nut-free goodness!
Conclusion:
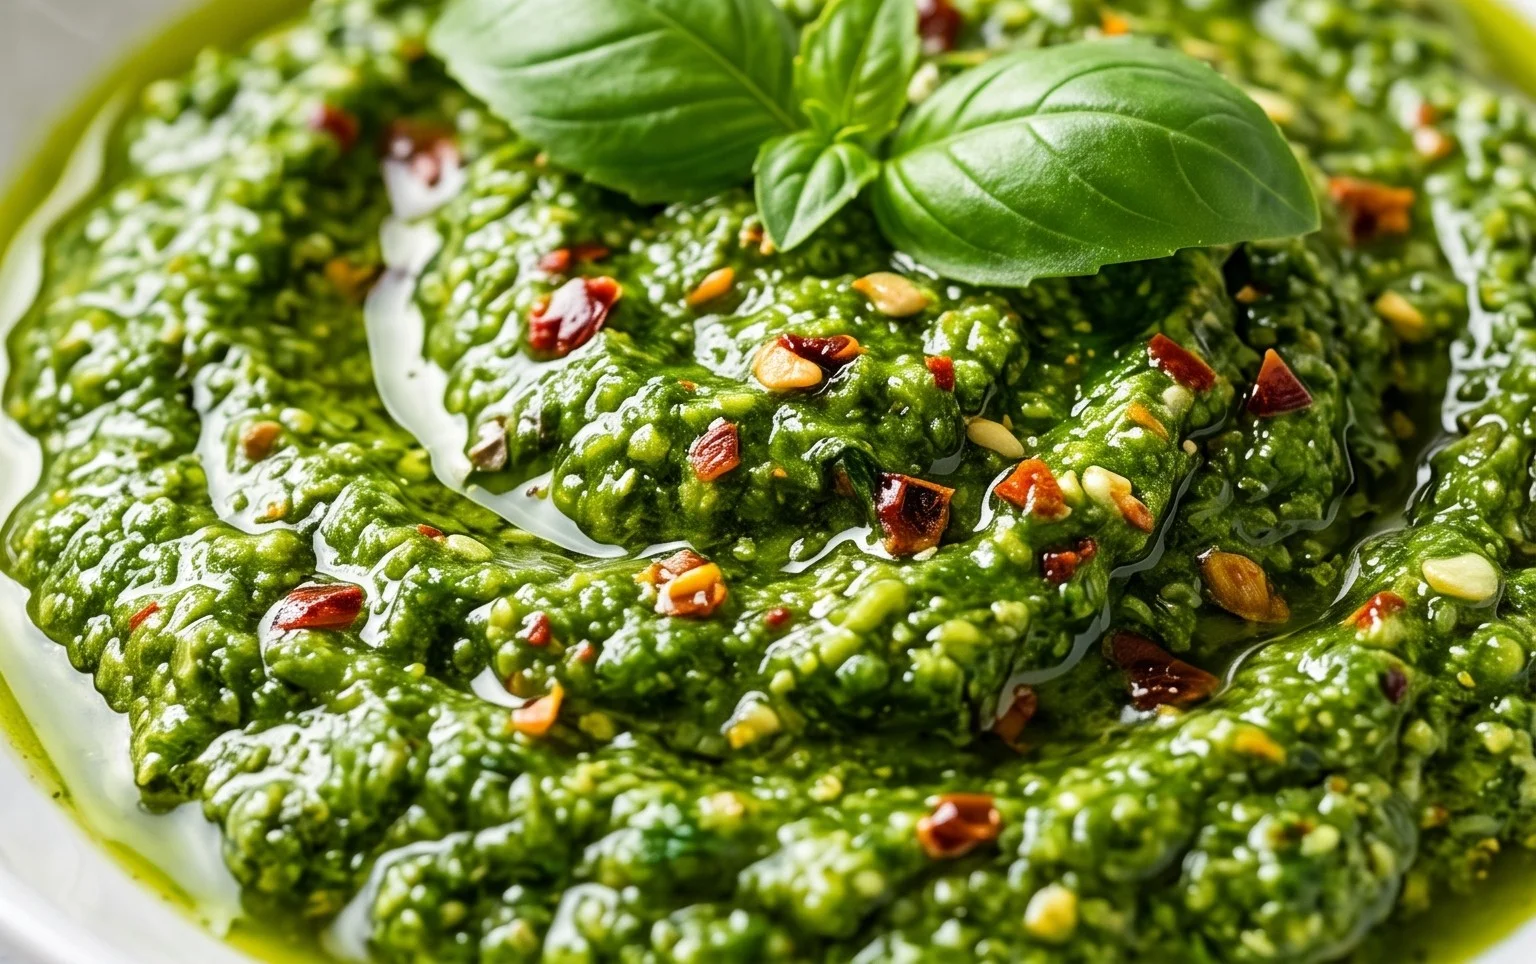
I hope you’ve enjoyed learning how to make this delicious nut free pesto! It’s truly a fantastic recipe because it opens up a world of flavor for those with nut allergies or who are simply looking for a different kind of pesto. The vibrant green color and fresh, herbaceous taste are incredibly satisfying, and it’s surprisingly easy to whip up. This nut free pesto is perfect for pasta dishes, spreading on sandwiches, or even as a dip for vegetables. Don’t be afraid to experiment with different herbs or add a touch of spice!
Give this recipe a try; I’m confident you’ll be delighted with the results. It’s a wonderful way to enjoy classic pesto flavors without any of the common allergens. Remember, the beauty of homemade pesto is its versatility. So get creative and make it your own!
Frequently Asked Questions about Nut Free Pesto:
Can I substitute the basil?
Absolutely! While basil is traditional, feel free to get creative. You can use a mix of spinach and basil, or even experiment with arugula for a peppery kick. Parsley is another great option, especially when combined with basil.
What if I don’t have a food processor?
You can definitely make this nut free pesto by hand! Finely chop all your ingredients with a sharp knife and then vigorously stir them together in a bowl. It takes a little more effort but the results are just as delicious, and some people even prefer the slightly chunkier texture.
How long does this nut free pesto last?
Properly stored in an airtight container in the refrigerator, this nut free pesto should stay fresh for about 5-7 days. You can also freeze it in ice cube trays for smaller, convenient portions to use later.
Nut-Free Pesto
A delicious and nut-free version of classic pesto, perfect for sandwiches, pasta, or as a dip.
Ingredients
-
2 cups fresh basil
-
2 garlic cloves
-
1/2 cup freshly grated Parmesan cheese
-
1/4 cup olive oil
-
1/4 teaspoon salt
-
1/8 teaspoon pepper
Instructions
-
Step 1
Wash and thoroughly dry the fresh basil leaves. -
Step 2
Peel the garlic cloves. -
Step 3
In a food processor, combine the basil, garlic, Parmesan cheese, salt, and pepper. -
Step 4
Pulse the ingredients until they are roughly chopped. -
Step 5
With the food processor running, slowly drizzle in the olive oil until the pesto is smooth and well combined. -
Step 6
Taste and adjust seasoning if necessary.
Important Information
Nutrition Facts (Per Serving)
It is important to consider this information as approximate and not to use it as definitive health advice.
Allergy Information
Please check ingredients for potential allergens and consult a health professional if in doubt.